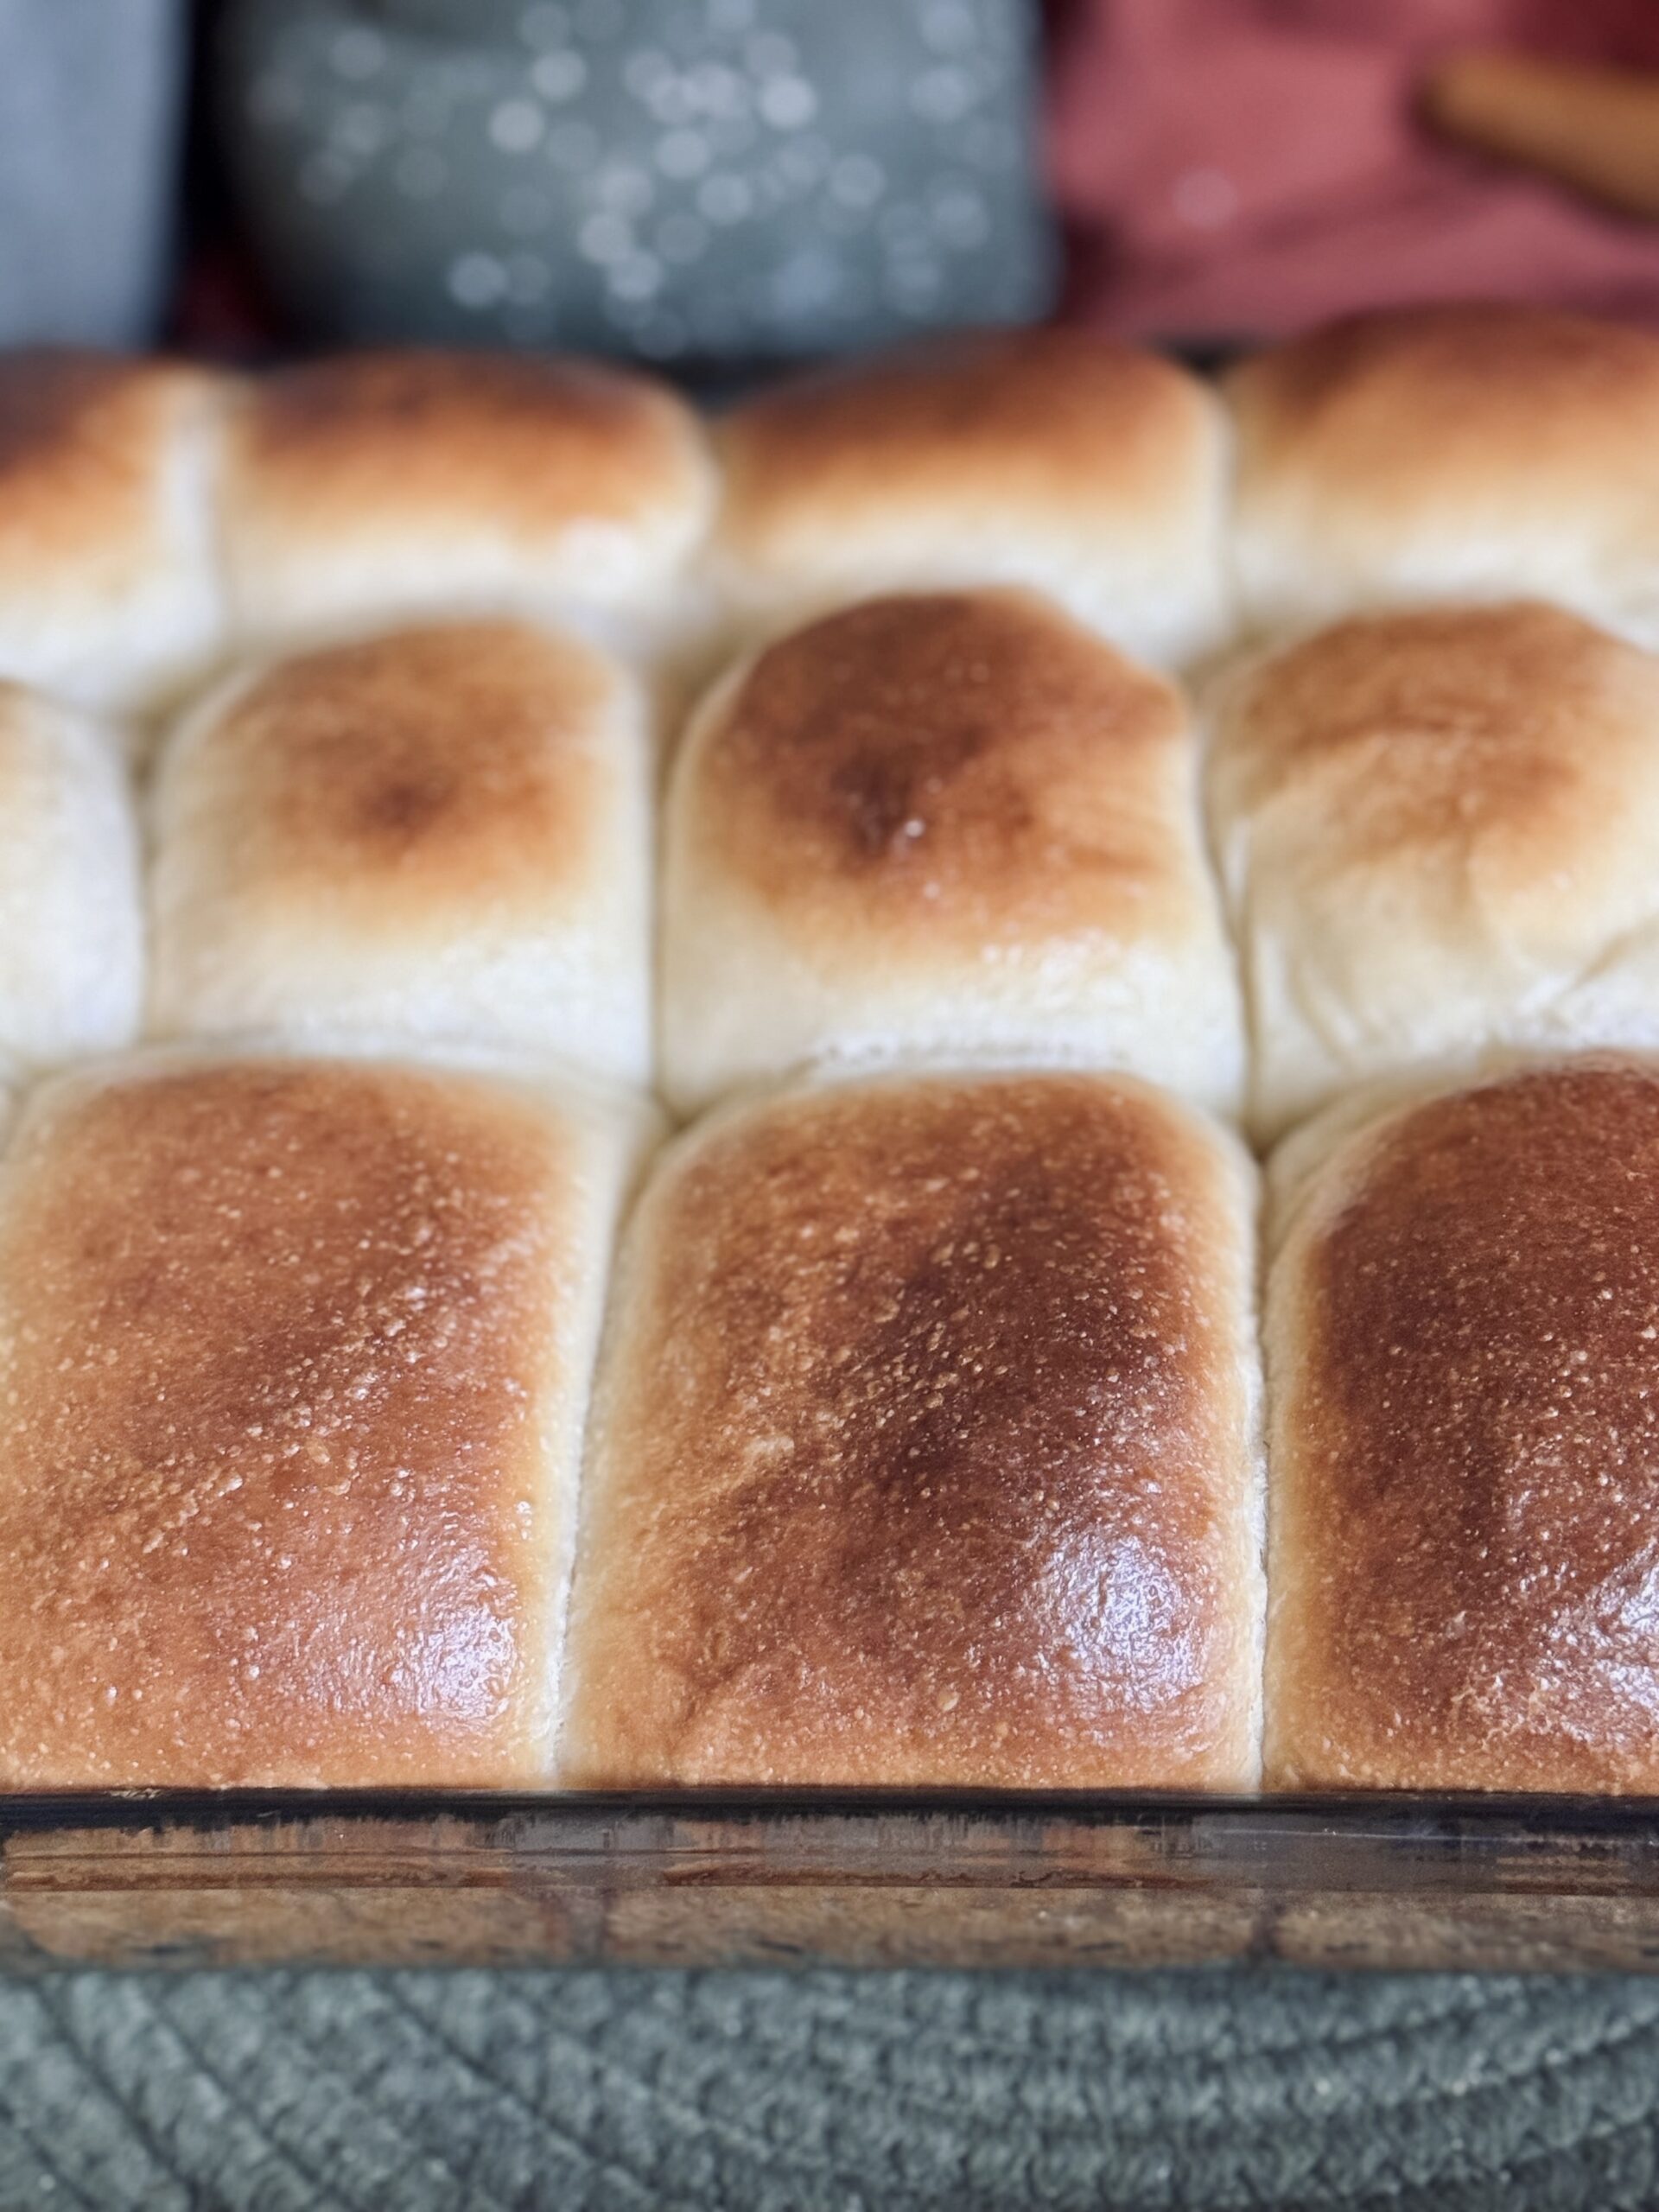
About This Recipe
I had a follower ask if I could make a sandwich bread with all whole wheat flour. This follower had/has health concerns, making whole wheat the best option for their lifestyle. The answer – well, of course! This bread accounts for the whole wheat flour appropriately. It’s not dry or dense. In fact, it is all the things you could want in a sandwich bread – except, with the strong flavor and health benefits that come with whole wheat.
What Is Sandwich Bread?
Sandwich bread is a type of bread made specifically for sandwiches. It is typically made in a loaf pan (though not always!). These breads are soft, yet sturdy, with a tight, even crumb (to make sure none of the sauce slips out!).
What I Love About This Recipe
Whole wheat can be an adventure. This is especially true when it makes up 100% of the flour in a recipe. Luckily, I have some tricks up my sleeve. This recipe is a tad more advanced than others, but the extra effort is well worth it if you need a good-tasting whole wheat bread for your lifestyle.
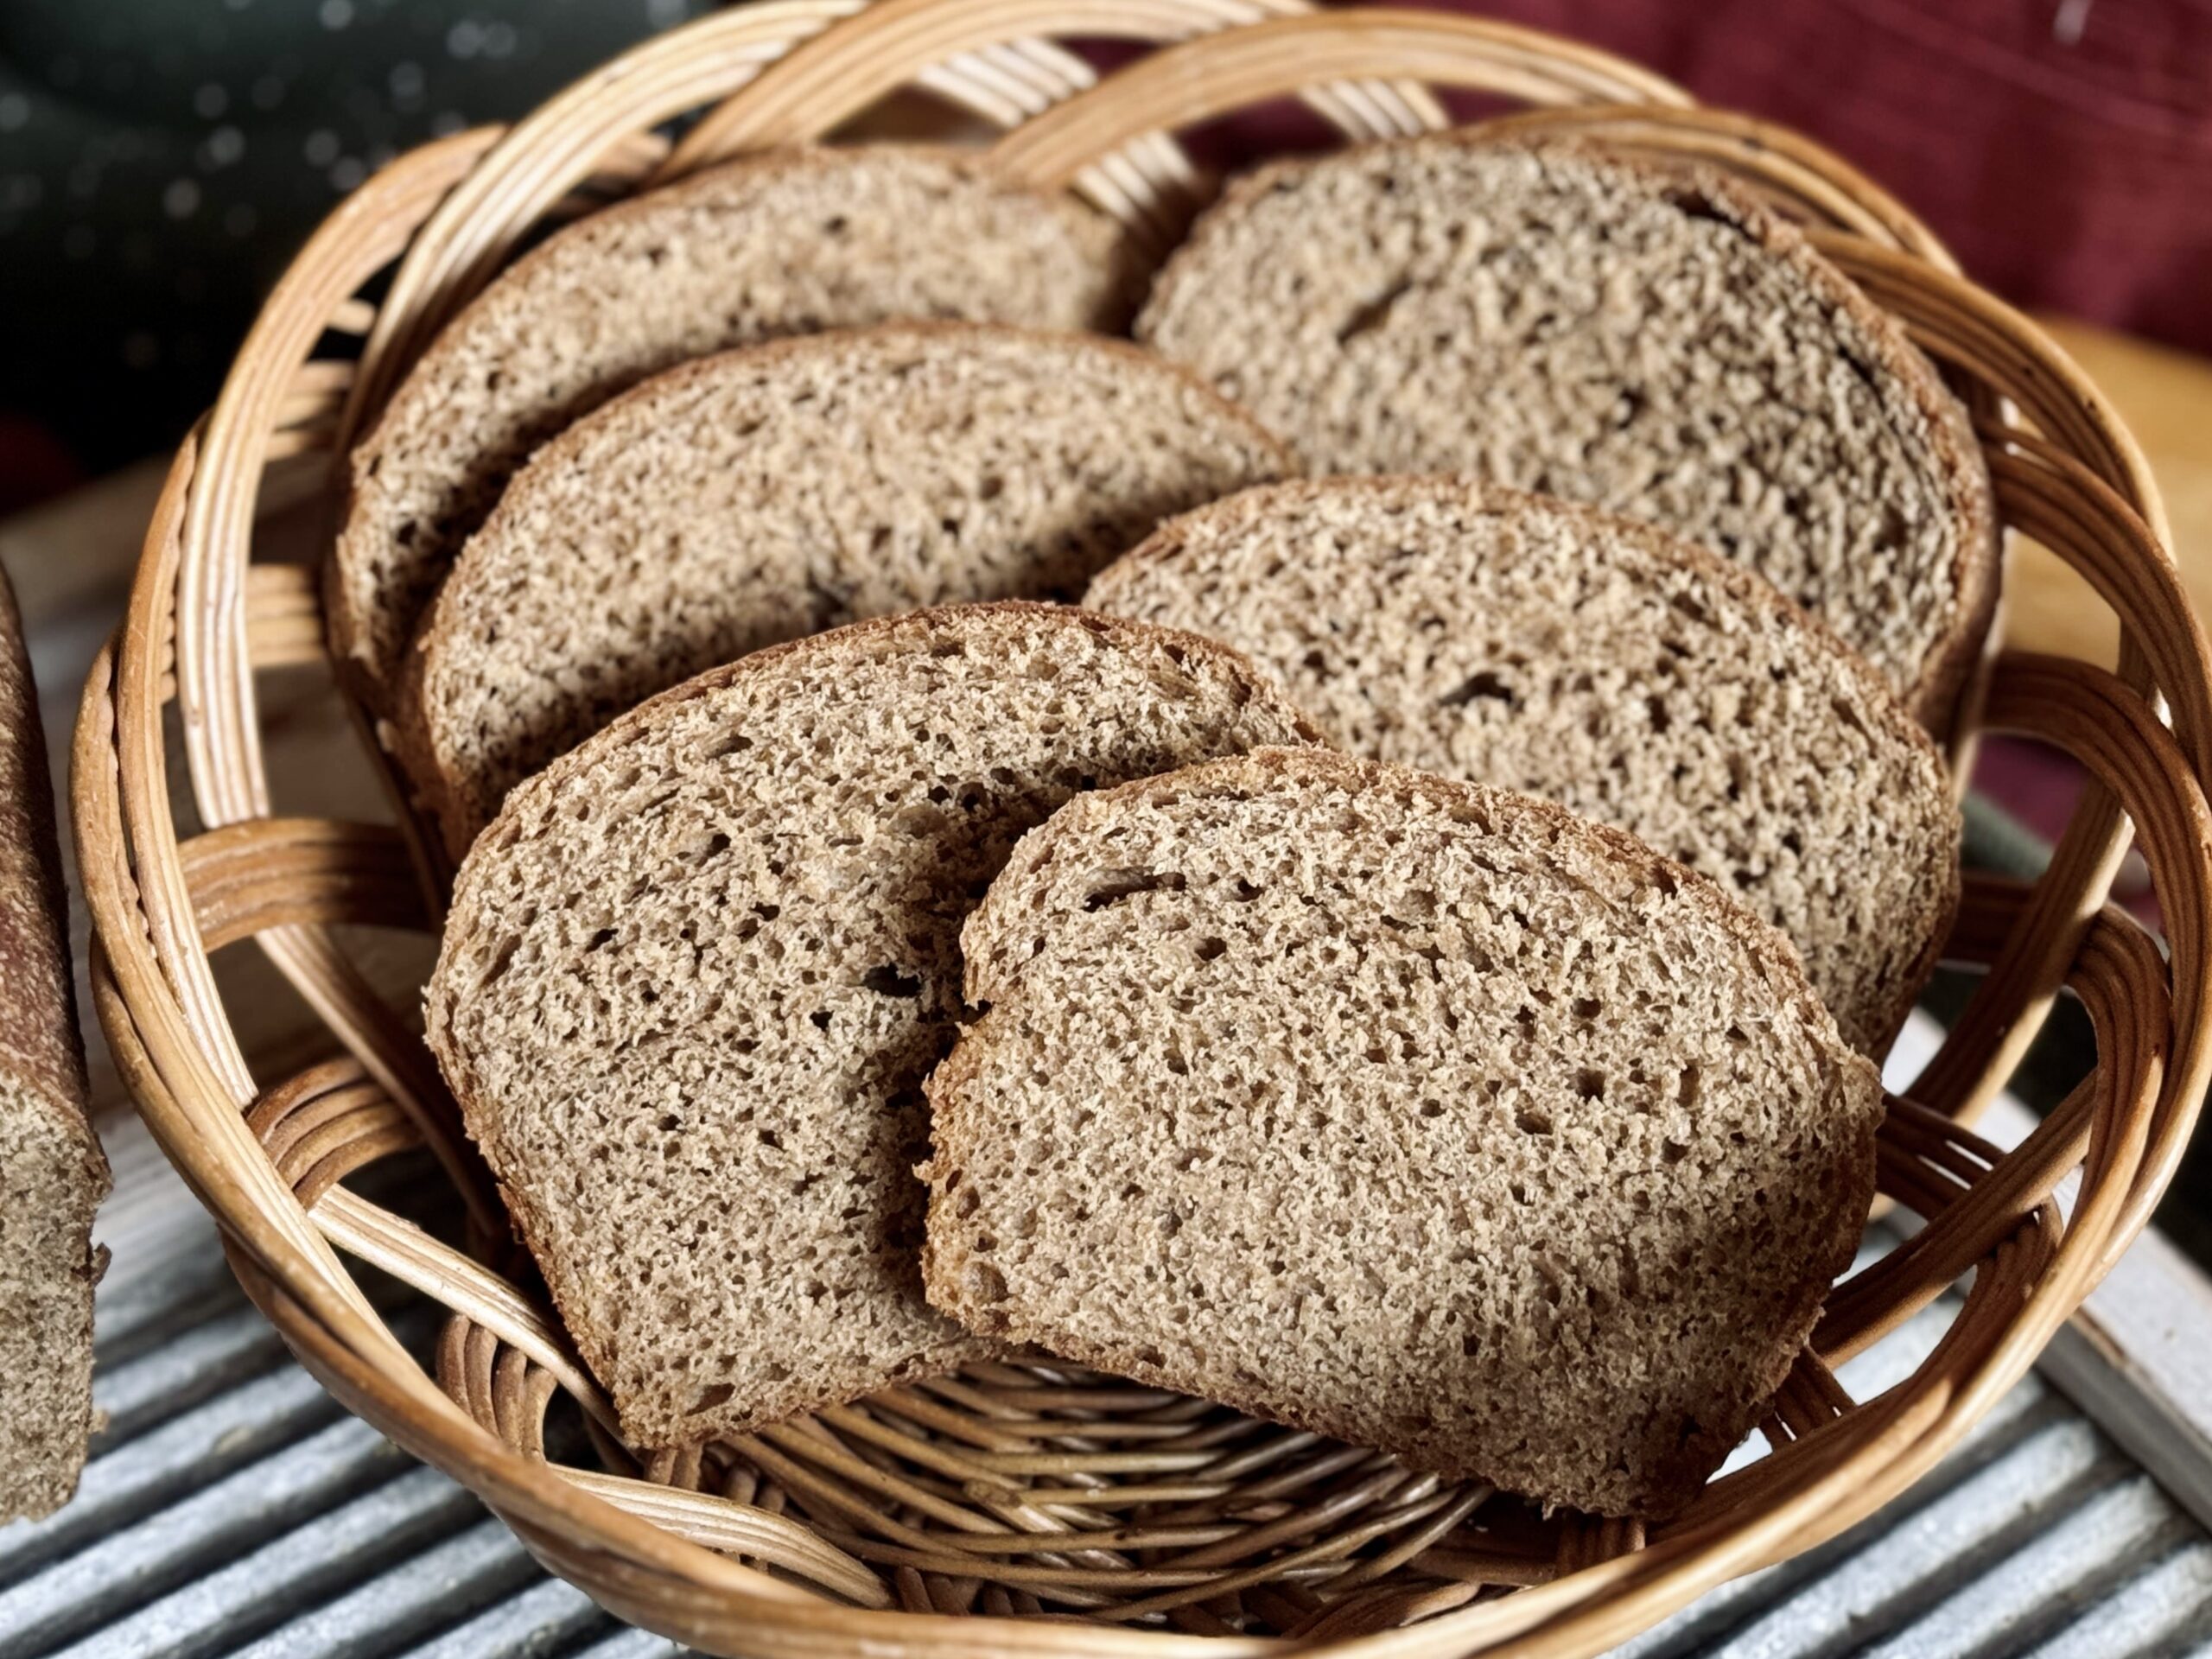
All The “Why’s”
Optional Levain
A levain is a starter that you make specifically for a recipe. All of it is used to make the dough; nothing is left behind for the purpose of replenishing your starter. Generally, I take from my mother starter for all my recipes, unless otherwise noted. However, for this recipe, I wanted to truly make it 100% whole wheat, so I made a 100% whole wheat starter as an offshoot of my regular starter.
I also tested this recipe with my mother starter with great results. The main difference is going to be flavor; therefore, the choice is optional. You can use some of your mother starter or you can make a levain.
Make sure that your starter is in tip-top shape! One thing about whole wheat is that bacteria are obsessed. Homofermentative lactic acid bacteria (LAB) eat at proteins in your flour that degrade the gluten structure. This is good to an extent, but (because they reproduce faster than yeast, especially in warm environments, especially with whole wheat flour) you might find your dough overproofing before it is fully aerated. If this happens, you have a starter problem.
If your starter is out of balance, you’ll also notice your bread is more sour. Sometimes this happens anyway due to the whole wheat (especially if it has fermented for too long), but it is more likely to happen when the starter is already too acidic.
Milk Mixture
This is a technique that stems from the beginning of my bread journey, when I first started making bread doughs using commercial yeast. The warm mixture activates commercial yeast, which isn’t necessary in sourdough. However, it also dissolves the sweetener, softens the butter, and gives the dough warmth – giving it a great kickstart to fermentation.
Let’s talk about the specific ingredients more in-depth:
Milk + Water
Milk is a tightening agent in bread, meaning it makes the gluten network stiffer and stronger, often increasing the time the dough ferments. This is because it takes twice the air to blow up a stiff balloon (our gluten network). However, it also adds a really good flavor and texture to sandwich bread. It makes the bread denser (in a good way), softer, and creamier. It also helps the bread darken in the oven. For these reasons, I love to use milk in my sandwich bread recipes, but I also find it is best to balance the milk with water.
Water is the opposite of milk. It creates an extensible gluten network (loose, stretchy). It balances out the stiffness from the milk. It makes the dough lighter and airier. However, water does not really have a flavor and it doesn’t darken in the oven (unless you bake the bread at a really high temperature).
For these reasons, I like to balance these two ingredients accordingly, depending on the outcome I am trying to achieve. For a bread like this, milk is the winner for its tight, even crumb, flavor, and darkening capabilities. I use three parts milk to one part water to make this dough.
Honey
Honey is used to help limit potential sourness (though it can still occur). This recipe contains about 11% honey, which is the perfect percentage to create osmotic stress. If you don’t know what osmotic stress is, it’s when the bacteria in your starter (they create sourness) are suffocated, in a sense, limiting their acid production. The honey also works to sweeten the bread, but only a bit. This is not a sweet bread.
Honey can be substituted with most other natural sweeteners – granulated sugar, molasses, maple syrup, brown sugar. I have not tested this recipe with sugar substitutes.
Butter
Butter (any kind of fat, really) is a tenderizer; it makes the dough fragile and soft. In this recipe, I only use a small amount, which is meant to keep the bread soft in the oven and after baking – so important for sandwich bread! My personal choice is butter, but you can use any kind of fat (olive oil, neutral oil, bacon fat, lard, tallow, etc.) as long as you like the flavor.
Yudane
Yudane is an Asian technique similar in effect to tangzhong. It is generally performed by combining equal parts flour and boiling water, stirring, and letting it cool before adding to the bread. This small step gelatinizes the starches in the flour, which helps the dough retain moisture (almost by double) leading to a softer, fluffier end result that stays fresh for days.
However, in this recipe, I make the yudane with two parts boiling water to one part whole wheat flour. That’s because whole wheat absorbs a lot of water. The yudane’s consistency is most important, so I adjust the water to match the needs of the flour.
Whole Wheat Flour
Whole wheat flour is a beast when it comes to bread. Think of whole wheat flour like all-purpose flour in terms of its ability to form gluten. The bran and germ increase the protein content, but they do not play a part in gluten formation. In fact, they tend to cut through gluten, leaving the bread with a more tender (less chewy) crumb. Because of this, we must pay special attention to fermentation, since the dough cannot hold in air as readily. I use King Arthur Whole Wheat Flour in this recipe.
Vital Wheat Gluten (Optional)
I only recently (a few months ago) discovered vital wheat gluten, and have since come to be a big fan. I’m not really sure if there’s a debate about it (because it is processed). Vital wheat gluten is essentially straight gluten, and it can be a game changer when it comes to fermentation, especially in a whole wheat bread like this. Vital wheat gluten is like your flour’s secret side kick, and it can make a world of a difference in your bread.
Vital wheat gluten makes up for some of the whole wheat flour’s lack of ability to form gluten. It helps create a stronger network, which means the dough can ferment better (trap more air, won’t overproof as quickly). The effects of this are drastic – you’ll notice the loaf is lighter and airier and that it rises taller.
Salt
Salt helps bring out flavor (without salt, bread would taste almost like nothing), but also has notable effects on the dough. Salt is a tightening agent, meaning it helps create a more elastic (strong) dough. It does slow fermentation, as well as gluten development, but these are things we must account for in the recipe because we cannot have a recipe without salt. It is important to use just the right amount, enough to bring out the flavor, but not so much that the loaf cannot ferment or come together. I use the standard – 2% salt – in all my recipes, unless otherwise noted.
Hydration
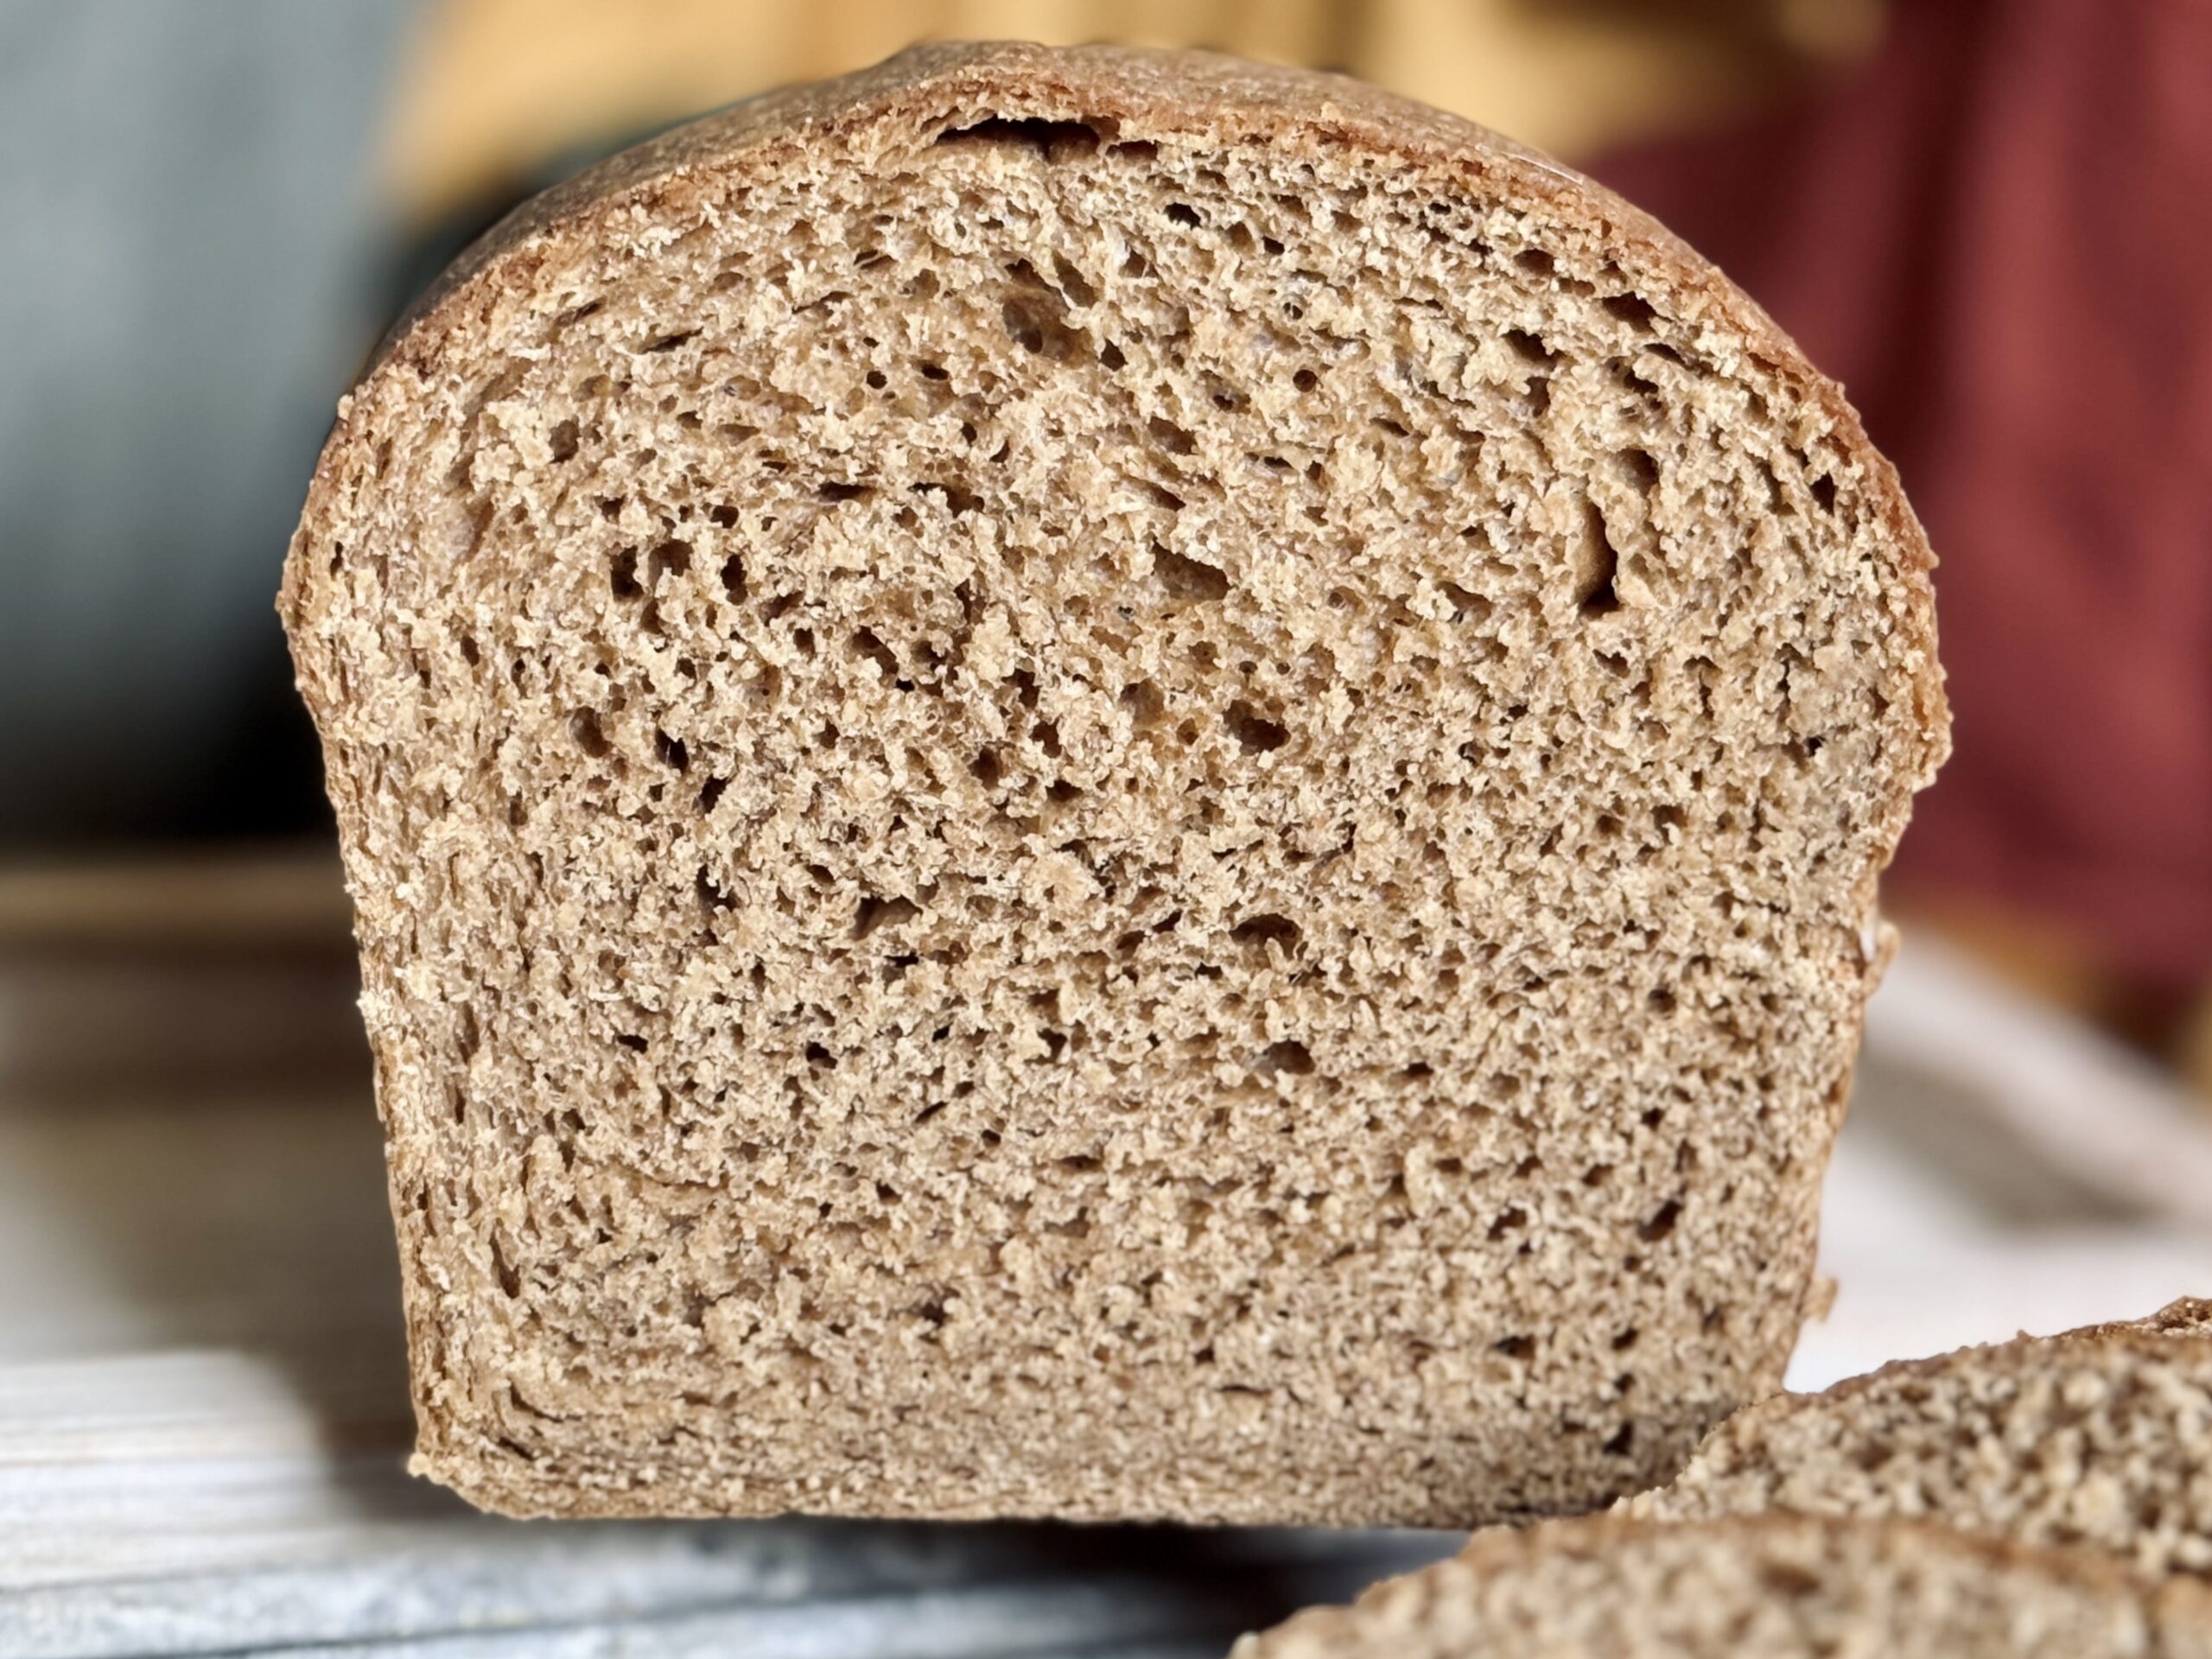
This recipe is high in hydration (that just means we add a lot of water/liquid). It has an approximate hydration of 88%. This amount of liquid is necessary to counter the effects of the bran and the germ, which absorb a lot of moisture. Otherwise, the loaf would be terribly dense and coarse, which is how many people think whole wheat bread just “is”.
Despite containing a lot of moisture, you will not feel much of a difference in the dough. The flour absorbs most of it, meaning that by the time shaping comes around the dough will hardly be sticky at all.
Mixing
For this recipe, I use a stand mixer to develop my dough. The main thing we want to look for when mixing/kneading any dough up front is a windowpane. This tells us that gluten has come together and that the dough will be able to hold in air. Using a lower speed on the mixer will create a more elastic (strong, tough, not stretchy) dough, while a higher speed will create extensibility (stretchy, loose). For a dough that is just right, aim for somewhere in the middle, speed 3-4 on a KitchenAid (if you think your mixer can handle it) or speed 3-4 o’clock on an Ankarsrum.
If you watch my video, you’ll notice that I used to use slightly higher speeds to get the dough to come together. Honestly, this worked, but now that I know more, I have changed my practice.
The other important thing to consider is your dough’s temperature. Try to make sure it doesn’t get above 78 F (26 C). If you notice the dough is taking too long in the mixer, give it a 10-15 minute rest and try again. Time will help it relax and finish developing.
Bulk Fermentation
Letting the dough rise as much as possible, but not too much, contributes to the airiest of loaves. In an attempt to favor the yeast and reduce sourness, I recommend keeping the dough temperature between 70-75 F (21-24 C). Watch the dough and ferment until it doubles in size (at least; eight to twelve hours). Then, you can shape it and let it double again. Though I favor an overnight method for this dough, use your knowledge of your environment to bulk ferment this dough appropriately.
Shaping
Shaping sandwich bread is so easy. You can really shape it however you want, as long as the top is smooth and the seams are sealed. I like to turn the dough out, pat it into a rectangle, fold the outer thirds inward, then roll it into a log. Since the dough is stiff and well-fermented by this point, try to shape it smoothly (all-in-one go), otherwise the gluten will tighten up (tension) and you’ll have to give it a rest before trying again.
Butter Wash
Washing your loaf with butter helps keep the crust soft during baking. I also like to brush my loaves with butter after baking, for the best flavor and softness.
Baking Method: Temperature
For breads with milk, a lower baking temperature is better. Because milk contributes to the Maillard reaction, the bread will still brown fine in the oven. Your dough will rise and bake slowly, contributing to an even crumb. The low-and-slow bake will also keep the dough soft, as it is able to retain more moisture this way.
Baking Method: Steam
Since this is a sandwich bread – which is purposefully soft – you don’t have to remove the steam from the oven like you would for a crusty bread. It helps the dough stay soft, which leads to better expansion and texture. I use a pan of boiling water next to my dough, but you can use any method you like.
Suggested Timeline
Suggested Timeline
DAY 1
8:00 p.m.
- Mix the dough.
8:30 p.m.
- Begin bulk fermentation.
DAY 2
8:00 a.m.
- Shape the dough.
11:00 a.m.
- Bake and enjoy!
📌 Quick Tip: Read the recipe in its entirety before you start cooking. This will help you understand the ingredients, steps, and timing involved, and allow you to prepare any necessary equipment or ingredients beforehand.
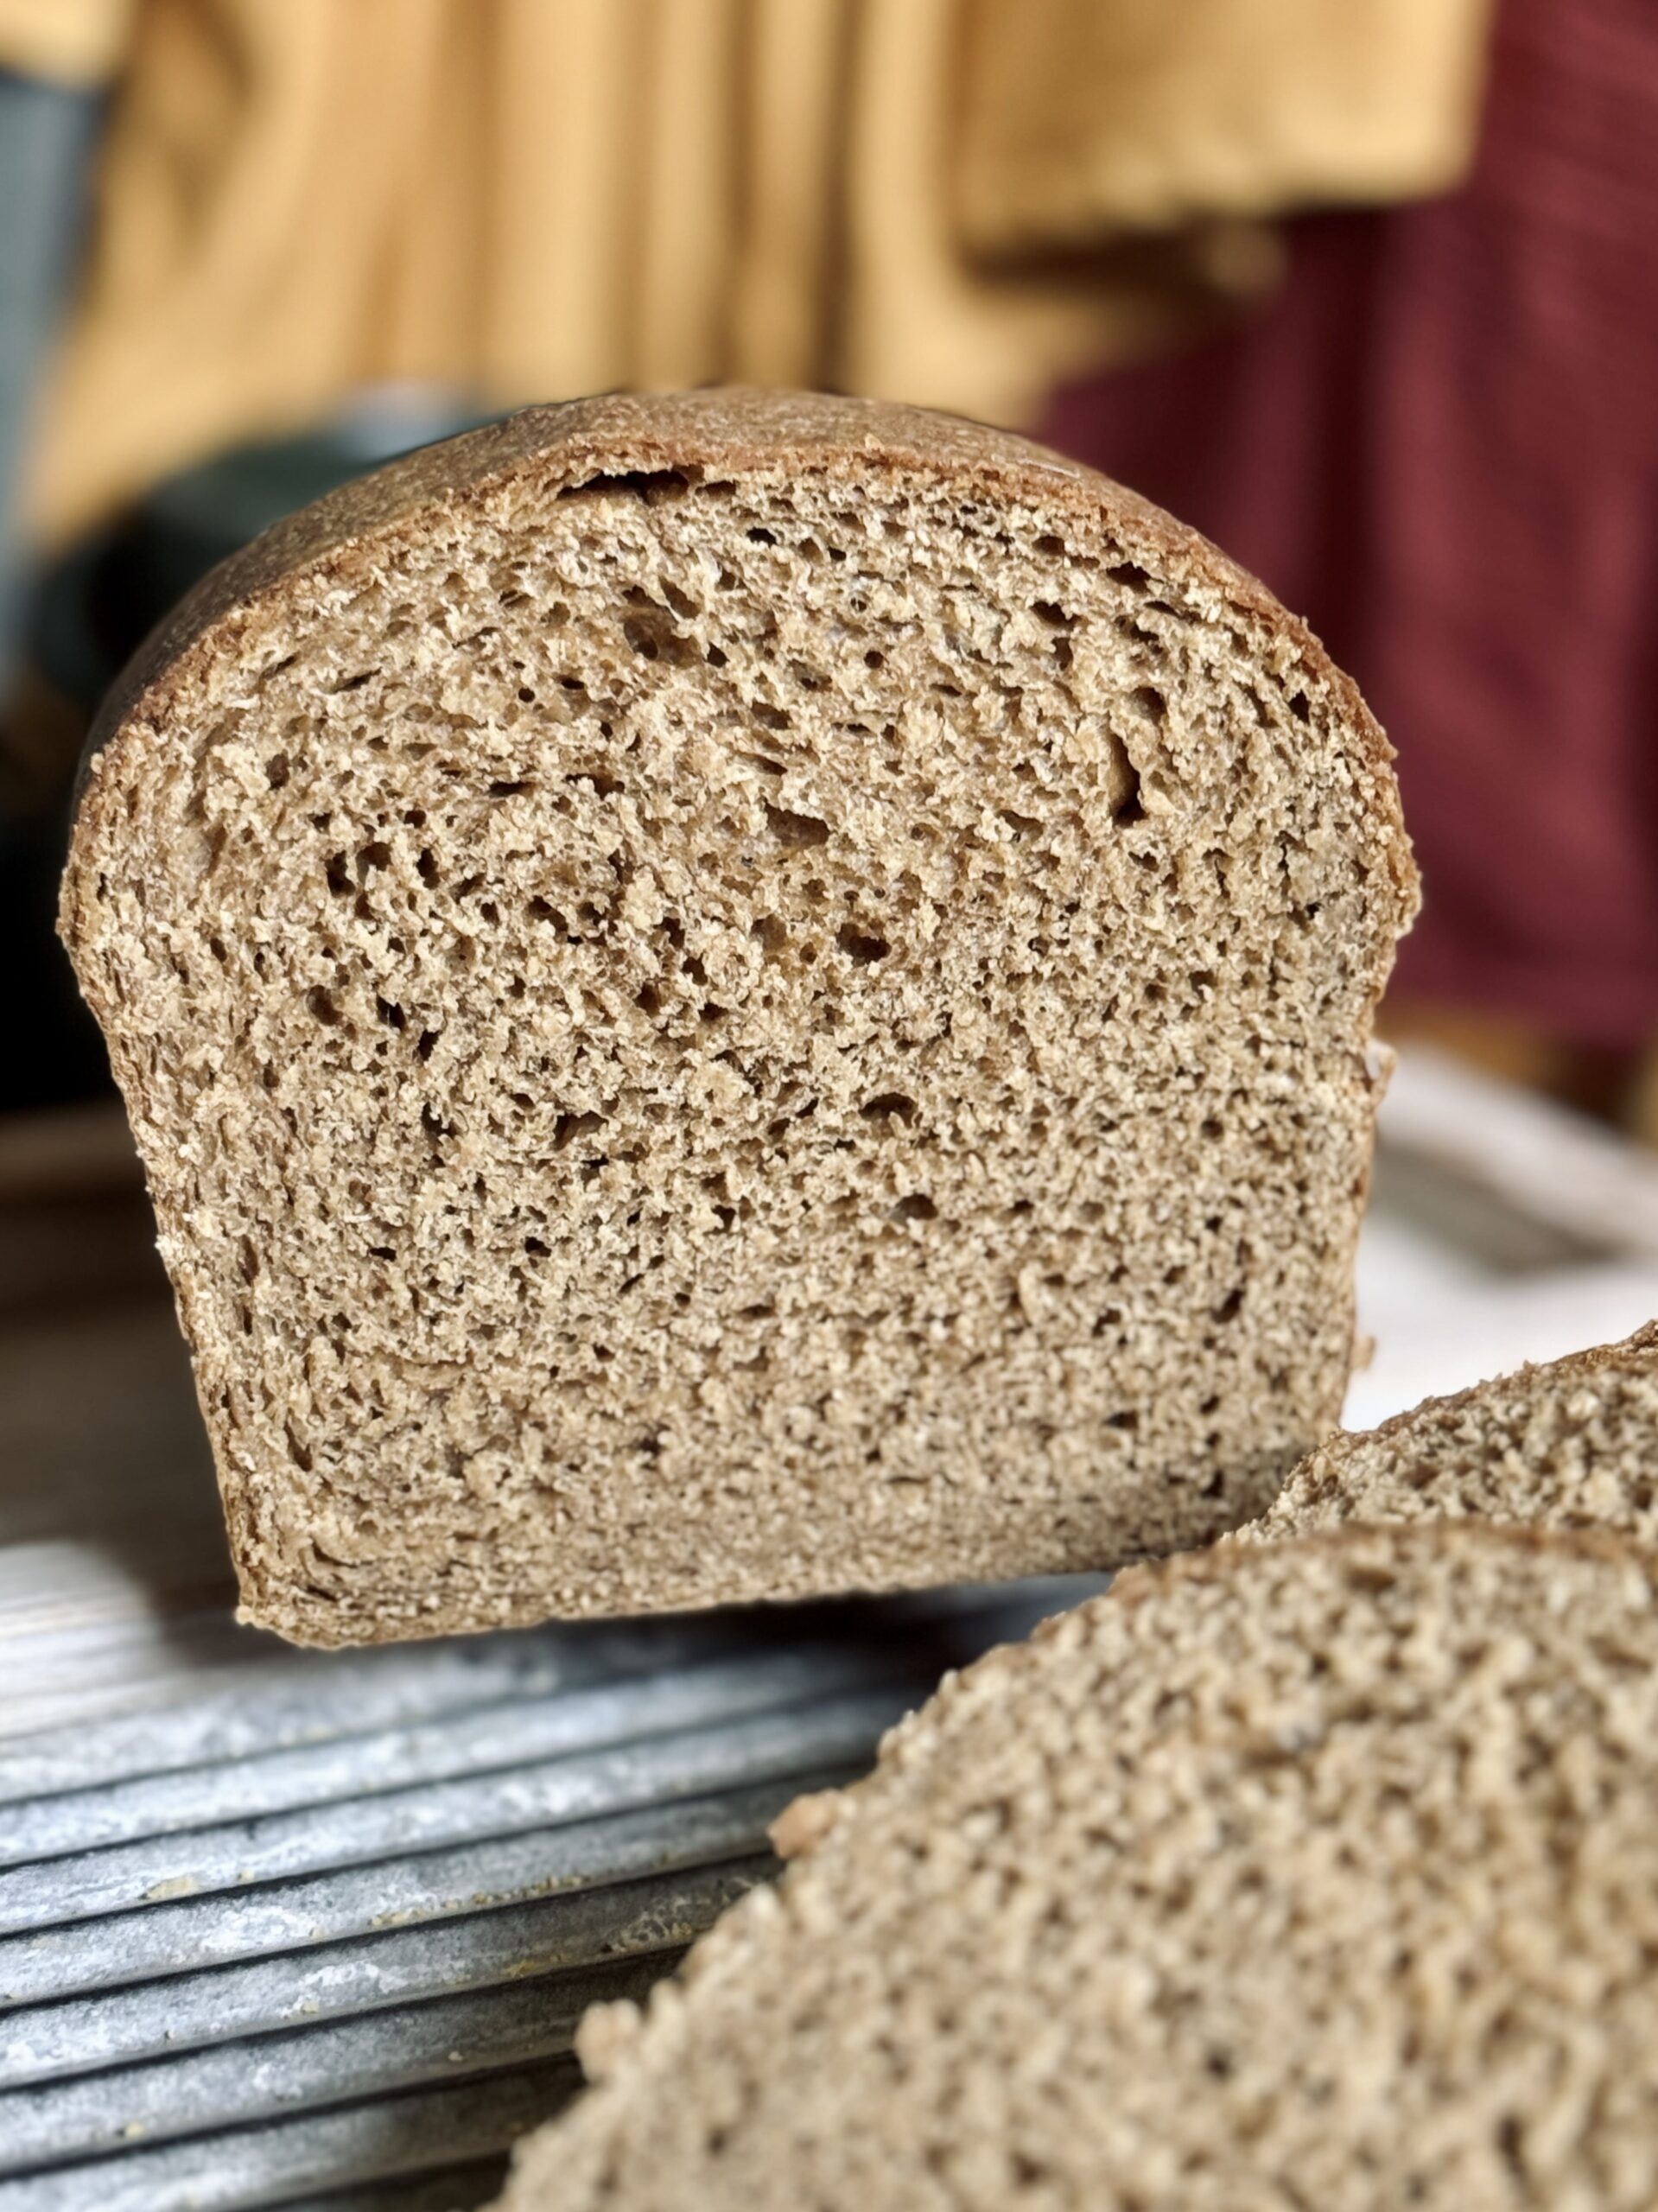
100% Whole Wheat Sandwich Bread
Ingredients
Optional Whole Wheat Levain
Yudane
Milk Mixture
Dough
For baking
Instructions
-
Optional Whole Wheat Levain
If you want this bread to truly be 100% whole wheat and you do not maintain a whole wheat starter, a levain can be made 8-12 hours before you plan to mix the dough. Mix together all ingredients for the levain and rest, covered, on the counter for 8-12 hours.
-
Yudane
Boil some water in a tea kettle or over the stovetop. To a small bowl, mix 100 g of the boiling water with 50 g of whole wheat flour. Let it cool before incorporating into the dough. This can be done the day before (and placed in the fridge) or the day of.
-
Milk Mixture
Warm the milk, butter, and honey over the stovetop on medium-low heat until the mixture reaches 100 F. Stir and set aside
-
Mixing
To the bowl of a stand mixer, add the remaining whole wheat flour, vital wheat gluten (optional), salt, active starter, all of the cooled yudane, and all of the milk mixture. Stir briefly, then transfer to your stand mixer, fitted with a dough hook attachment.
-
Knead on a medium speed, speed 3-4 on a KitchenAid or Ankarsrum, for about 15 minutes, until the dough is smooth and elastic. You can test this by pulling up on a section of dough. If it tears, it is not ready. If it stretches, it is ready. You can also check for a windowpane. Scrape down the sides as necessary.
-
Bulk Fermentation
Shape the dough into a ball, cover, and let it rest until it doubles in size.
-
Shape And Proof
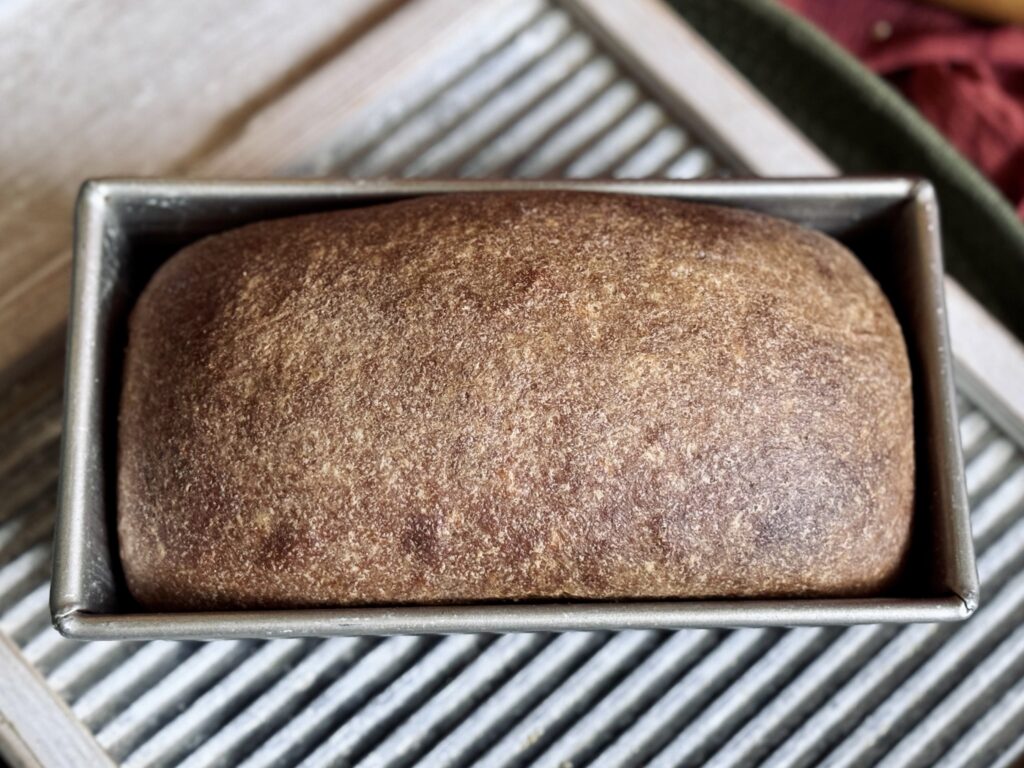
Shape the dough into a loaf and add to an 8 1/2 X 4 1/2 inch loaf pan. I do this by forming a rectangle slightly smaller than my loaf pan, rolling the dough into a cylinder, and pinching the seams closed. Cover once more and let it rest until it has risen above the rim of the loaf pan.
-
Preheat your oven to 350 F (175 C) and boil some more water.
-
Brush your risen loaf all over with melted butter.
-
Bake
Bake for 50-60 minutes next to an oven-safe, water-safe loaf pan filled halfway with boiling water. The internal temperature should register 190 F (88 C).
-
Brush with more melted butter, if desired.
-
Cool 5-10 minutes in the loaf pan, then transfer to a wire rack to cool completely. Wait at least 30 minutes before slicing.
Servings 12
- Amount Per Serving
- Calories 209.74kcal
- % Daily Value *
- Total Fat 4.88g8%
- Saturated Fat 2.49g13%
- Cholesterol 10.14mg4%
- Sodium 207.83mg9%
- Potassium 178.46mg6%
- Total Carbohydrate 36.88g13%
- Dietary Fiber 4.22g17%
- Sugars 5.72g
- Protein 7.24g15%
- Vitamin A 35.23 IU
- Vitamin C 0.02 mg
- Calcium 44.08 mg
- Iron 1.77 mg
- Vitamin D 0.27 IU
- Vitamin E 0.38 IU
- Vitamin K 1.1 mcg
- Thiamin 0.26 mg
- Riboflavin 0.13 mg
- Niacin 2.31 mg
- Vitamin B6 0.17 mg
- Folate 22.77 mcg
- Vitamin B12 0.1 mcg
- Phosphorus 164.04 mg
- Magnesium 56.87 mg
- Zinc 1.16 mg
* Nutrition values are auto-calculated and should be used as an approximation only. In addition, the values may not accurately represent the serving divisions of the recipe, instead representing the nutrition of the recipe as a whole.
Notes
- Storage: Store in a Ziploc or bread bag on the counter for three to five days, or slice and store in the freezer. Toast to warm.
- Video: Please use the video as a reference only. I have grown a lot as a baker since I made the video. If in doubt, follow the information in the blog post or written recipe over the information in the video. Please feel free to ask questions in the comments.


