About This Recipe
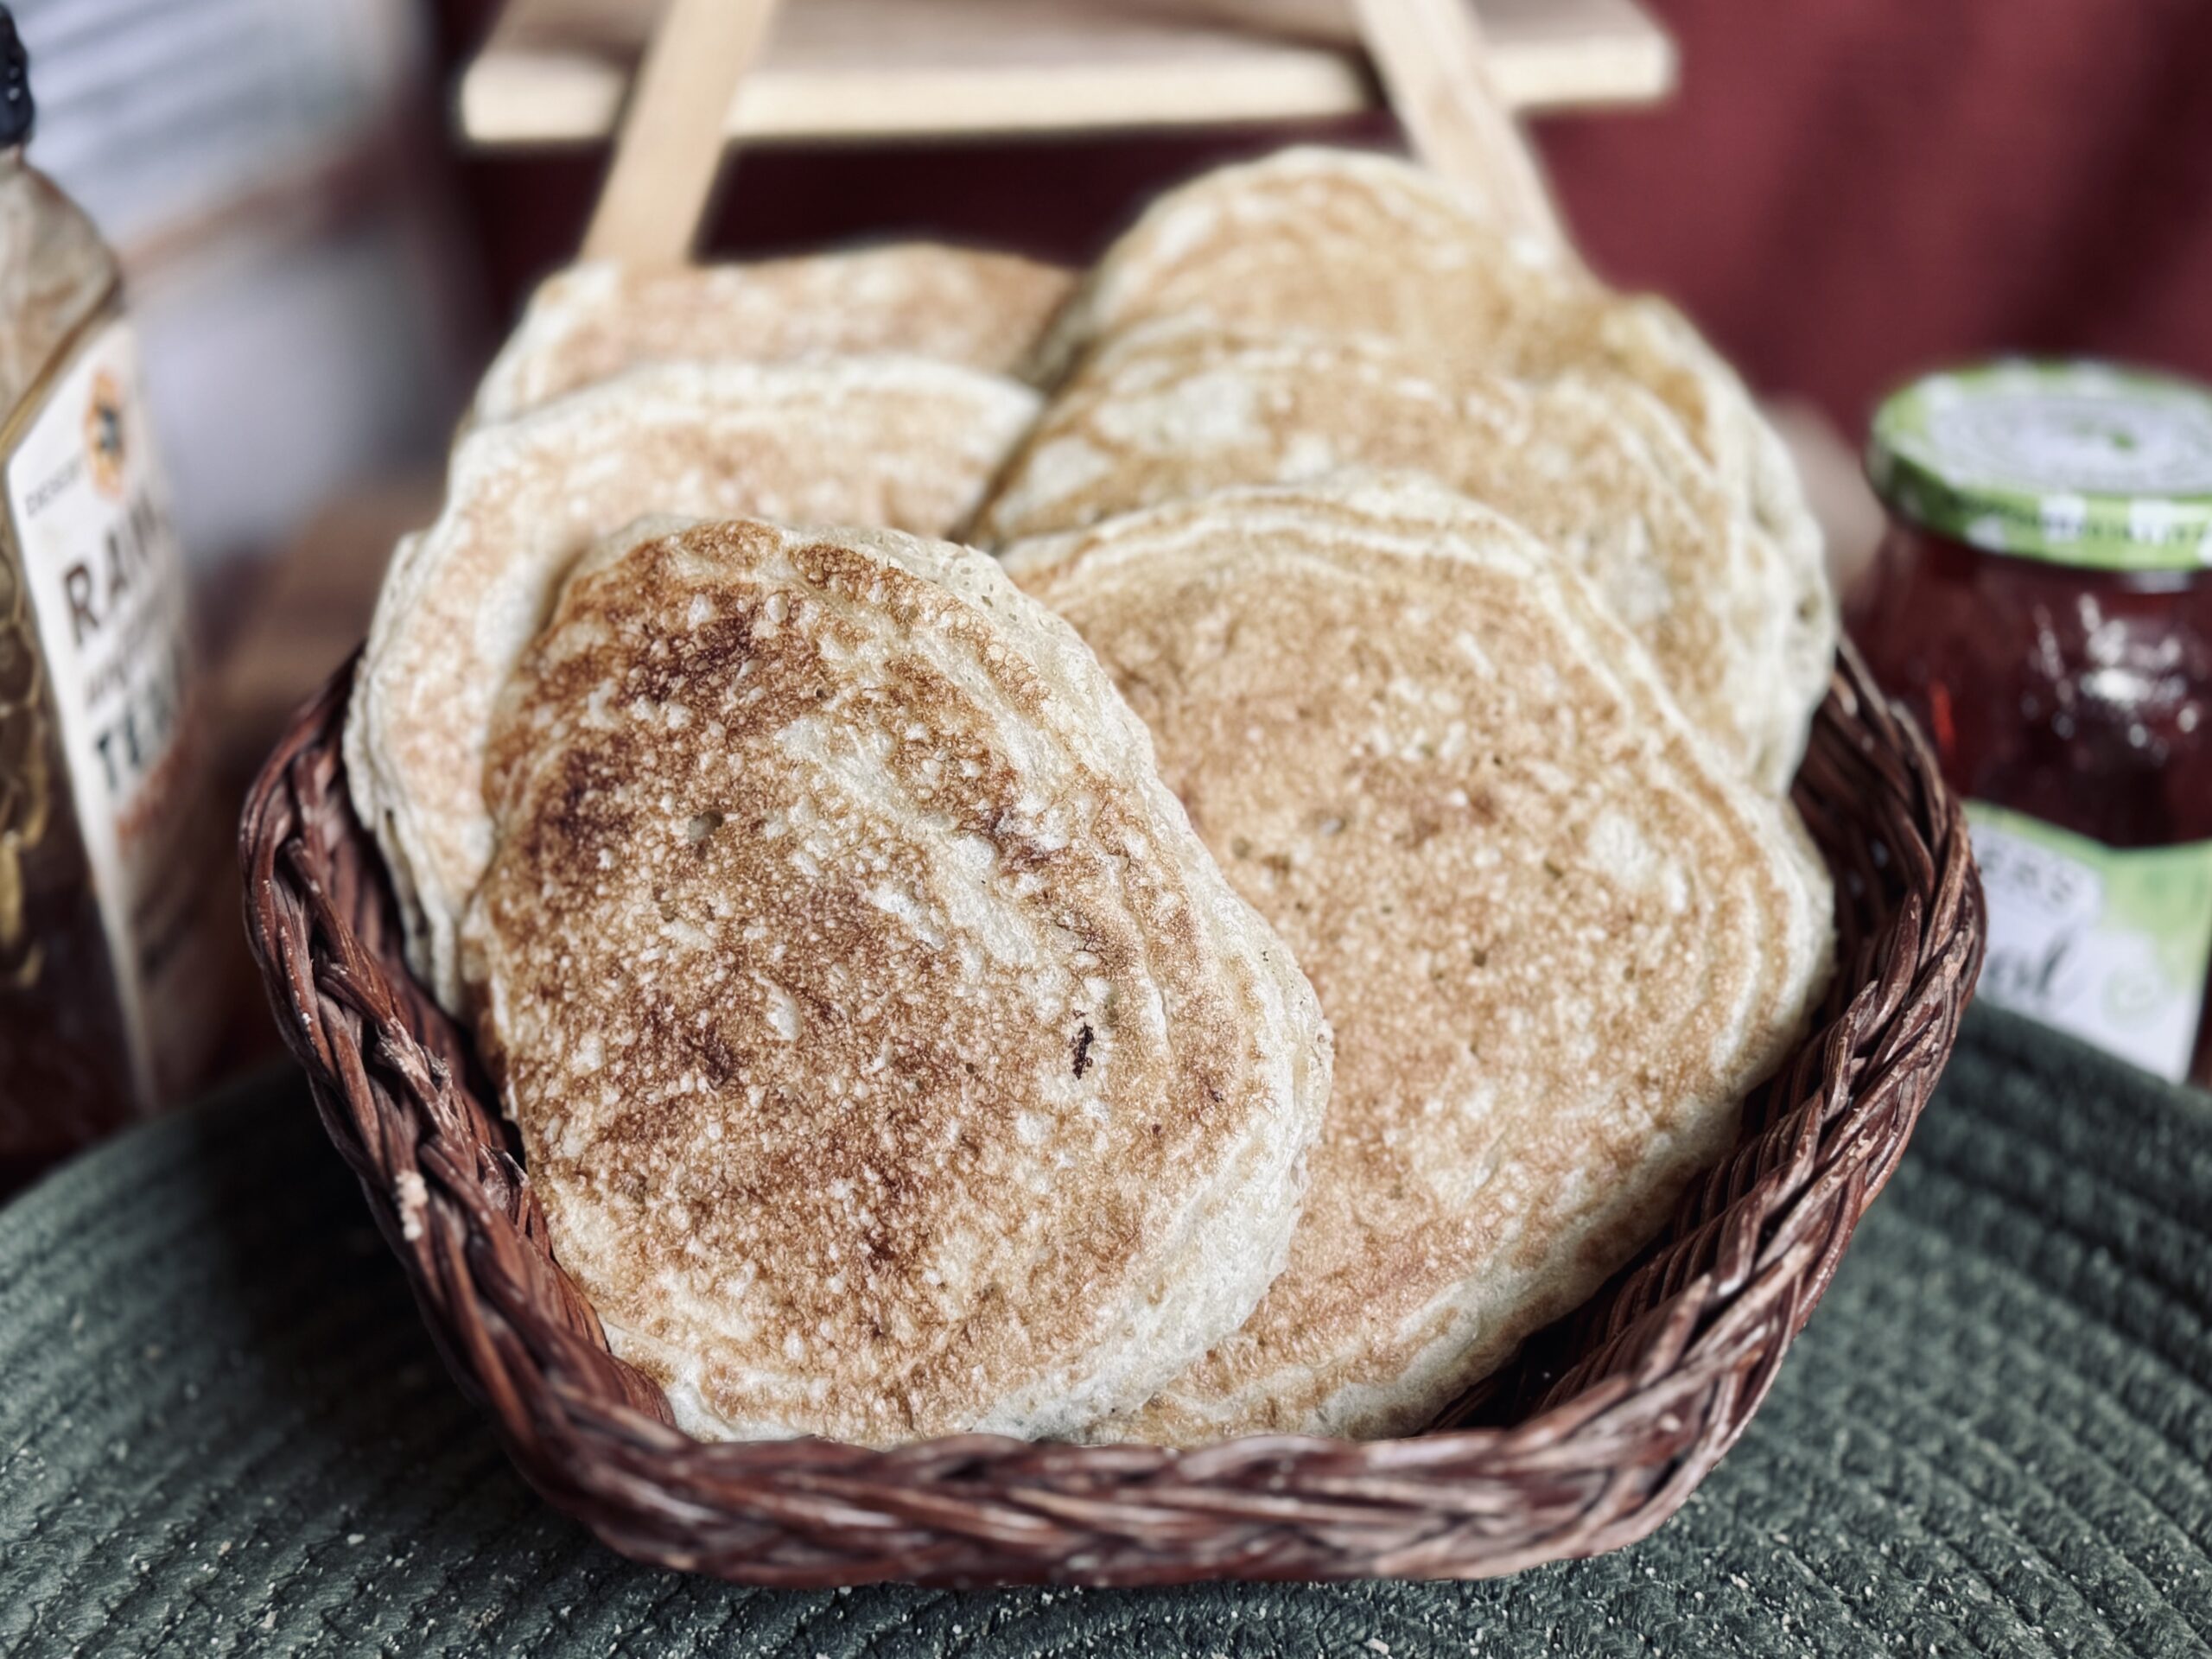
Now, let me be honest for a second. I’m a Texan. I started making this recipe at the beginning of my sourdough journey when my mother-in-law introduced it to me as a great way to use up some discard. She called them “pick-lets” (it’s actually “pike-lets”). One day, I will do some more legitimate research and modify this recipe to be more like a true pikelet, or maybe just find a new name for this one. For now, though, these little pancake-things are the bomb, super simple, and a great way to use up that extra discard.
What Is A Pikelet?
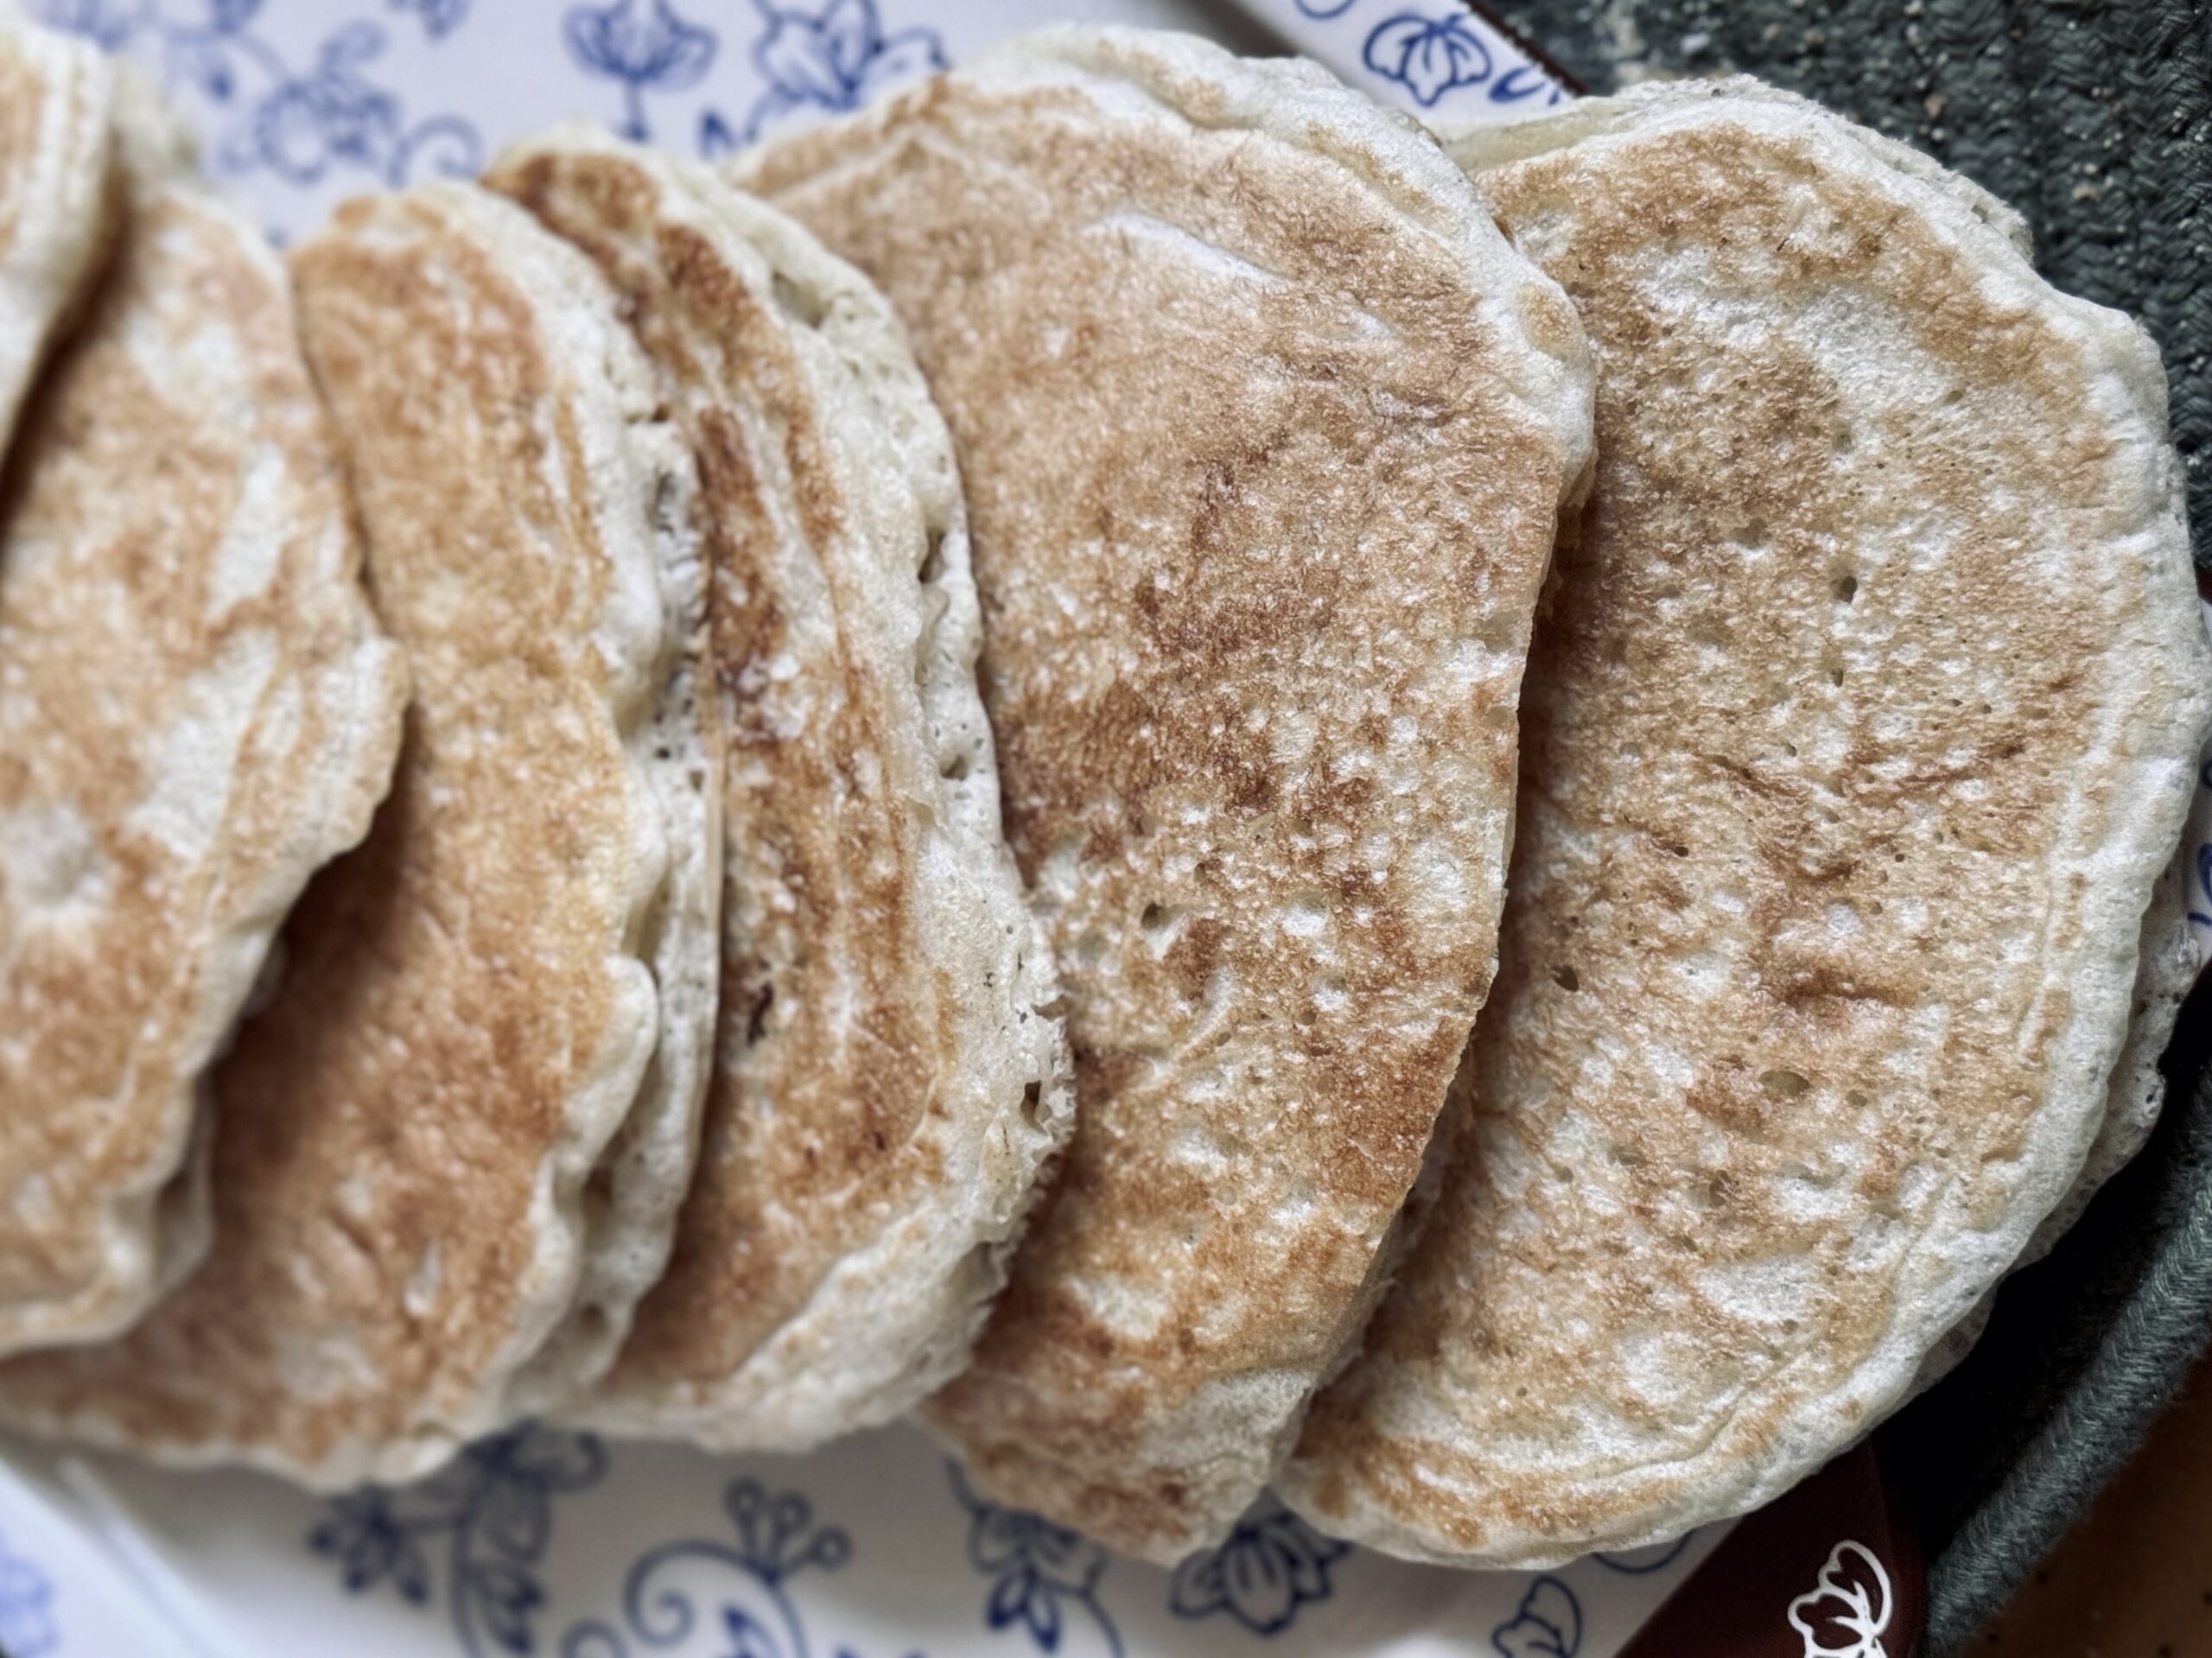
A pikelet is a small, thick pancake leavened with baking powder or baking soda. In the case of sourdough, we are making them with sourdough discard and baking soda! These are comparable to a crumpet, except made without the ring. They can be enjoyed sweet or savory, as a snack or for breakfast.
What I Love About This Recipe
The simplicity and ease of this recipe is what makes it a personal favorite of mine. Four ingredients come together in one bowl, the batter of which is fried up on a skillet. Even better? If you’re needing to use up a bunch of discard – this will get rid of it for you! This one is a winner for both the sourdough baker and the people enjoying the meal.
All The “Why’s”
Sourdough Discard
Sourdough discard (extra, unfed sourdough starter) is the main ingredient – it provides both moisture, flavor, and structure. While this recipe works with both old and new discard, I find the results are fluffier with fresher discard (still fairly thick, has some bubbles, up to a week old). Once the starter begins to produce significant hooch, I find the flour is so broken down that it just does not result in a fluffy pikelet. To fix this, you could add a little extra flour, though you would lose the fully fermented benefits of this recipe.
It is important to note that with this much sourdough discard, your sheet pan breakfast may or may not be sour. It all depends on your maintenance routine and the health of your starter. You can taste your discard (just a smidgen) before making this recipe – it’ll tell you what the results might look like! I have made this recipe many times and have never had a sour outcome, while others cannot even imagine making a recipe like this because their discard is so sour. Sourness comes from the bacteria in your starter. When they overpopulate, you can taste it.
Sugar
Sugar has a greater purpose in this recipe than just to sweeten. In fact, it does not really sweeten at all and will not eliminate a sour flavor if your discard is extra tangy. The sugar in this recipe works to support a Maillard reaction, which just means it helps the outside to brown properly. Without it, you won’t find much color on your pikelets.
Leavening
I prefer chemical leavening for sourdough discard recipes because we are using starter that is not in its prime state, and may not rise well (especially in this recipe, where we don’t add any flour). The truth is – without the baking soda, the pikelets would be much denser.
Baking soda reacts with sourdough discard to leaven the batter: trapping carbon dioxide gases and creating bubbles which cause the batter to rise and become light and fluffy. It is the perfect match for a discard-heavy recipe like this one, since the acids in the discard allow the baking soda to do its work.
If your discard is on the older end, you’ll notice it doesn’t get too great of a rise even with the baking soda. I do recommend using discard that is less than one month old, or that hasn’t gone completely dormant and started producing hooch.
If needed, you can substitute one tablespoon of baking powder (which contains the acids needed to leaven the dish) for the baking soda.
Salt
Salt brings out flavor. I use a half teaspoon in this recipe to give it flavor.
Rest Time
Though not in my original recipe, I’ve found that waiting five to ten minutes after mixing the batter helps to break down the sourdough discard and dissolve the baking soda. This makes the pikelets easier to scoop and fry and also helps eliminate any weird chemical flavor from the baking soda.
The Right Frying Temperature
We want the heat set to medium-high. A higher heat will ensure the best fluff and color. Your pikelets should be perfectly browned and ready to flip in just two minutes after placing on the skillet. If you find they aren’t bubbling and golden brown in this time, your heat is too low. On the other hand, if you’re burning them before they can cook all the way through, your heat is too high.
📌 Quick Tip: Read the recipe in its entirety before you start cooking. This will help you understand the ingredients, steps, and timing involved, and allow you to prepare any necessary equipment or ingredients beforehand.
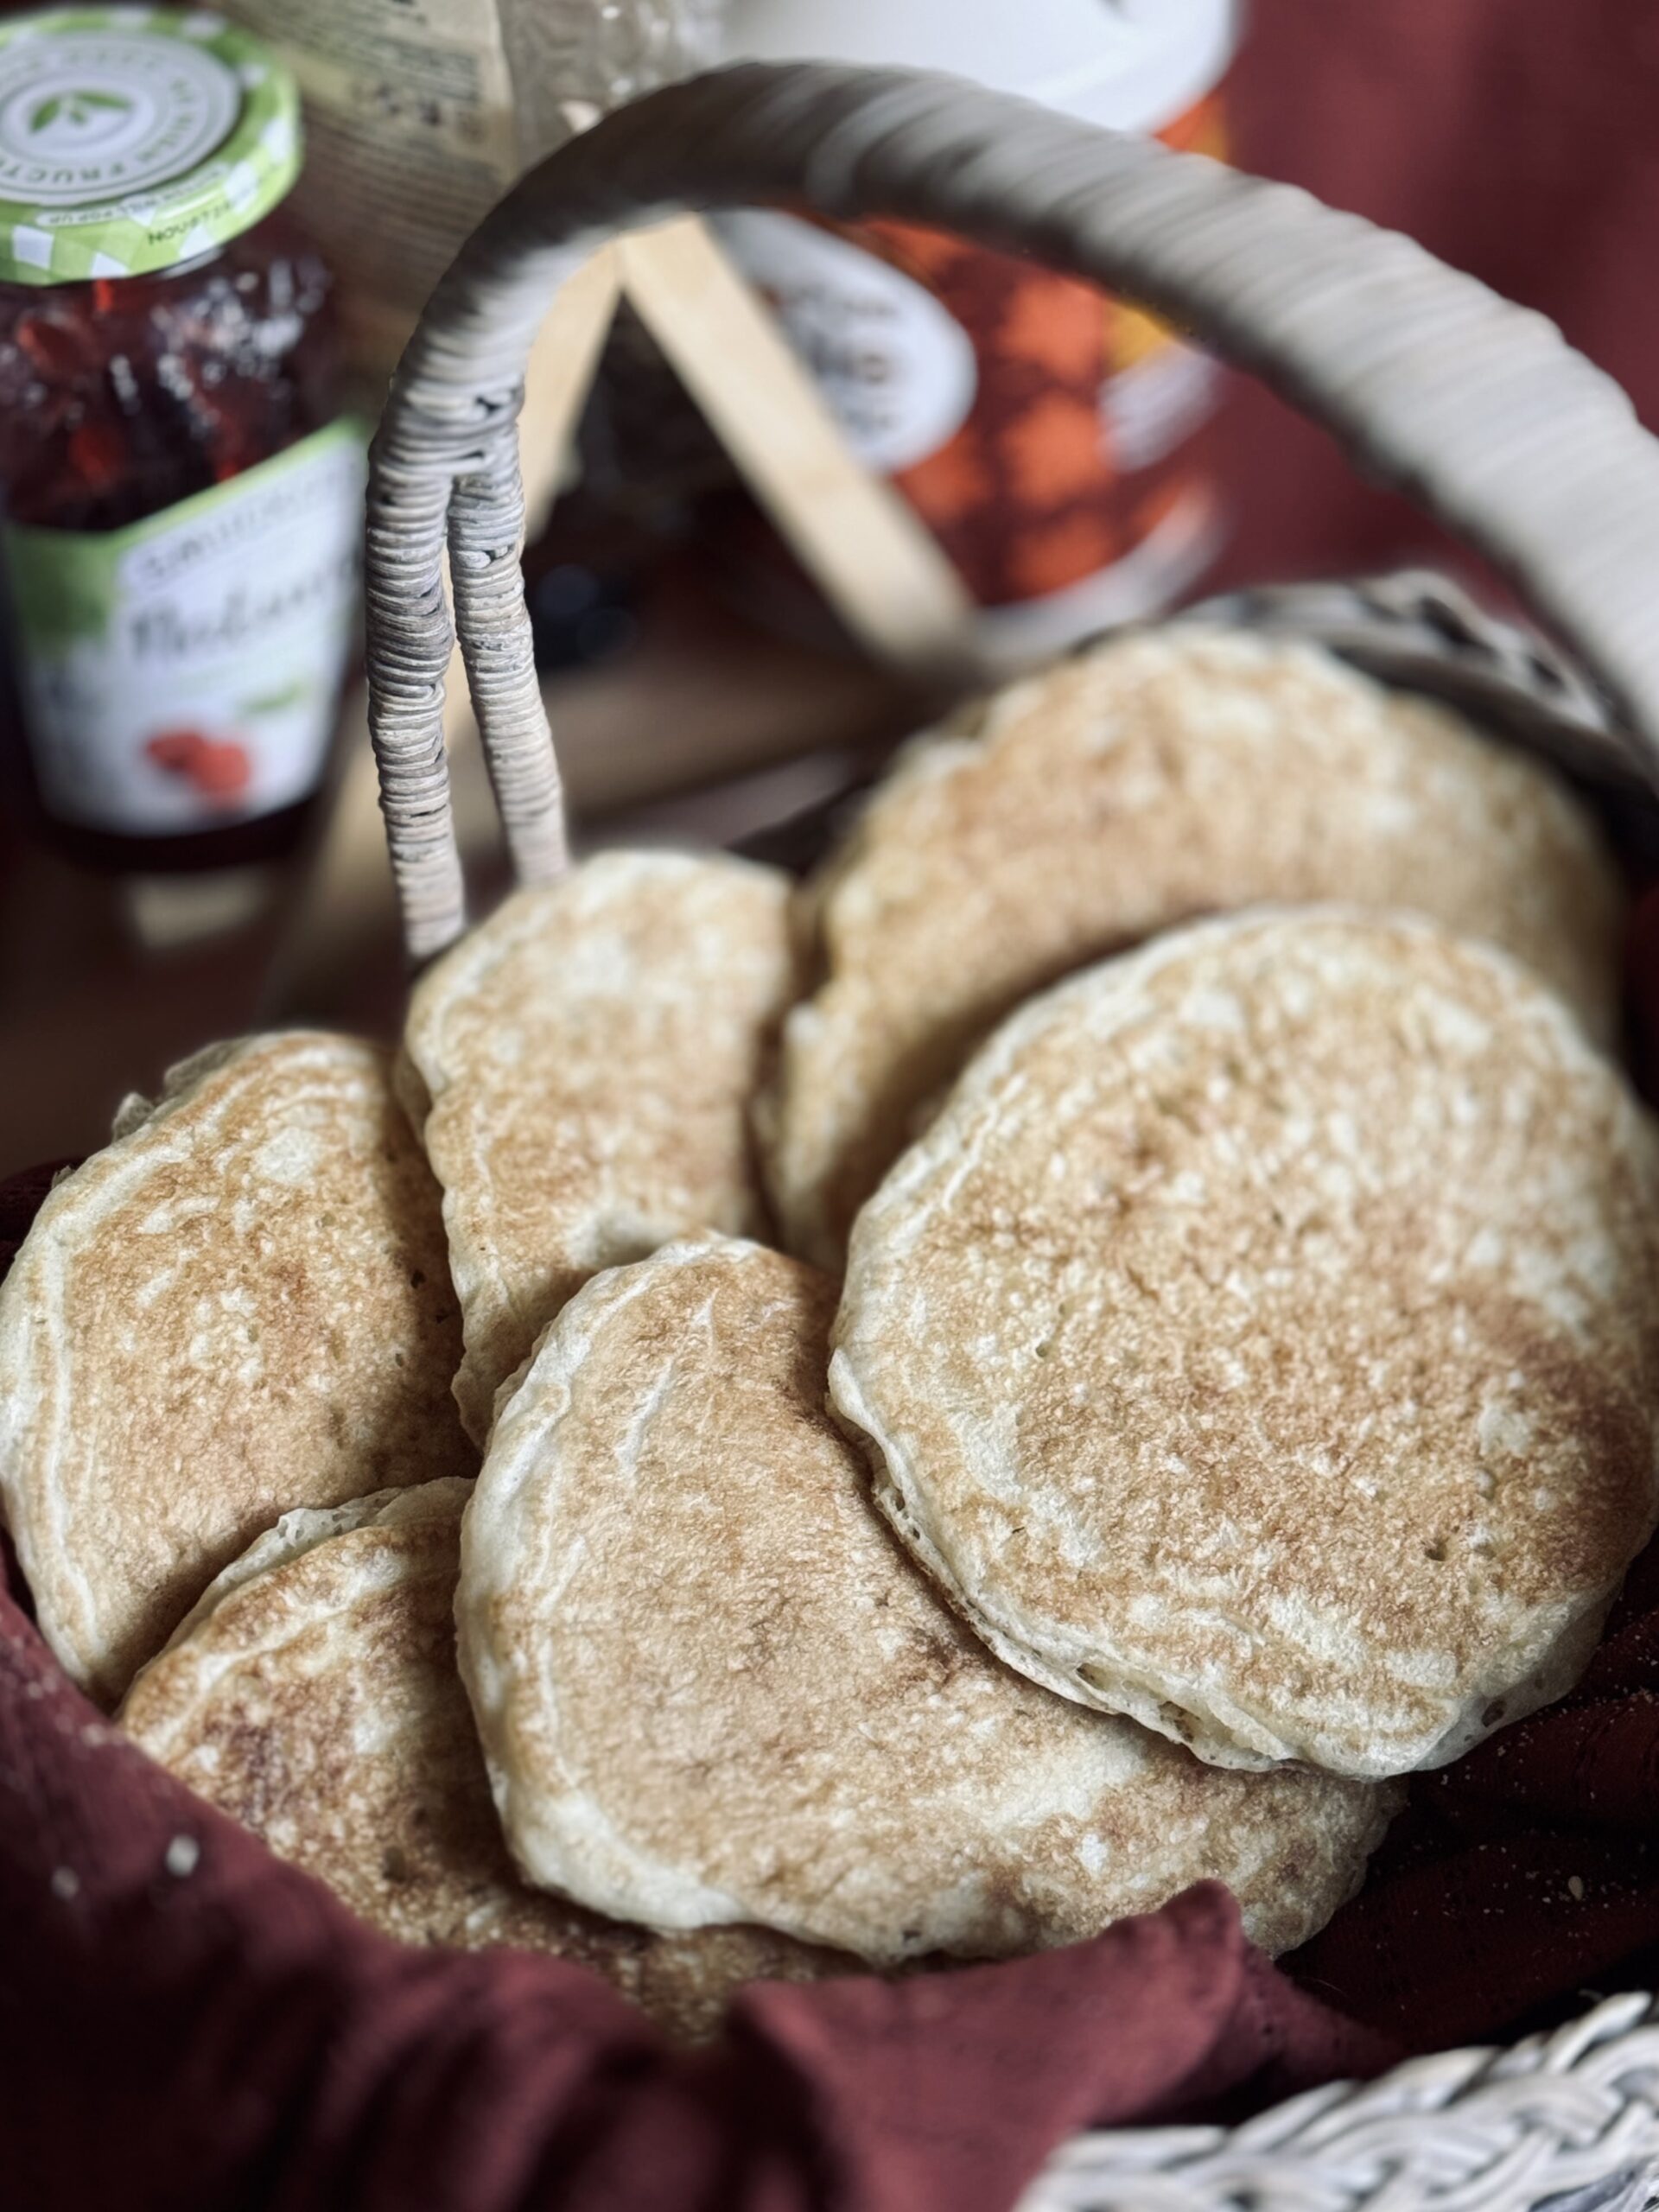
Pikelets
Ingredients
Instructions
-
Preheat a griddle to medium-high heat.
I use heat 6 (out of 10) on my gas griddle. -
Mix together all ingredients until fully incorporated.
-
Rest the batter for 5-10 minutes while the griddle finishes preheating.
-
Spray the griddle with cooking oil to prevent the pikelets from sticking. Give the batter one last stir to make sure the ingredients are well distributed.
-
Fry in 1/4 cup scoops (or scoops of desired size) until cooked through and golden, about 2 minutes per side.
You'll know the pikelet is ready to flip when you can see clear bubbles forming, and staying, on the surface of the mixture. -
Enjoy!
Servings 8
- Amount Per Serving
- Calories 211.25kcal
- % Daily Value *
- Total Fat 1.81g3%
- Saturated Fat 0.39g2%
- Sodium 622.76mg26%
- Potassium 87.78mg3%
- Total Carbohydrate 40.79g14%
- Dietary Fiber 1.65g7%
- Sugars 5.33g
- Protein 8.1g17%
- Calcium 39.01 mg
- Iron 2.93 mg
- Vitamin E 0.15 IU
- Vitamin K 0.52 mcg
- Thiamin 0.53 mg
- Riboflavin 0.32 mg
- Niacin 3.61 mg
- Vitamin B6 0.08 mg
- Folate 42 mcg
- Phosphorus 78.75 mg
- Magnesium 24 mg
- Zinc 0.78 mg
* Nutrition values are auto-calculated and should be used as an approximation only. In addition, the values may not accurately represent the serving divisions of the recipe, instead representing the nutrition of the recipe as a whole.
Notes
- Storage: These are best eaten fresh, but will store in the fridge for three to five days, or on the counter for one to two days. Toast or microwave to warm.


