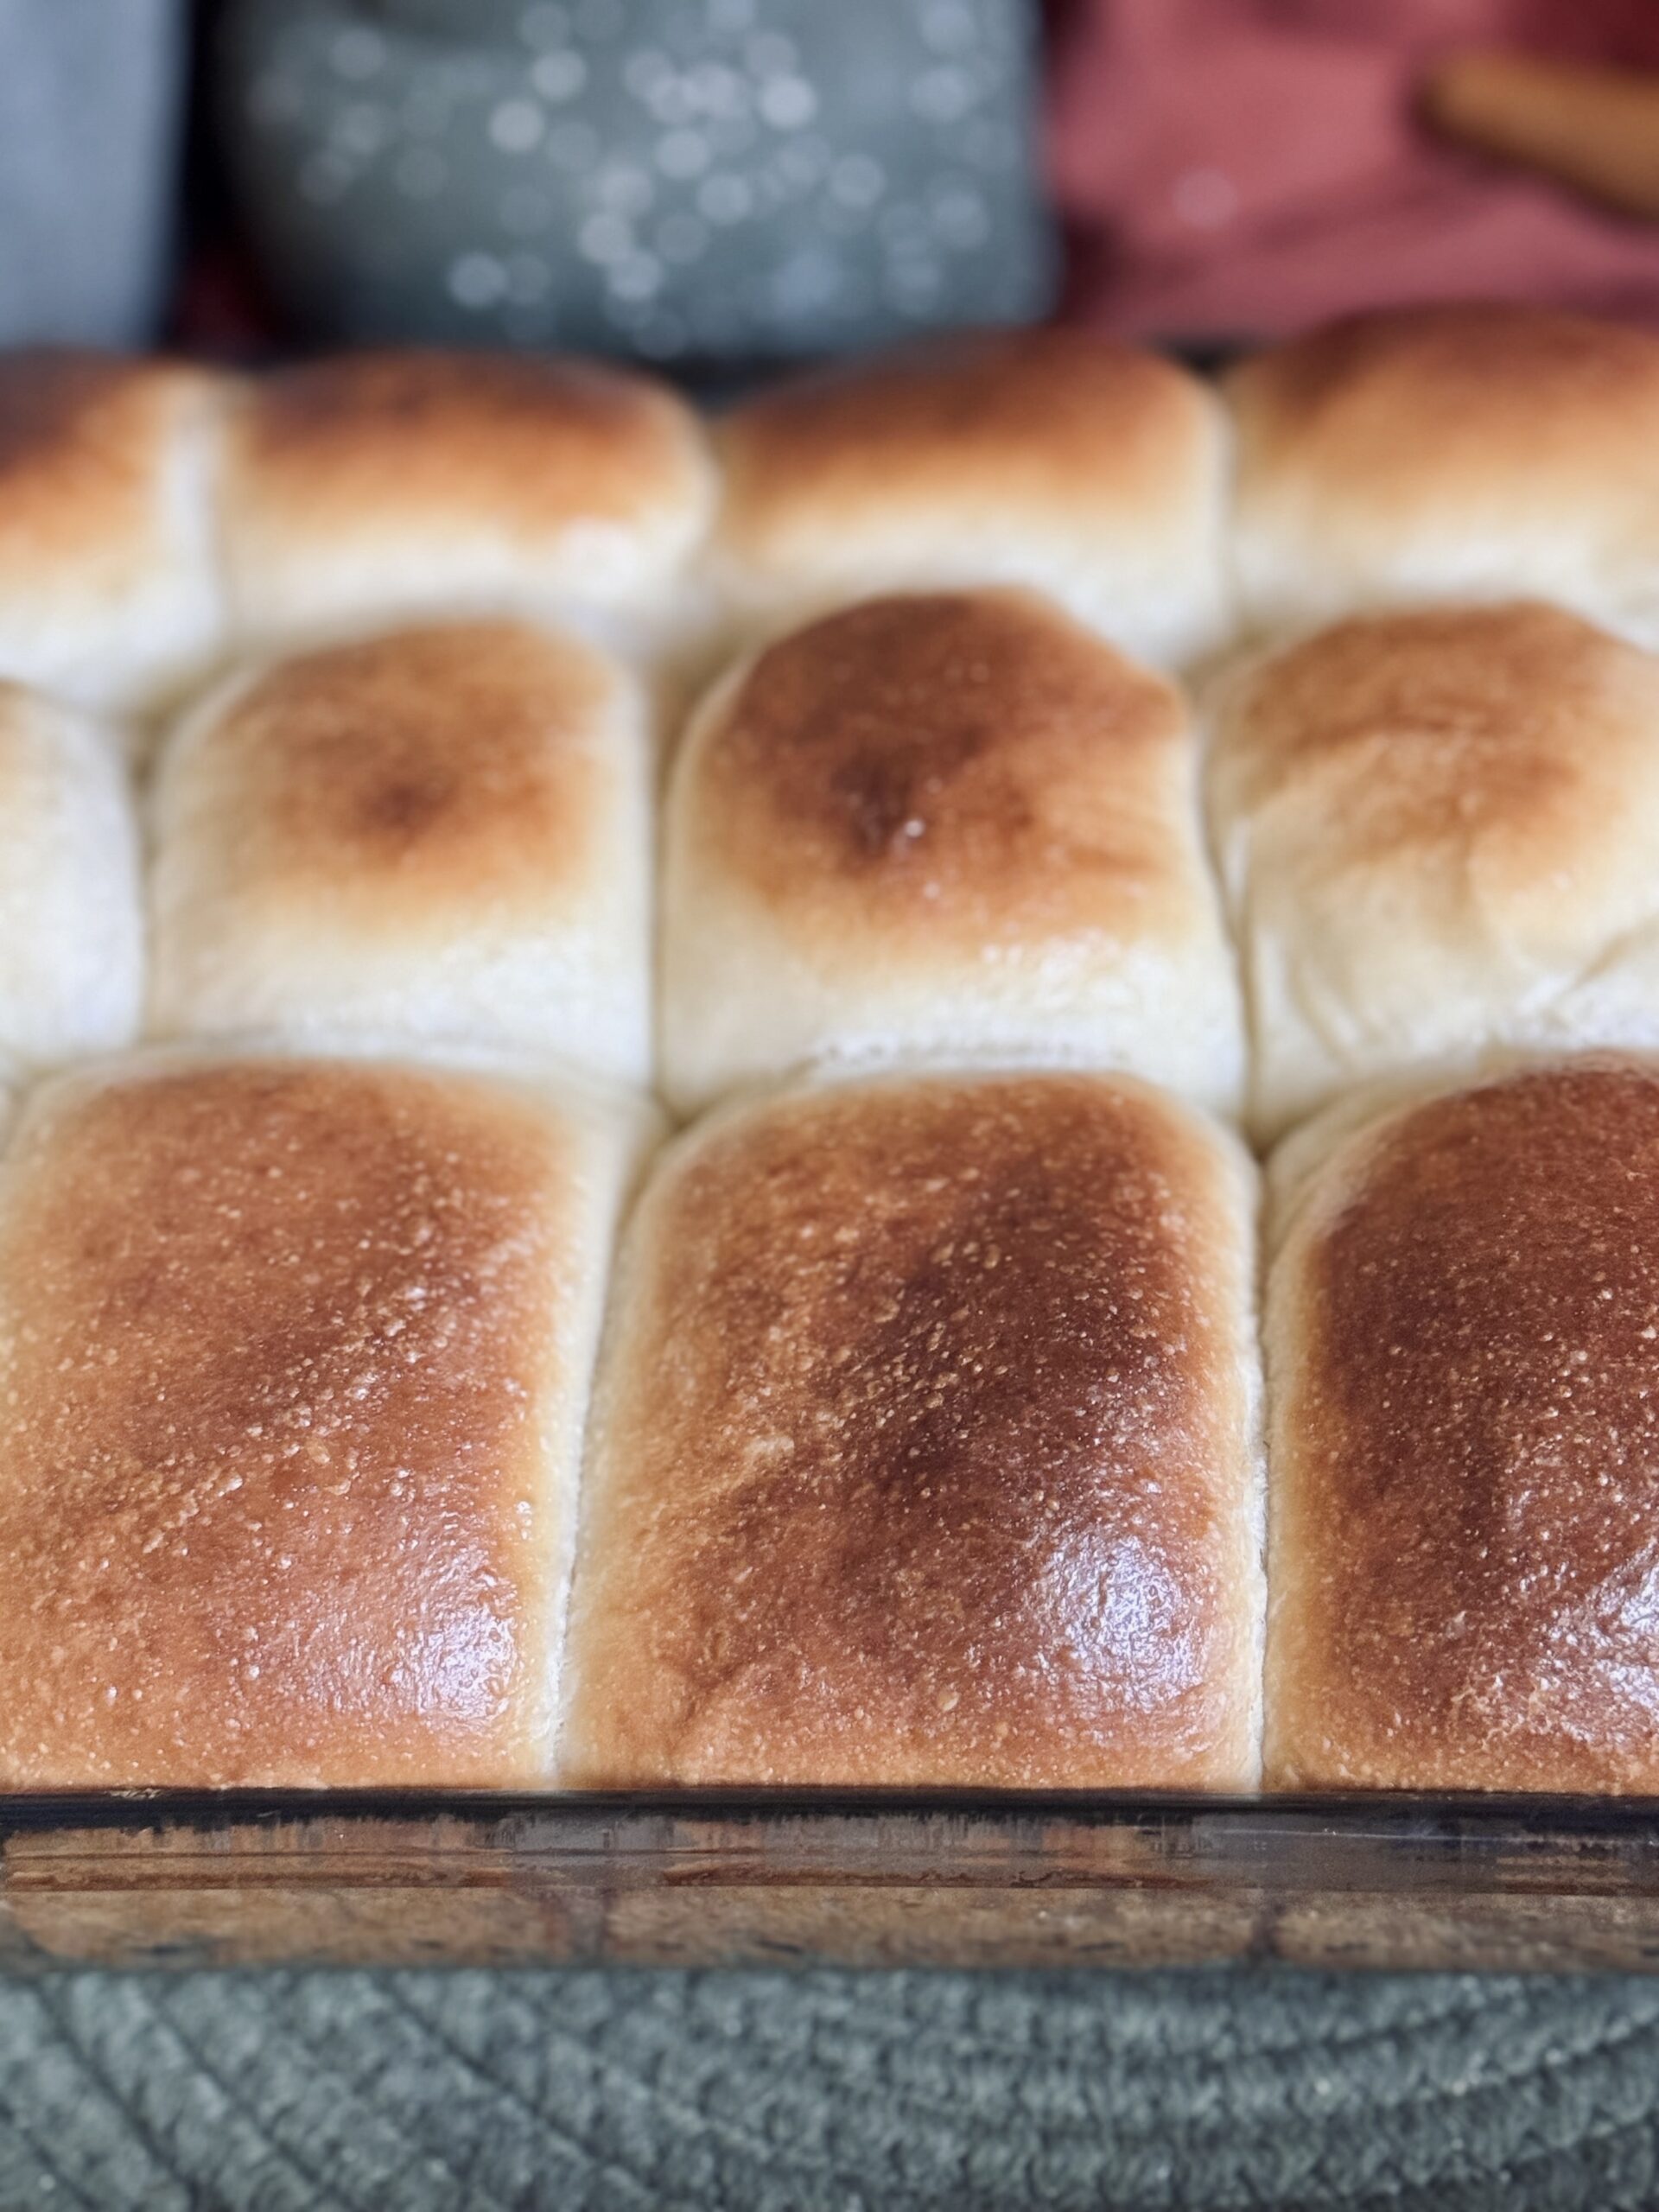
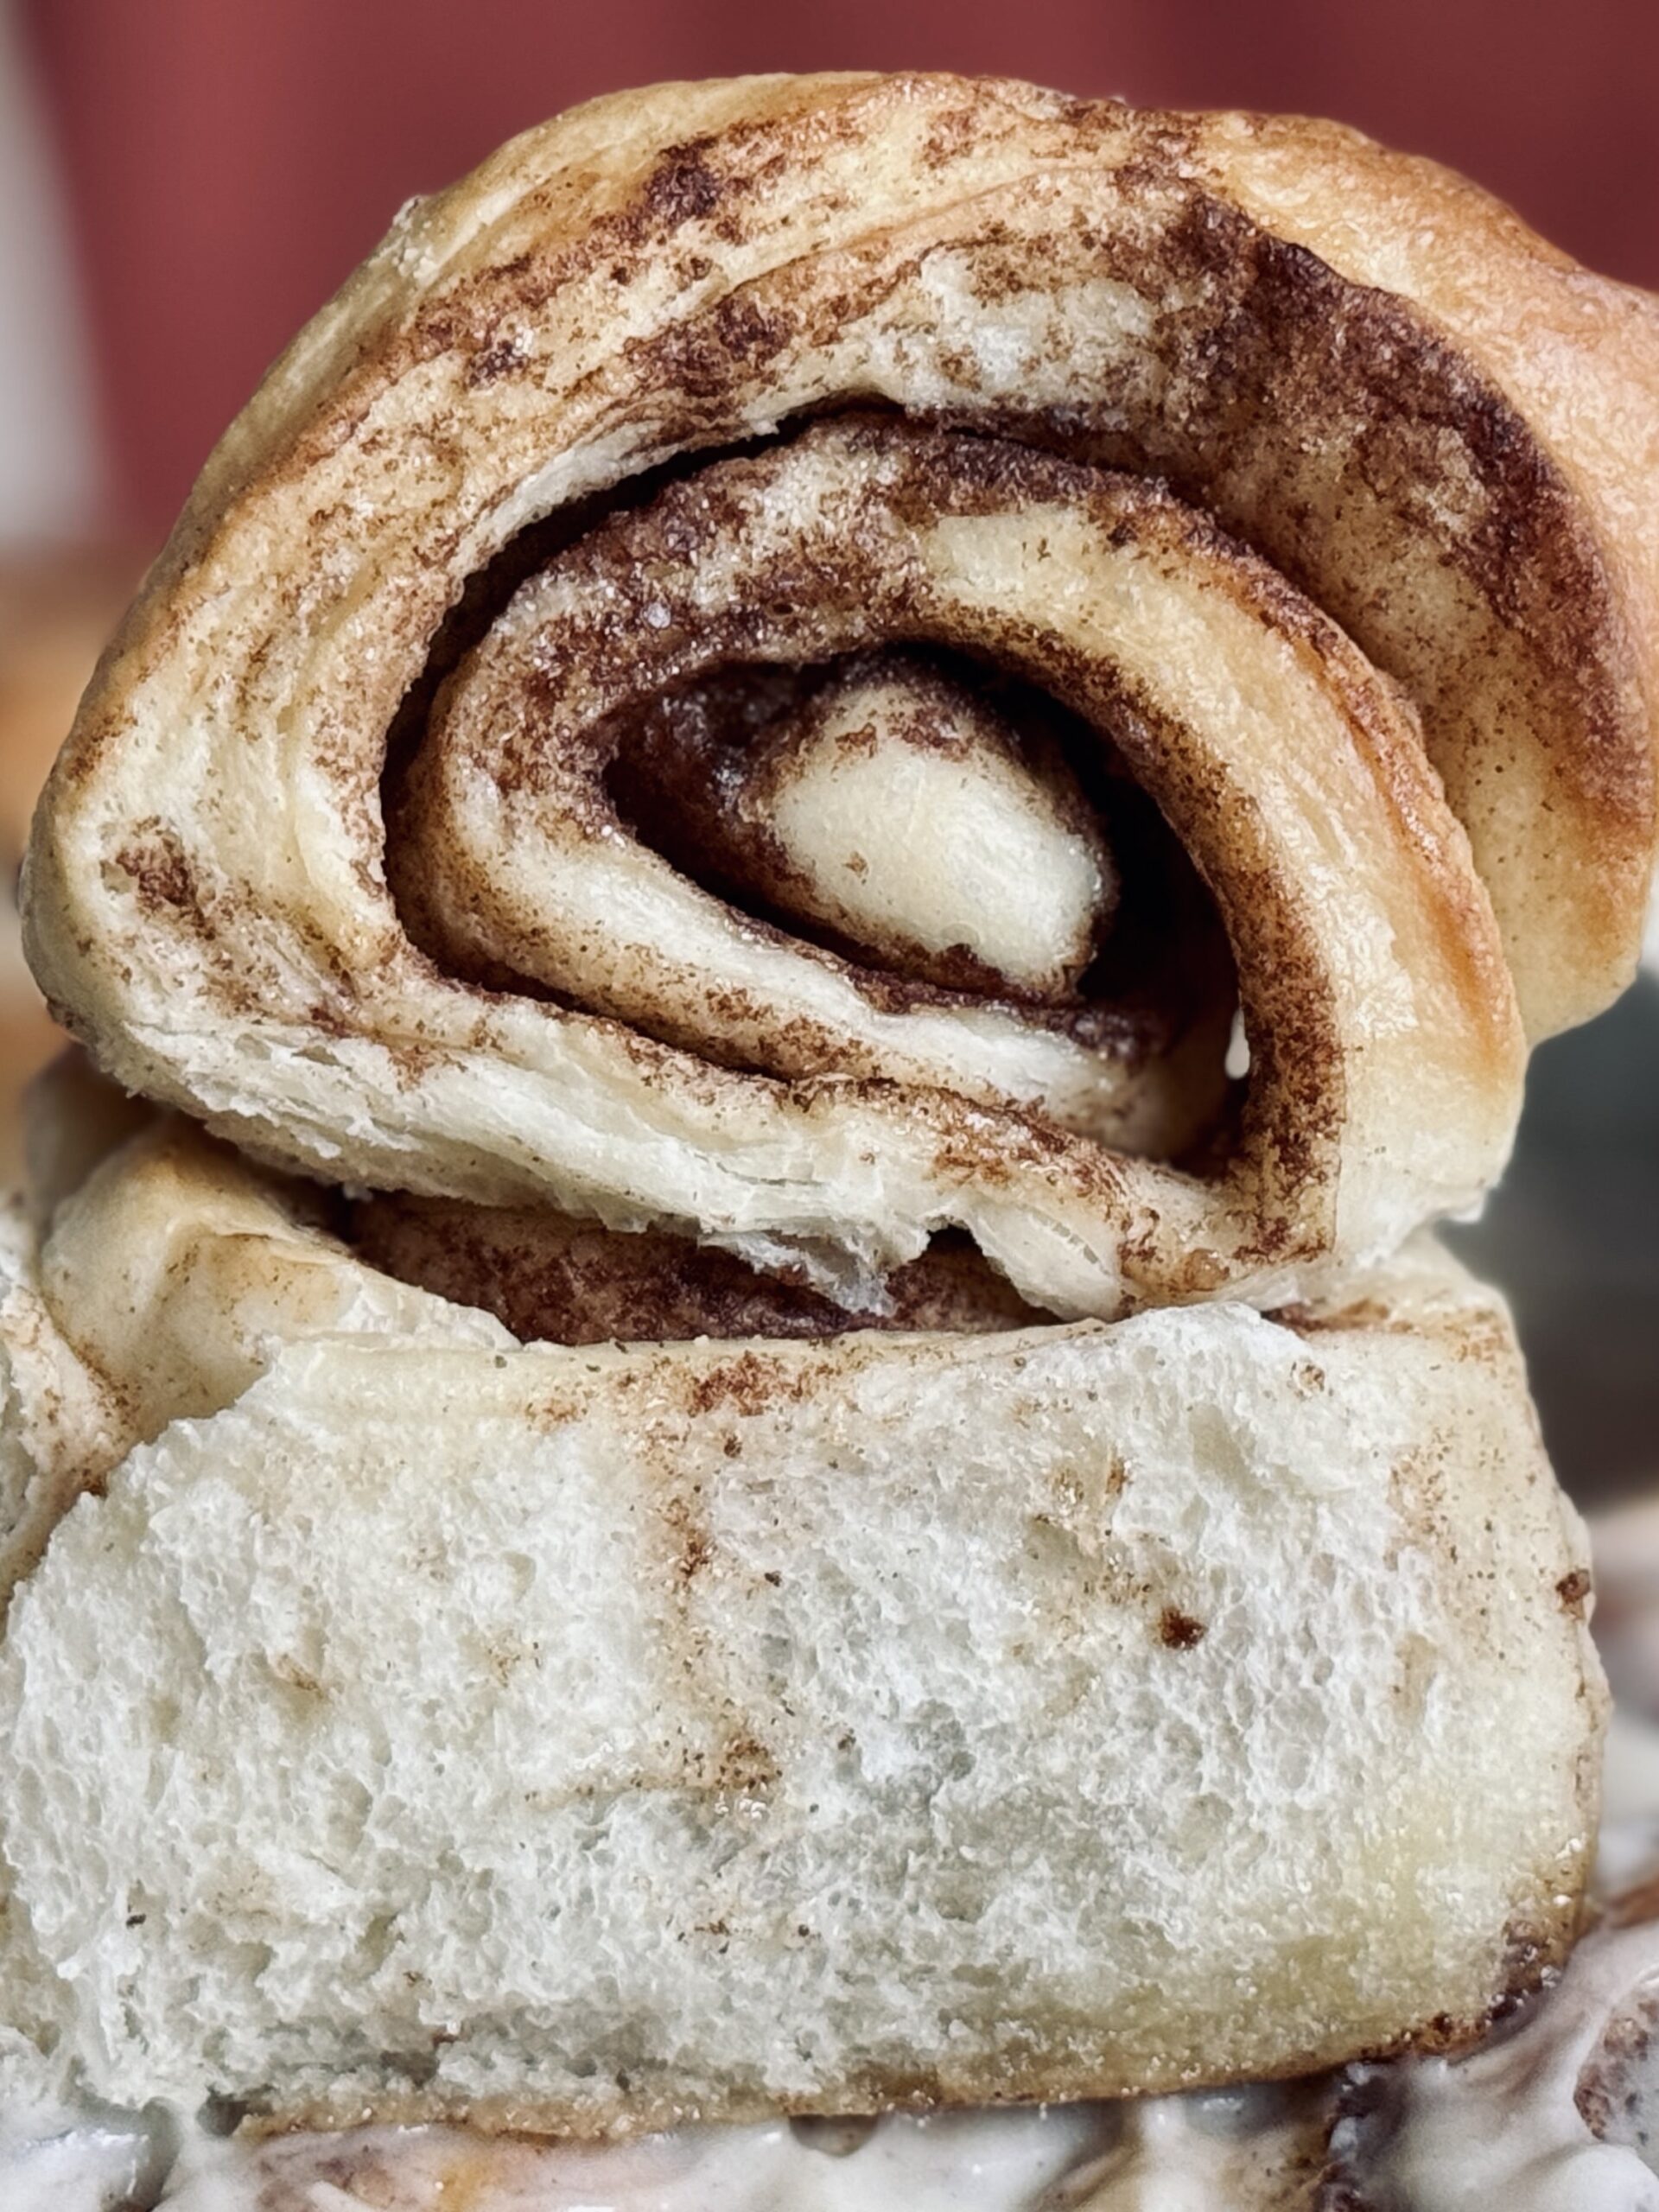
About This Recipe
What Are Hot Cross Buns?
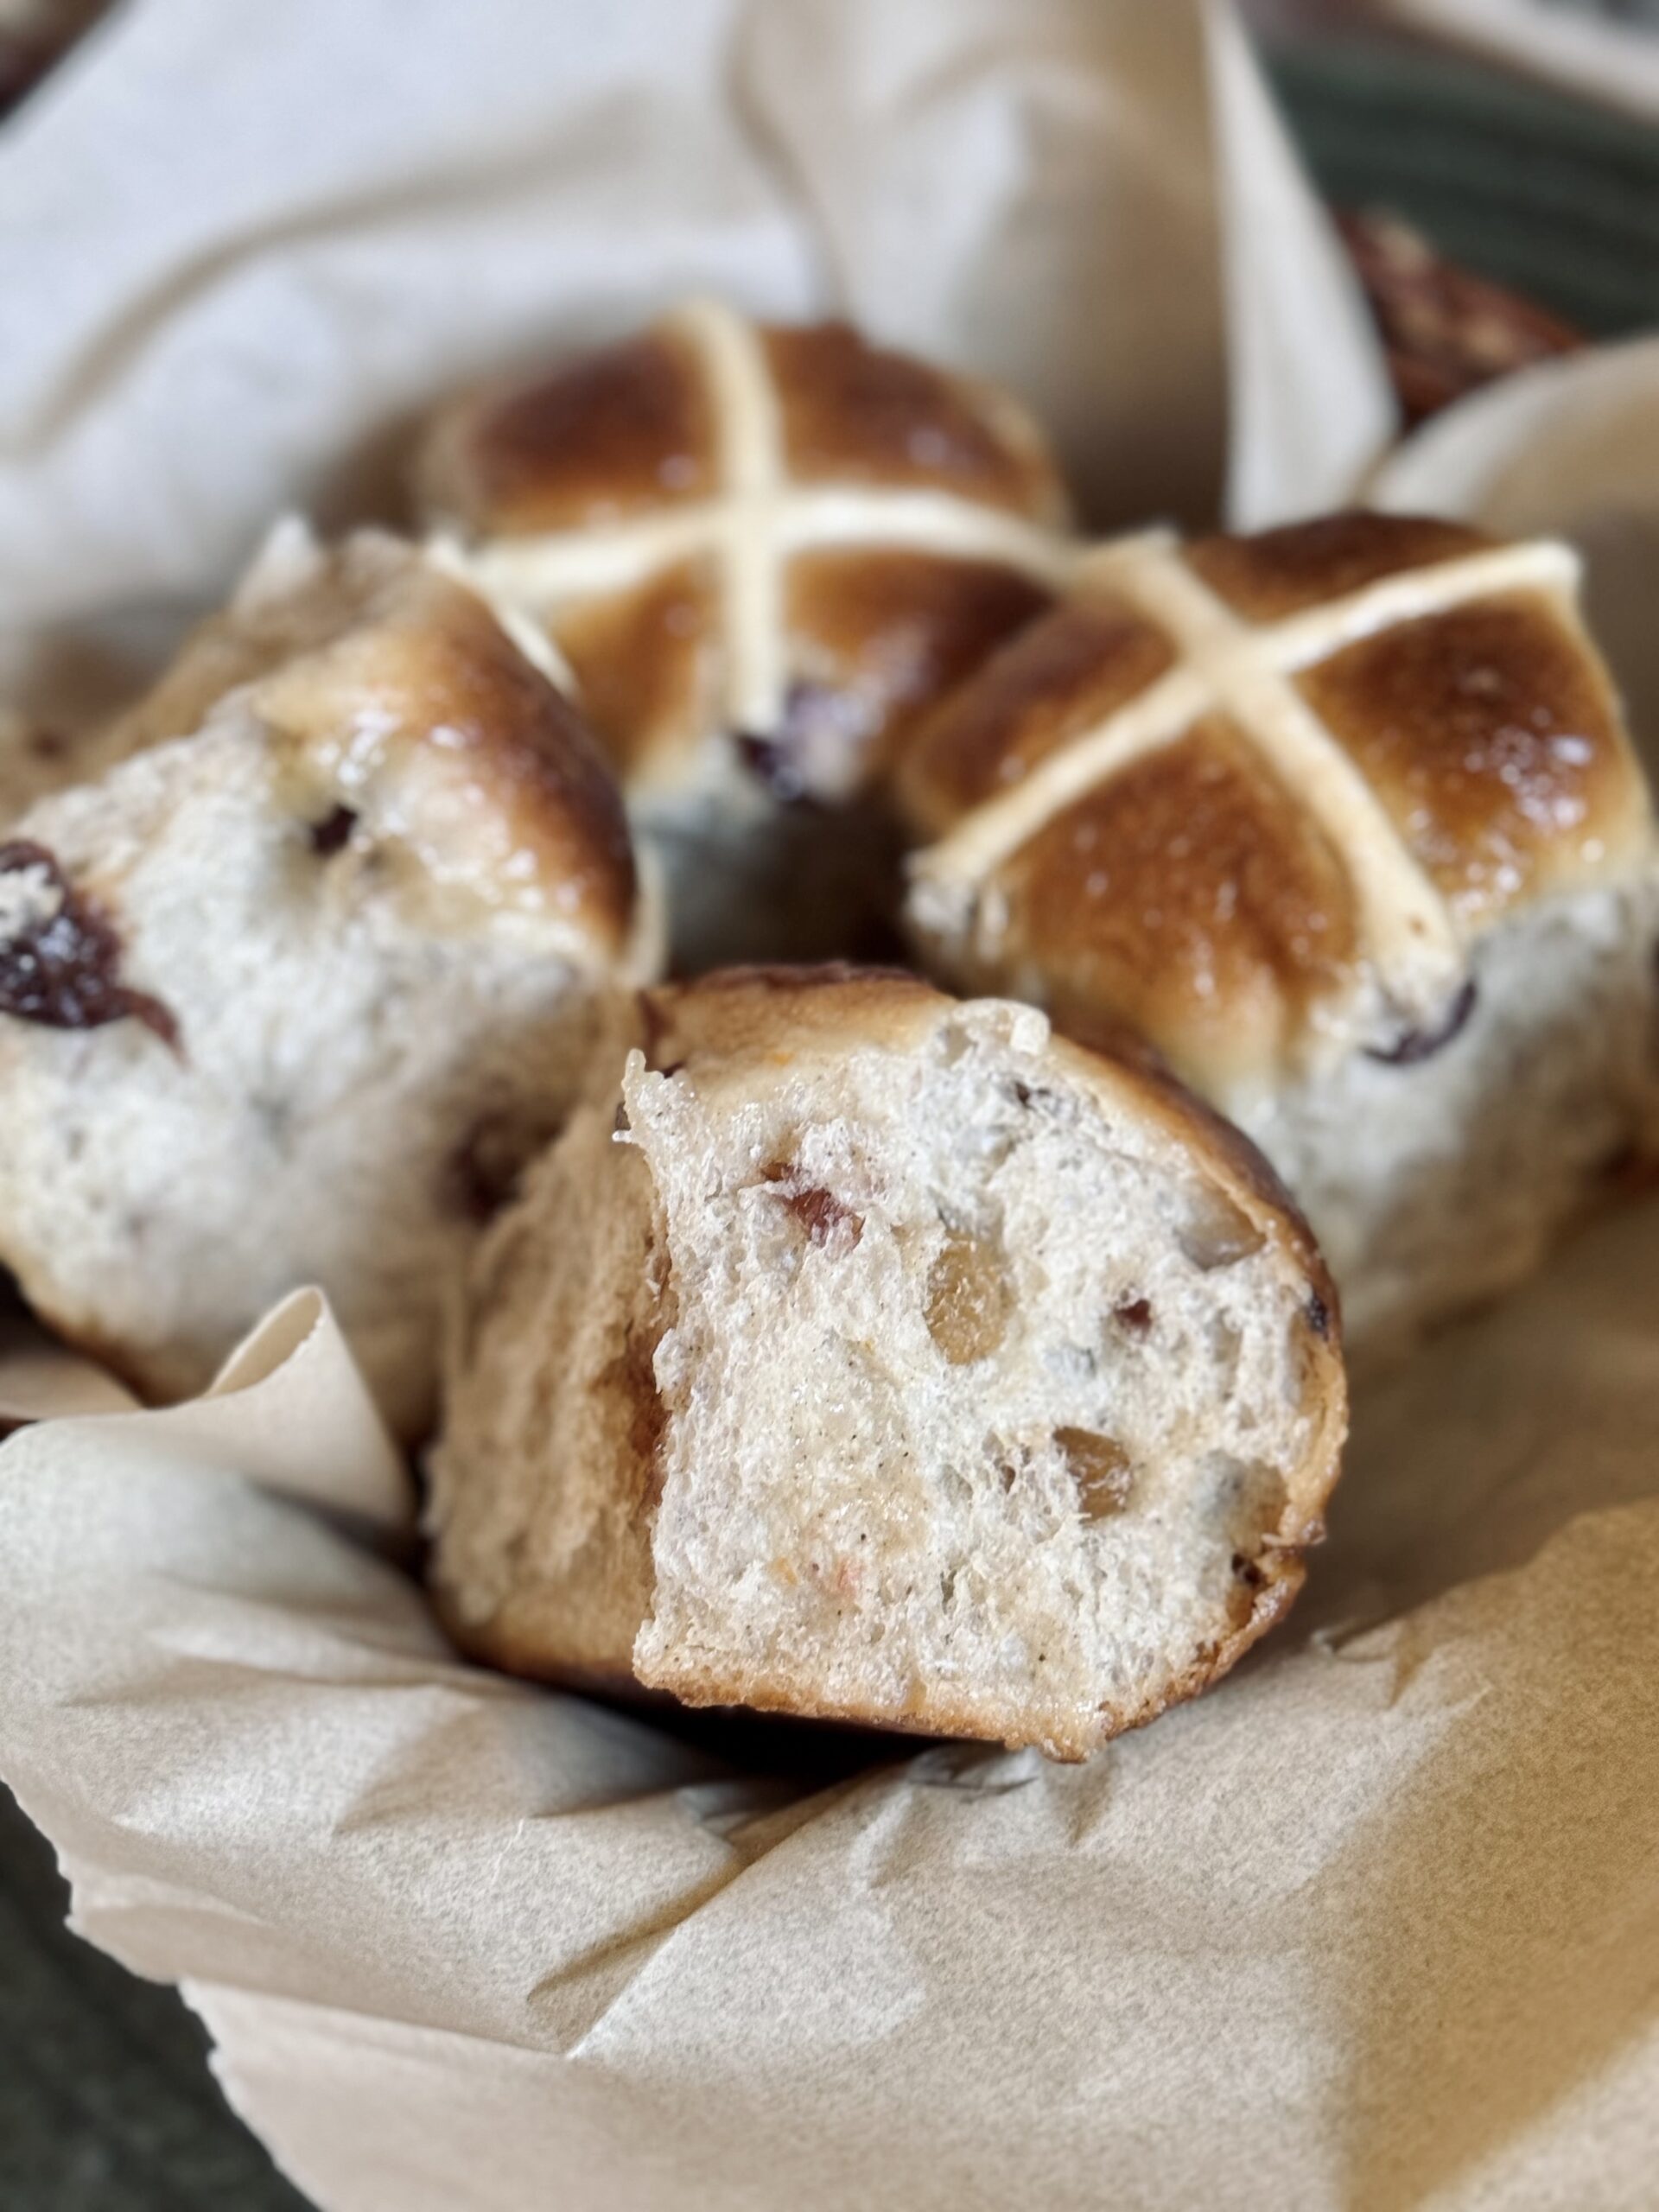
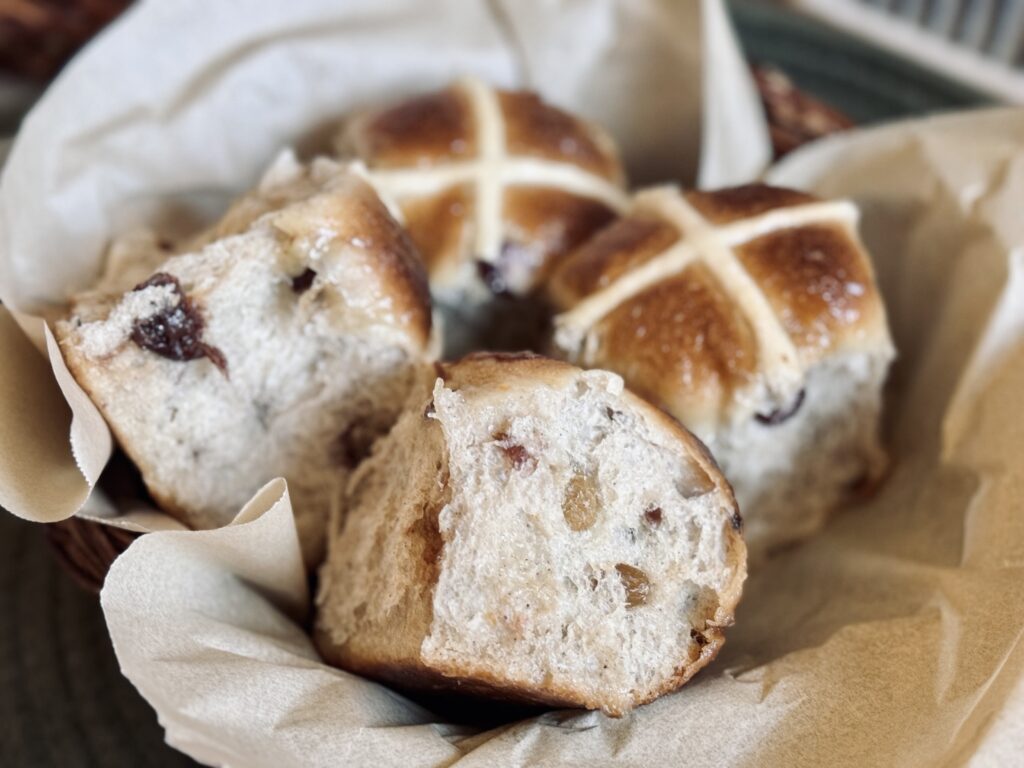
Hot cross buns are a type of sweet, spiced bun commonly made with currants or raisins and marked with a cross on the top. They are a cross between a basic white dinner roll and a sweet cinnamon roll, and are typically associated with Good Friday, the Friday before Easter Sunday, in many countries. The cross on top of the bun represents the crucifixion of Jesus Christ, while the spices used in the bun symbolize the spices used to embalm him. Hot cross buns are traditionally eaten toasted with butter, and they are a popular Easter treat.
What I Love About This Recipe
This recipe does not skip on the steps that make these buns moist, flavorful, and shelf-stable. As a recipe that you are probably only going to make once a year, why not put everything into it? I use orange to compliment the fruit and spices inside the buns, a unique enhancing feature which can be eliminated if you choose. Though this dish is traditionally served toasted with butter, these rolls are a delicacy straight from the pan.
Considerations For Enriched Doughs
Enriched doughs, like hot cross buns, contain ingredients that can make it difficult for gluten to come together. Fats (usually butter) and sugars in medium to large amounts mean it is necessary to develop the dough to a windowpane up front, in order to have the best fermentation experience. Without gluten, the dough simply cannot hold in air the same way. A dough that is not developed properly may taste flaky, like a biscuit, instead of tender or airy (as is the goal).
On a scale of 1-10, one being unenriched (like country bread) and 10 being heavily enriched (like panettone), this bread is about a “5” – it contains a medium amount of sugar and butter, but not an obnoxious amount. With any enriched dough, though, I always resort to my stand mixer for the best experience. You’ll find this dough needs 15-20 minutes of kneading to achieve a windowpane. Especially because of the addition of butter, I always find this process simpler and more efficient using my stand mixer.
Some home mixers are not built for kneading bread efficiently. Check the manual for your mixer, and be sure it is safe to endure mixing times of up to thirty minutes, just to be on the safe side. The most complicated bread in the bread-making world is panettone, which requires mixing times of up to sixty minutes. It is so very important not to overwork the dough or the motor on your mixer. I love my Ankarsrum stand mixer, which is more than capable of living up to the task of kneading even the toughest of doughs. If you do not own a mixer, it is possible to knead by hand, as long as you are willing to endure the task of kneading to a windowpane up front. You can use any preferred method, or find ideas in my video on methods of gluten development, here.
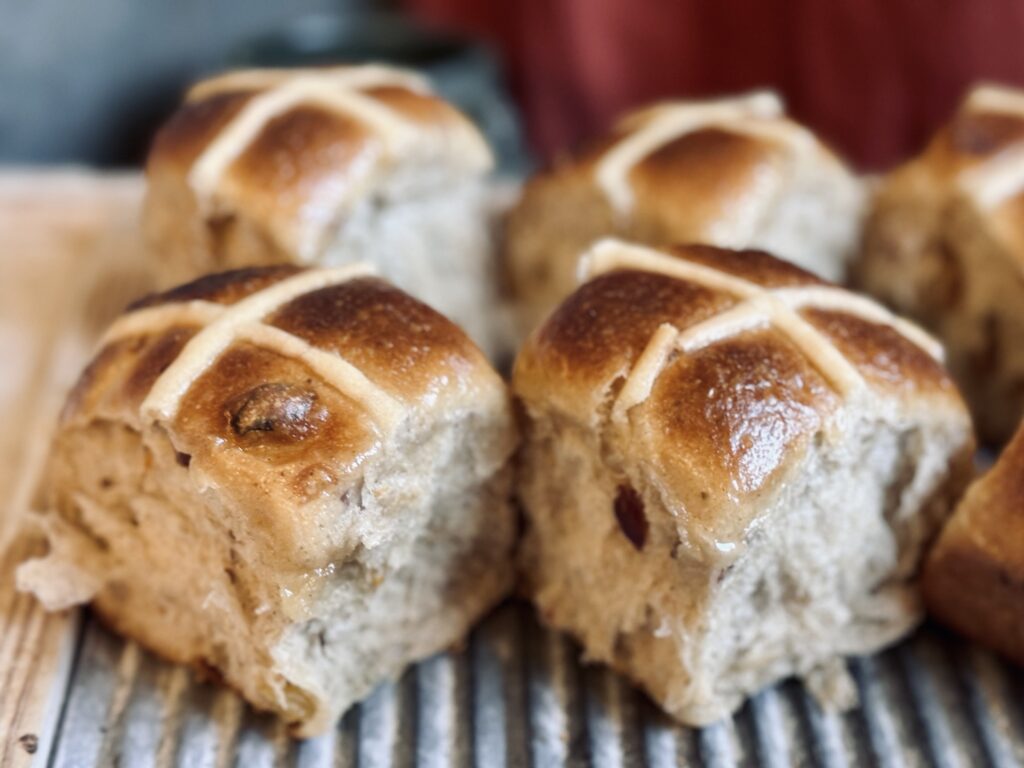
The “Why” Behind The Starter Build
Why Build A Starter (Levain) For This Recipe?
A “sour” flavor is not generally preferred for sweet breads. By building a levain, we can use a formula that helps to reduce overall sourness in the starter and in the bread. To do this, it is important to understand the starter, which consists of yeast and bacteria, and how the formula works to reduce sourness.
Sourness comes when bacteria are overpopulating in your sourdough starter, meaning they are out of balance with the yeast. This happens naturally, as bacteria reproduce faster than yeast do, especially in ideal climates. To limit sourness, it is important to favor the yeast in starter care. In this levain formula, I do just this in order to limit acidity and reduce overall sour flavor.
Stiff Starter
By giving the yeast more food (this means they can continue to eat, multiply, and produce CO2) and reducing the amount of water (bacteria favor wet climates), we can effectively reduce the amount of acidity in our starter at the same percentage of rise as a starter made with equal amounts of flour and water.
Sugar
This is one of the most important components of this levain – do not skip it! Sugar is a powerful tool. Added in low amounts, it feeds the yeast and speeds up fermentation. Added in high amounts, it dehydrates yeast cells and potentially stops fermentation altogether. Added in just the right amount, the yeast still thrive, but the bacteria suffer. 10-15% sugar in a recipe or levain creates something called “osmotic stress.” This stress to the bacteria limits their ability to reproduce, which limits acid buildup, thereby limiting overall sourness coming from the starter.
Temperature
In order to favor the yeast, I aim to keep this levain between 70-75 F (21-24 C) and use it when it has approximately doubled in size. Yeast produce most abundantly in these temperatures, while the bacteria in your starter (there are two types – lactic and acetic) favor temperatures both higher and lower than this. This specific temperature helps provide balance to the starter, which translates to how efficiently the starter ferments the bread and how mild the overall sour flavor is.
Optional Kneading
Have you ever heard of developing gluten in your starter? While it is not essential, kneading this starter for just a few minutes will help trap air, introducing oxygen and stimulating yeast growth. It also provides structure (by creating a slightly more elastic gluten network), which helps the levain rise and maintain peak more efficiently.
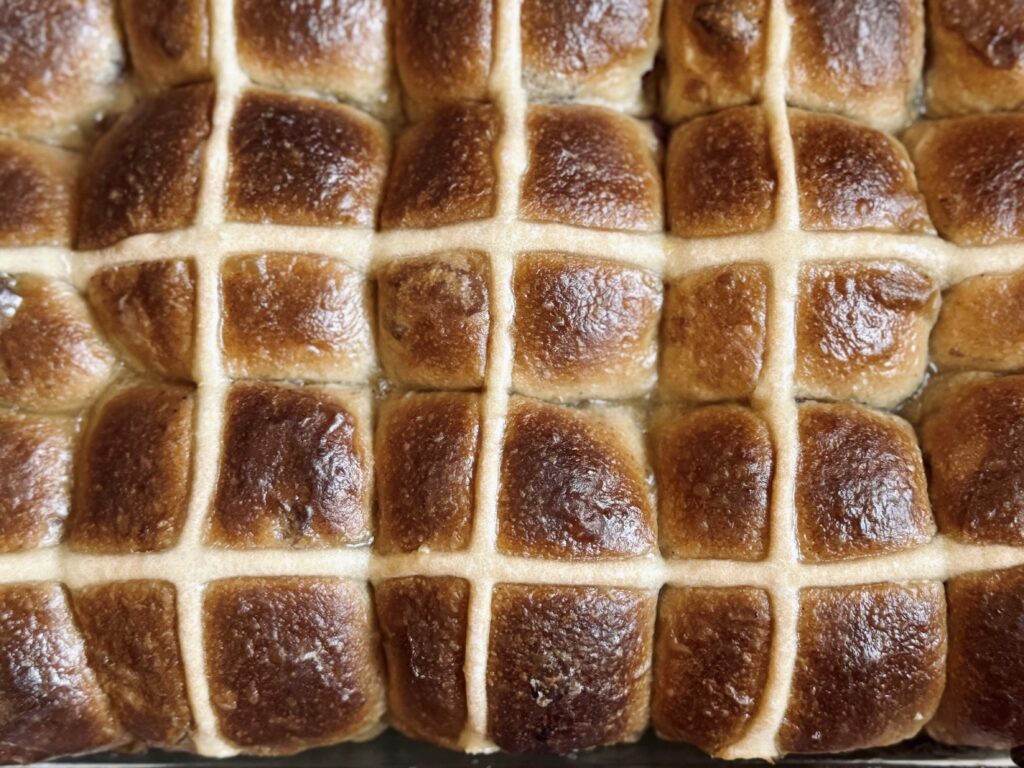
The “Why” Behind The Dough and Process
Tangzhong
The thing about hot cross buns is that they are best enjoyed fresh from the oven, typically stale by the next day (if not a few hours later). For this reason, I knew I had to include a tangzhong!
Tangzhong is an Asian technique: the trick to making, and keeping, the interior of bread moist, soft, and plush. Without it, the bread would only taste its best right out of the oven, and would be dry after just twenty-four hours. Tangzhong aids in moisture retention, which is where all the benefits come in.
Because we have taken the time to add the tangzhong, you can make these rolls in advance without worry. I promise you won’t regret taking the extra time for this! Read more about tangzhong here.
Milk Mixture
This is a technique that stems from the beginning of my bread journey, when I first started making bread doughs using commercial yeast. I have kept this technique for a long time. Recently, though, I have started to change this technique, moving away from heating my milk, butter, and sugar on the stovetop. This is because a well-kneaded enriched dough gains extra heat through friction during mixing; therefore, heating the ingredients is not necessary (and could even bring too much warmth to the dough, depending on your mixer). Despite this, let me tell you my previous reasoning as to why I created a “milk mixture” in this recipe:
By heating the liquid in the recipe with the sugar and the butter, we are able to simultaneously: a) create warmth that gets the yeast moving quicker, b) fully dissolve the sugar, and c) warm the butter without having to remember to soften a stick beforehand. There is not enough butter in this recipe to create greasy dough, as is the case with brioche, so melting (or, partially melting) it is definitely okay.
Let’s talk about the specific ingredients more in-depth:
Milk
Milk is a tightening agent in bread, meaning it makes the gluten network stiffer and stronger, often increasing the time the dough ferments. This is because it takes twice the air to blow up a stiff balloon (our gluten network). However, it also adds a really good flavor and texture to sweet breads. It makes the bread denser, softer, and creamier. It also helps the bread darken in the oven. For these reasons, I love to use milk in my sweet recipes.
Brown Sugar
This recipe contains a medium amount of sugar, roughly 24%. I definitely had to increase the percentage of starter in this recipe in order to accommodate this sweet bun. This amount of sugar works to sweeten; however, it also has other effects -creating osmotic stress, which helps to reduce sourness, and pulling necessary moisture from the dough (which I have also accounted for in this recipe).
Butter
Butter is a tenderizer; it makes the dough fragile and soft. The amount of butter here is about 17% of the total weight of the flour, small enough to not interfere with the gluten network (too much), but large enough to help keep the bread soft during baking.
Bread Flour
Bread flour increases the strength (elasticity) of the gluten network, which is helpful for enriched doughs containing butter and sugar (ingredients that can interfere with gluten). Bread flour also helps the dough come together more efficiently when kneading, reducing the total amount of necessary mixing time. While I used to make this recipe with a blend of all-purpose flour and bread flour, I now use bread flour only, just for the incredible way it holds the dough together. I use King Arthur Bread Flour, protein content about 12.7%, in any recipe that calls for bread flour (unless otherwise noted).
Salt
Salt helps bring out flavor (without salt, bread would taste almost like nothing), but also has notable effects on the dough. Salt is a tightening agent, meaning it, in addition to milk, helps create a more elastic (strong) dough. It does slow fermentation, as well as gluten development, but these are things we must account for in the recipe because we cannot have a recipe without salt. It is important to use just the right amount, enough to bring out the flavor, but not so much that the loaf cannot ferment or come together. I use the standard – 2% salt – in all my recipes, unless otherwise noted.
Spices
The spices in this recipe are a personal blend of choice, and can be adjusted based on your personal preference, as well as what you currently have in your spice cabinet. The purpose of the spices is that of history and tradition: to represent the spices used to embalm Jesus. Cinnamon is the main spice here, but take care not to add more than I have directed in the recipe (a teaspoon). Cinnamon is a tightening agent, meaning it creates a more elastic dough, which slows fermentation. Too much cinnamon, and it is possible to nearly halt fermentation altogether. I talk a little bit more about this topic on my blog post about gluten, which you can find here.
Orange
I added orange (zest, extract [in the cross], and juice [in the glaze]) to compliment the fruit and spice blend. It’s a flavoring pair of choice; it does not have a significant effect on the dough. All of the orange can be eliminated if you choose; however, it is, most certainly, a fun compliment to this recipe.
Eggs
Eggs add moisture and fat to the dough, contributing to a tender texture. They help prevent the buns from becoming too dry, which is particularly important given the enriched nature of the dough. They also act as a binding agent, holding the dough together and providing structure. The proteins in eggs coagulate during baking, helping the buns hold their shape while maintaining a soft crumb.
Furthermore, eggs incorporate air during mixing, which contributes a better fermentation, creating a lighter and fluffier texture. Last, eggs enrich the dough, adding a subtle richness that complements the sweetness of the buns. This is particularly noticeable in the soft, slightly custard-like crumb typical of hot cross buns.
Fruit
While the spices in hot cross buns are meant to represent the spices used to embalm Jesus, the fruit is meant to symbolize the sweetness of resurrection and life. Raisins or currants, specifically, are the most common addition to hot cross buns. In this recipe, I leave the fruit open to choice, as any combination of dried fruit will come out wonderfully. Alternatively, you could replace the fruit with chocolate chips for a fun twist.
Mixing
Because butter and sugar can interfere with gluten’s natural ability to come together over time, it is preferable to knead this dough to complete development up front. That’s why I choose to use a stand mixer – because the process for this can be kind of enduring by hand (though it is possible). Using a stand mixer ensures a perfectly and effectively built dough with minimum effort on the baker’s part. Watch this video for all the ways to develop gluten in your bread.
I want to be more specific in this updated post about how to develop the dough properly in the stand mixer than I was when I originally published this recipe. This way, you can be successful mixing this dough using any stand mixer, or even by hand.
The ultimate goal: to knead this dough to a complete windowpane. When you pull up on a section of dough, it should not tear. You should be able to stretch the dough to a point where you can see through it before it breaks. The dough will show other signs of being ready, too, such as clinging to itself or forming a ball around the dough hook. If you have a KitchenAid or similar mixer, the stand mixer may start to “jump” when the dough builds sufficient strength.
The first step to achieving this is to mix the dough on a low to medium-low speed until the ingredients are fully combined and the mixture forms one cohesive mass of dough. This step simply brings our dough together and hydrates the proteins in the flour before the speed is increased and the focus shifts from combining ingredients to forming gluten. Too fast a speed during this initial mix can start to organize gluten that is barely created, negatively impacting the development of the dough.
Next, we increase the speed and knead the dough forms a windowpane. The speed you choose is up to you and what your mixer (and dough) can handle. The basic guidelines are this:
- A lower speed will take longer, while a higher speed will knead the dough much faster.
- A lower speed will keep the dough elastic (strong, not stretchy), while a higher speed will create extensibility (stretchiness).
- The dough temperature should not exceed 78 F (26 C).
- Use the guidelines from your mixer to determine what it is able to handle.
It can be helpful to add certain ingredients later in the mixing process, after gluten has already started to come together. Adding ingredients in chunks can help reduce overall mixing time and keep the dough temperature below 78 F (26 C).
To do this, skip the milk mixture and just use cold milk, granulated sugar, and softened (room temperature) butter. Add the milk in the beginning with the rest of the ingredients, but hold the sugar and butter. Mix the dough until you can pull up on it without it tearing. Then, slowly drizzle in the sugar until dissolved. Last, incorporate the butter, one tablespoon at a time, then continue mixing until your dough has formed a windowpane.
Bulk Fermentation
Letting the dough rise as much as possible, but not too much, contributes to the airiest of loaves. In an attempt to favor the yeast and reduce sourness, I recommend keeping the dough temperature between 70-75 F (21-24 C). Watch the dough and ferment until it doubles in size (at least; about ten to twelve hours). If you developed the dough well in the stand mixer, you can let it triple in size before shaping. Though I favor an overnight method for this dough, use your knowledge of your environment to bulk ferment this dough appropriately.
Shaping
Rolls are one of the easiest to shape – just divide them and shape them into rounds by tucking all the ends underneath, then cupping your hand over the top and moving it in a circular motion really fast to smooth out the top.
The Cross
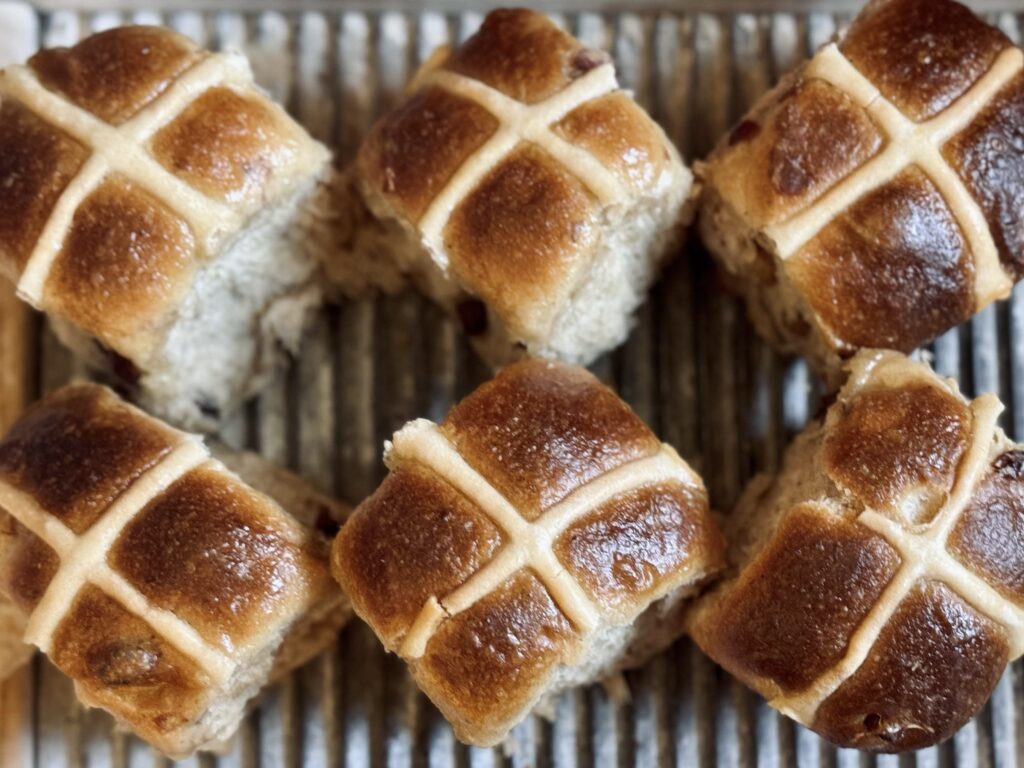
For this recipe, I went for a cross made of a flour and water that is piped onto the buns before baking. The reason? First, to keep tradition. Second, to be able to enjoy the buns warm! The other option would be a cross made from an icing glaze, which would require the buns to cool completely before application.
Baking
I use a combination of temperatures for this bread. 400 F (205 C) helps these rolls get their best oven spring, while 350 F (175 C) helps them finish cooking all the way through without over-browning. A final internal temperature of 185 F (85 C) cooks these rolls until they are just done, retaining some of the moisture and leaving you with the softest and fluffiest end result.
The Glaze
The final touch and perfect garnish. The glaze gives the rolls a shiny top, hint of sweetness, and (if using) increased orange flavor to the rolls. Though you don’t have to have it, I wouldn’t skip it. Be sure to brush the glaze on while the rolls are very hot, otherwise the mixture will apply more like icing than a glaze.
Suggested Timelines
Overnight Timeline
DAY 1
8:00 a.m.
- Make the sweet stiff starter.
- Make the tangzhong (option one).
8:00 p.m.
- Make the tangzhong (option two).
- Make the milk mixture.
8:30 p.m.
- Soak the fruit.
- Mix and knead the dough.
9:00 p.m.
- Begin bulk fermentation.
DAY 2
9:00 a.m.
- Shape the rolls.
1:00 p.m.
- Make the cross.
- Bake the buns.
1:40 p.m.
- Make the glaze.
- Apply the glaze and enjoy!
Refrigeration Timeline
DAY 1
9:00 p.m.
- Make the sweet stiff starter.
- Make the tangzhong (option one).
DAY 2
8:30 a.m.
- Make the tangzhong (option two).
- Make the milk mixture.
9:00 a.m.
- Soak the fruit.
- Mix and knead the dough.
9:30 a.m.
- Begin bulk fermentation.
9:30 p.m.
- Transfer dough to the refrigerator overnight.
DAY 3
8:00 a.m.
- Shape the rolls.
2:00 p.m.
- Make the cross.
- Bake the buns.
2:40 p.m.
- Make the glaze.
- Apply the glaze and enjoy!
📌 Quick Tip: Read the recipe in its entirety before you start cooking. This will help you understand the ingredients, steps, and timing involved, and allow you to prepare any necessary equipment or ingredients beforehand.
Hot Cross Buns
Ingredients
For The Sweet Stiff Starter
For The Tangzhong
For The Milk Mixture
For The Dough
For The Cross
For The Glaze
Instructions
-
Make the sweet stiff starter.
Mix together all ingredients for the sweet stiff starter. Rest 8-12 hours before incorporating into the dough.
-
Make the tangzhong.
Combine all ingredients for the tangzhong in a small saucepan. Heat over medium-low heat, whisking continuously, until the mixture thickens like a paste. Cool completely before incorporating into the dough.
This can be done in advance and stored in the refrigerator, or directly before mixing the dough and stored in the freezer while the remainder of the dough is prepared. -
Warm the milk mixture.
In a separate, small saucepan, combine the milk, brown sugar, and butter. Heat the mixture until it reaches 95 F (35 C), the sugar is dissolved, and the butter is partially melted. Cool slightly before incorporating into the dough.
-
Leave 2 tbsp (30 g) of butter out to soften while the dough rises (for buttering the 9X13 casserole dish).
-
Soak the fruit.
Soak the dried fruit in hot water while you prepare and knead the dough.
-
Begin the main dough.
In the bowl of a stand mixer, add the bread flour, salt, cinnamon, allspice, cardamom, cloves, and orange zest (if using). Whisk to combine. Add the eggs, sweet stiff starter, tangzhong, and milk mixture. Roughly mix, then transfer to a stand mixer fitted with a dough hook attachment.
-
Knead the dough.
Knead the dough on a low speed until the ingredients become a cohesive mass. Increase the speed to medium (speed 5-6 on a KitchenAid) and knead until the dough pulls away from the sides of the bowl and the stand mixer begins to “jump” (about 10 minutes). If your dough is not doing this by 15 minutes, add more flour until the dough comes together. Reduce the speed to medium-low (speed 3-4 on a KitchenAid) and continue kneading until the dough is smooth and glossy, 4-5 minutes more.
-
Drain off the water from the dried fruit and add the fruit to the bowl of your stand mixer. Knead once more on a low speed (speed 2 on a KitchenAid) until the fruit is just incorporated, 2-3 minutes.
-
Bulk ferment the dough.
Transfer the dough to a proofing container and let it rise until it has doubled (or up to tripled) in size, 8-12 hours. In my kitchen, which rests about 70 F (21 C), this takes about 10-12 hours.
-
After the dough has risen, butter a 9X13 casserole dish with the 2 tbsp (30 g) of now softened butter.
-
Shape the buns.
Turn the dough out onto the counter and divide it into fifteen equal sections, approximately 95 g each (or eighteen sections approximately 80 g each for smaller buns). Roll each section into a ball and transfer to the 9X13 casserole dish.
-
Final proof.
Let the buns rise again until they are very puffy and nearly doubled in size once more, 2-4 more hours.
-
Preheat your oven to 400 F (205 C).
-
Make the cross.
Mix together the flour, water, and (optionally) orange extract for the cross in a small bowl, then transfer to a Ziploc bag or piping bag. For the Ziploc bag, cut a very small slit, about ¼ of an inch thick, in the corner from which you will pipe the mixture. Pipe the mixture onto the risen rolls in the shape of a cross.
-
Bake the buns.
Bake the rolls at 400 F (205 C) for 20 minutes, then reduce the oven temperature to 350 F (175 C) and bake 20 minutes more. The internal temperature should register 185 F (85 C).
-
Make the glaze.
While the rolls are baking, whisk together the powdered sugar and orange juice (or milk) until smooth. Brush the glaze onto the hot rolls as soon as they come out of the oven. Enjoy!
Servings 15
- Amount Per Serving
- Calories 306.83kcal
- % Daily Value *
- Total Fat 6.68g11%
- Saturated Fat 3.56g18%
- Cholesterol 38.98mg13%
- Sodium 280.6mg12%
- Potassium 222.65mg7%
- Total Carbohydrate 55.21g19%
- Dietary Fiber 2.31g10%
- Sugars 20.78g
- Protein 7.14g15%
- Vitamin A 71.38 IU
- Vitamin C 6.34 mg
- Calcium 52.21 mg
- Iron 2.63 mg
- Vitamin D 0.39 IU
- Vitamin E 0.41 IU
- Vitamin K 2.4 mcg
- Thiamin 0.37 mg
- Riboflavin 0.31 mg
- Niacin 3.61 mg
- Vitamin B6 0.05 mg
- Folate 22.93 mcg
- Vitamin B12 0.15 mcg
- Phosphorus 91.15 mg
- Magnesium 20.77 mg
- Zinc 0.61 mg
* Nutrition values are auto-calculated and should be used as an approximation only. In addition, the values may not accurately represent the serving divisions of the recipe, instead representing the nutrition of the recipe as a whole.
Notes
- Storage: Store on the counter in a Ziploc bag for three to five days. Alternatively, flash-freeze the rolls on a sheet pan, then store in the freezer. Reheat in a low oven, or in the microwave.
- You can eliminate any or all of the orange additions, if desired.
- Try replacing the soaked fruit with chocolate chips for a fun twist!
- You are welcome to play around with the spice blend, but be careful not to add too much cinnamon, as cinnamon tightens the dough and slows fermentation.
