About This Recipe
This is probably the most versatile bread on the planet. Over-proofed dough? Focaccia. Pizza? Focaccia. Sandwiches? Focaccia. Everyone is obsessed with focaccia, and rightly so.
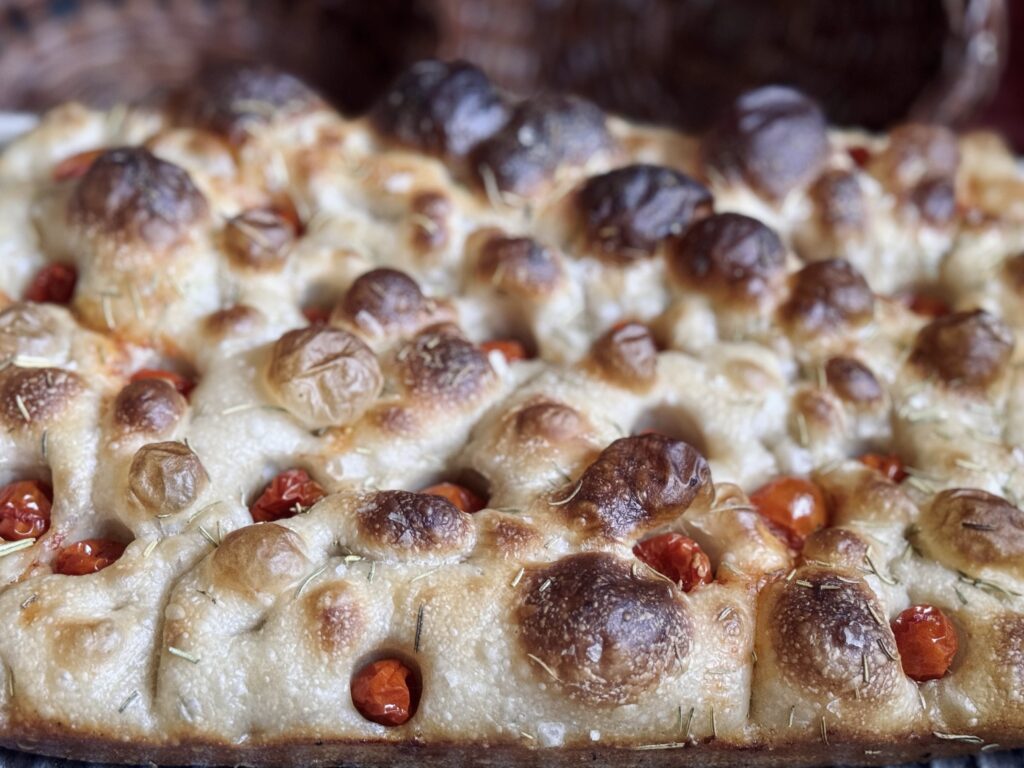
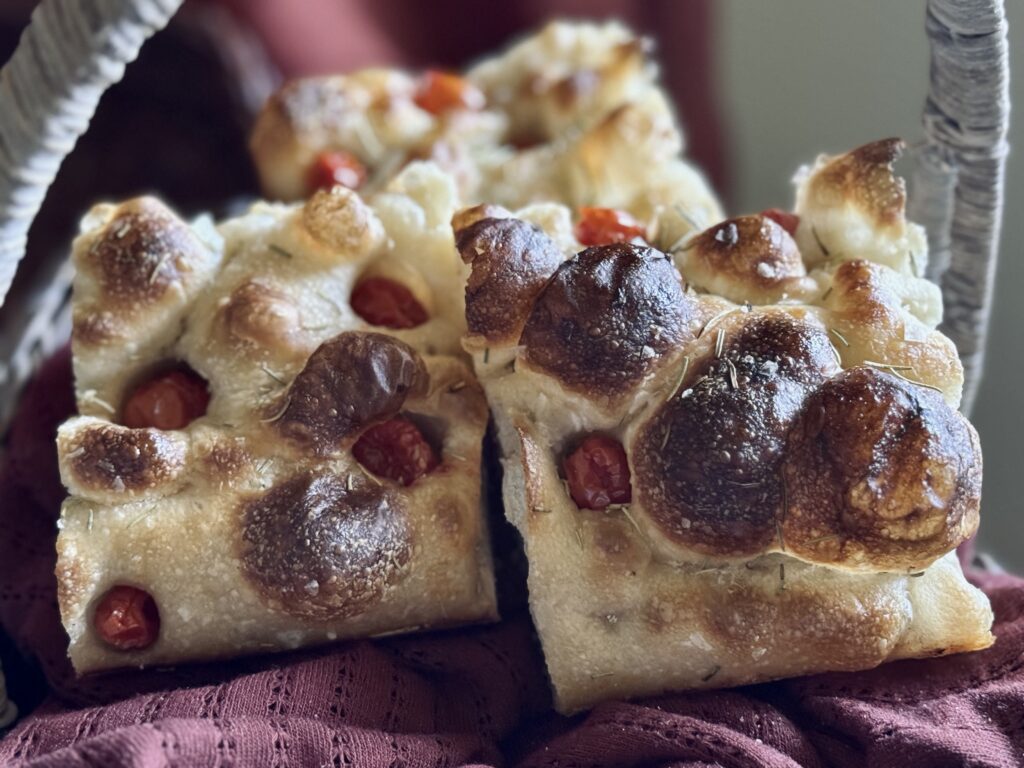
To me, focaccia is best when it is made right. Perfectly fermented, doused in copious amounts of olive oil, with simple toppings: sea salt, fresh rosemary, tomatoes, and maybe olives if you like them. The bread soaks up the oil from the pan, making it soft and full of flavor. It’s incredibly tasty on its own, but so delightful as a sandwich bread as well.
What Is Focaccia?
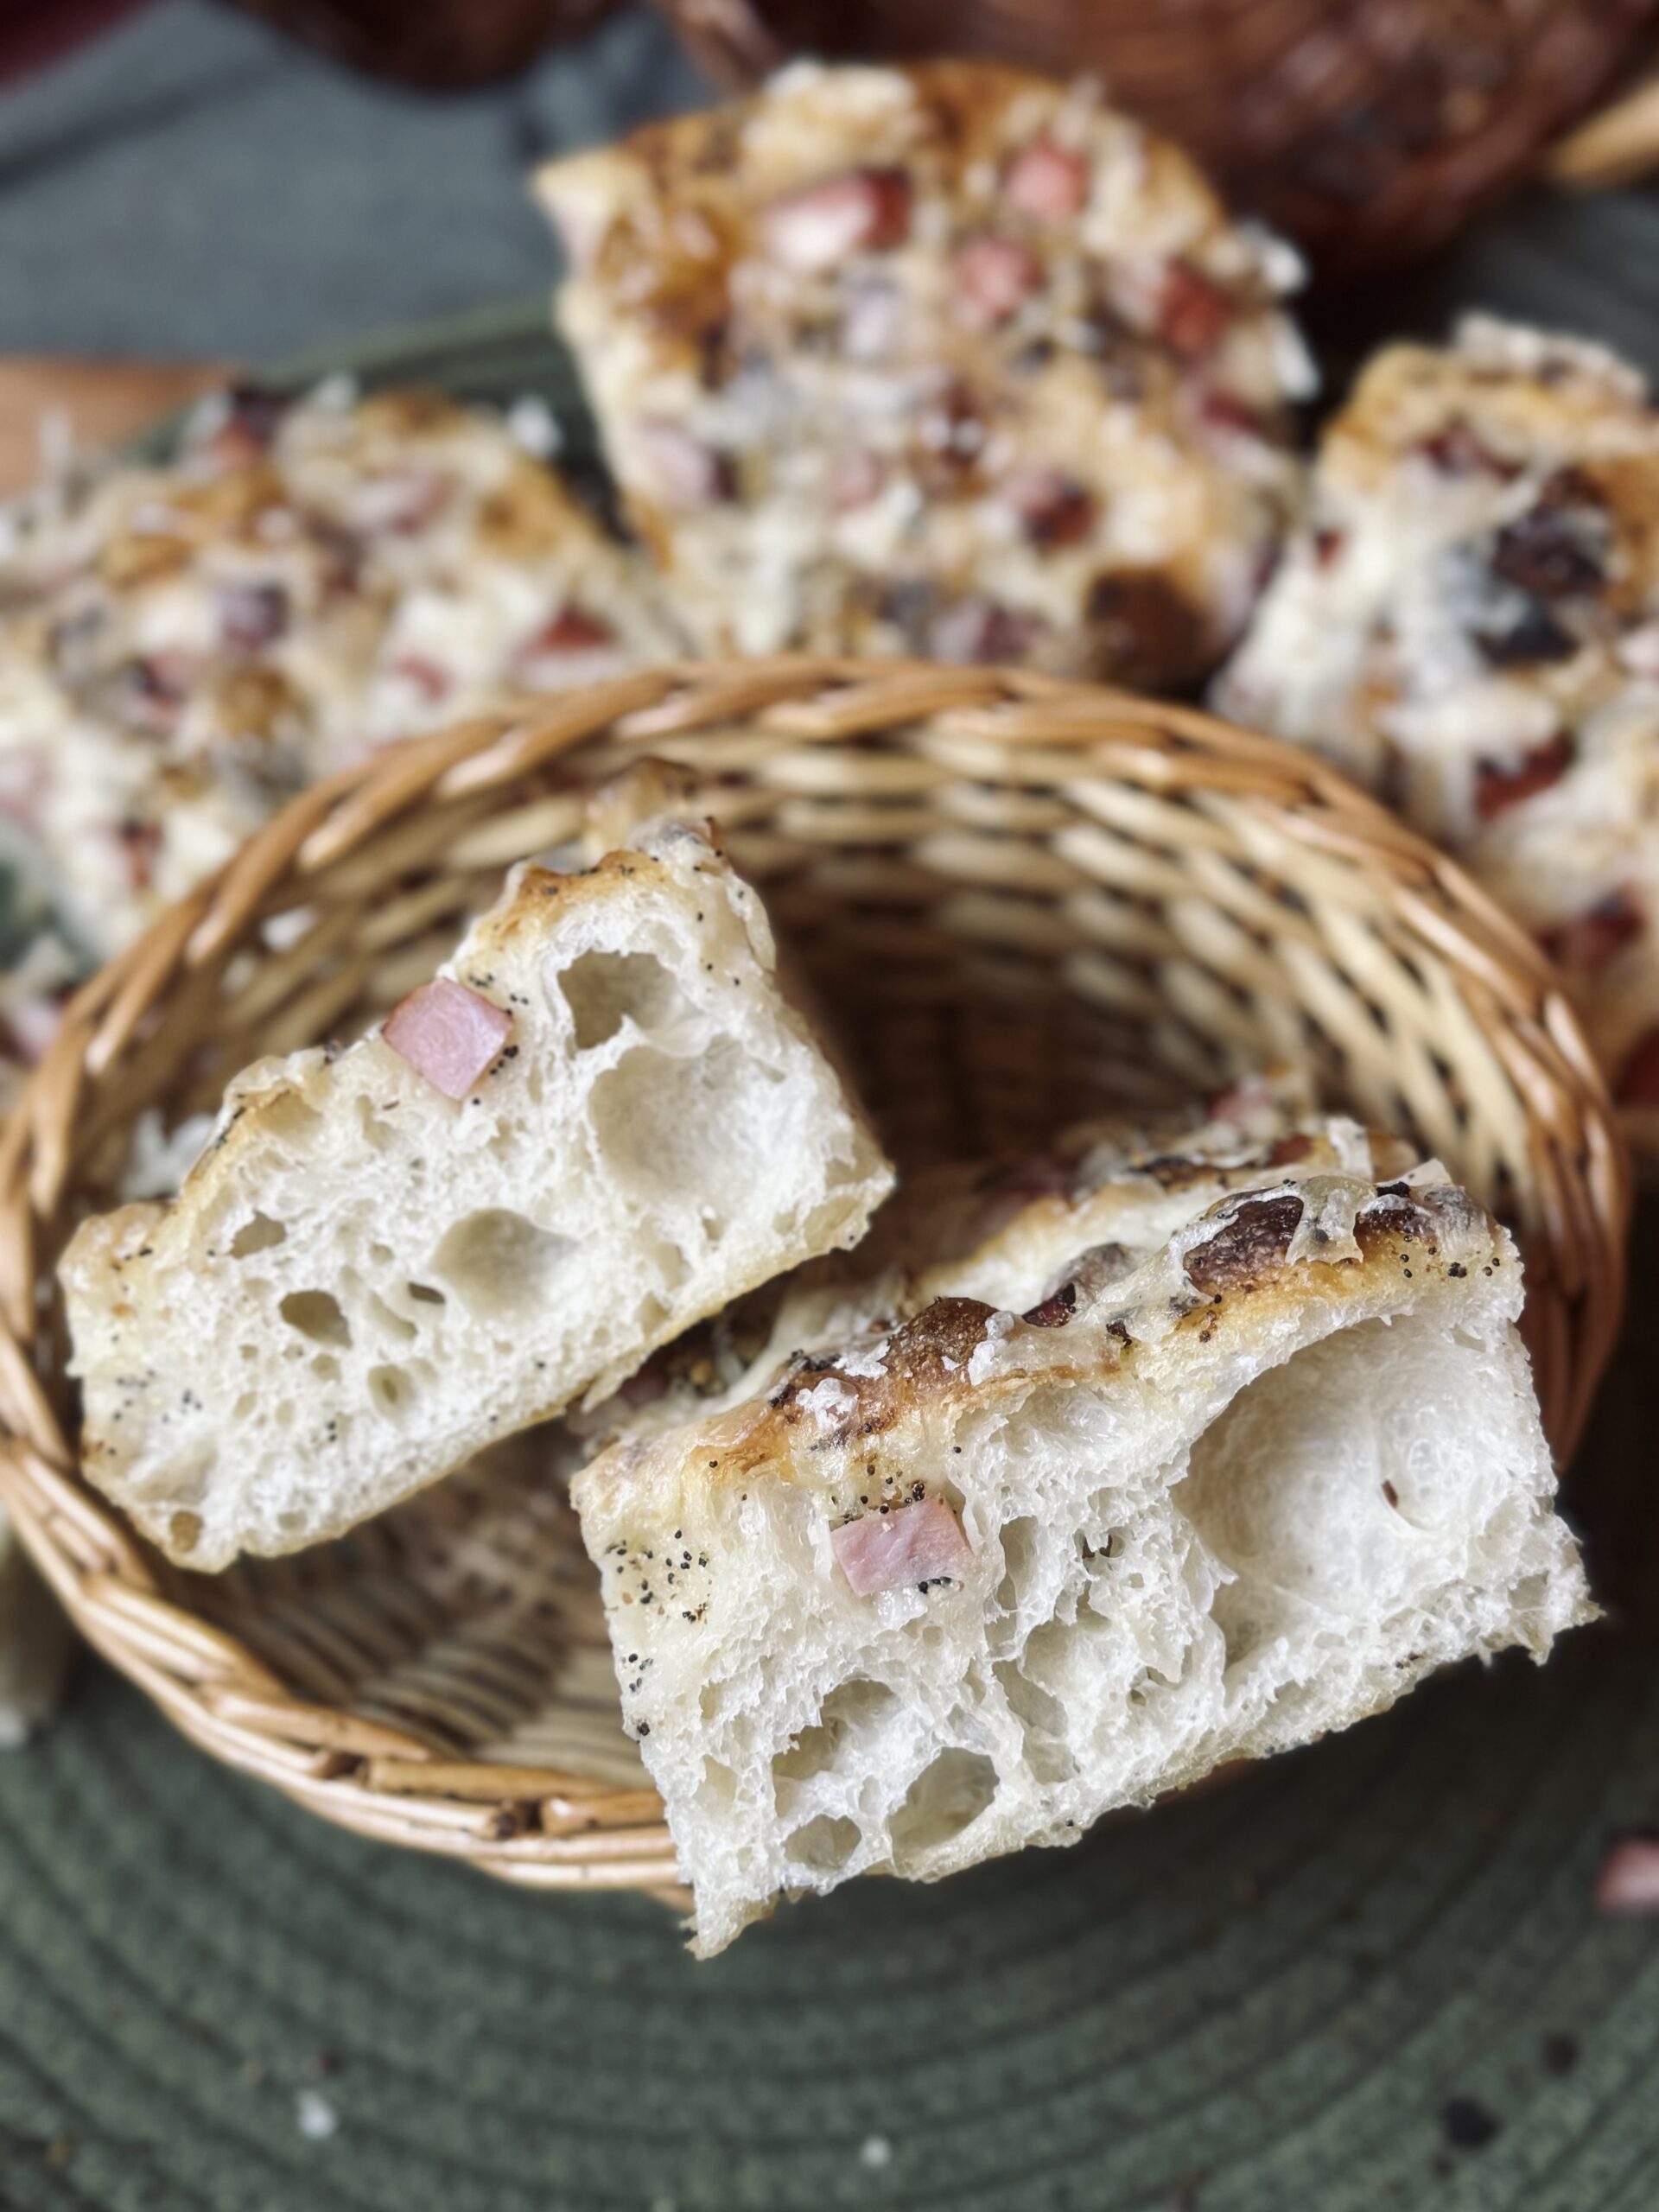
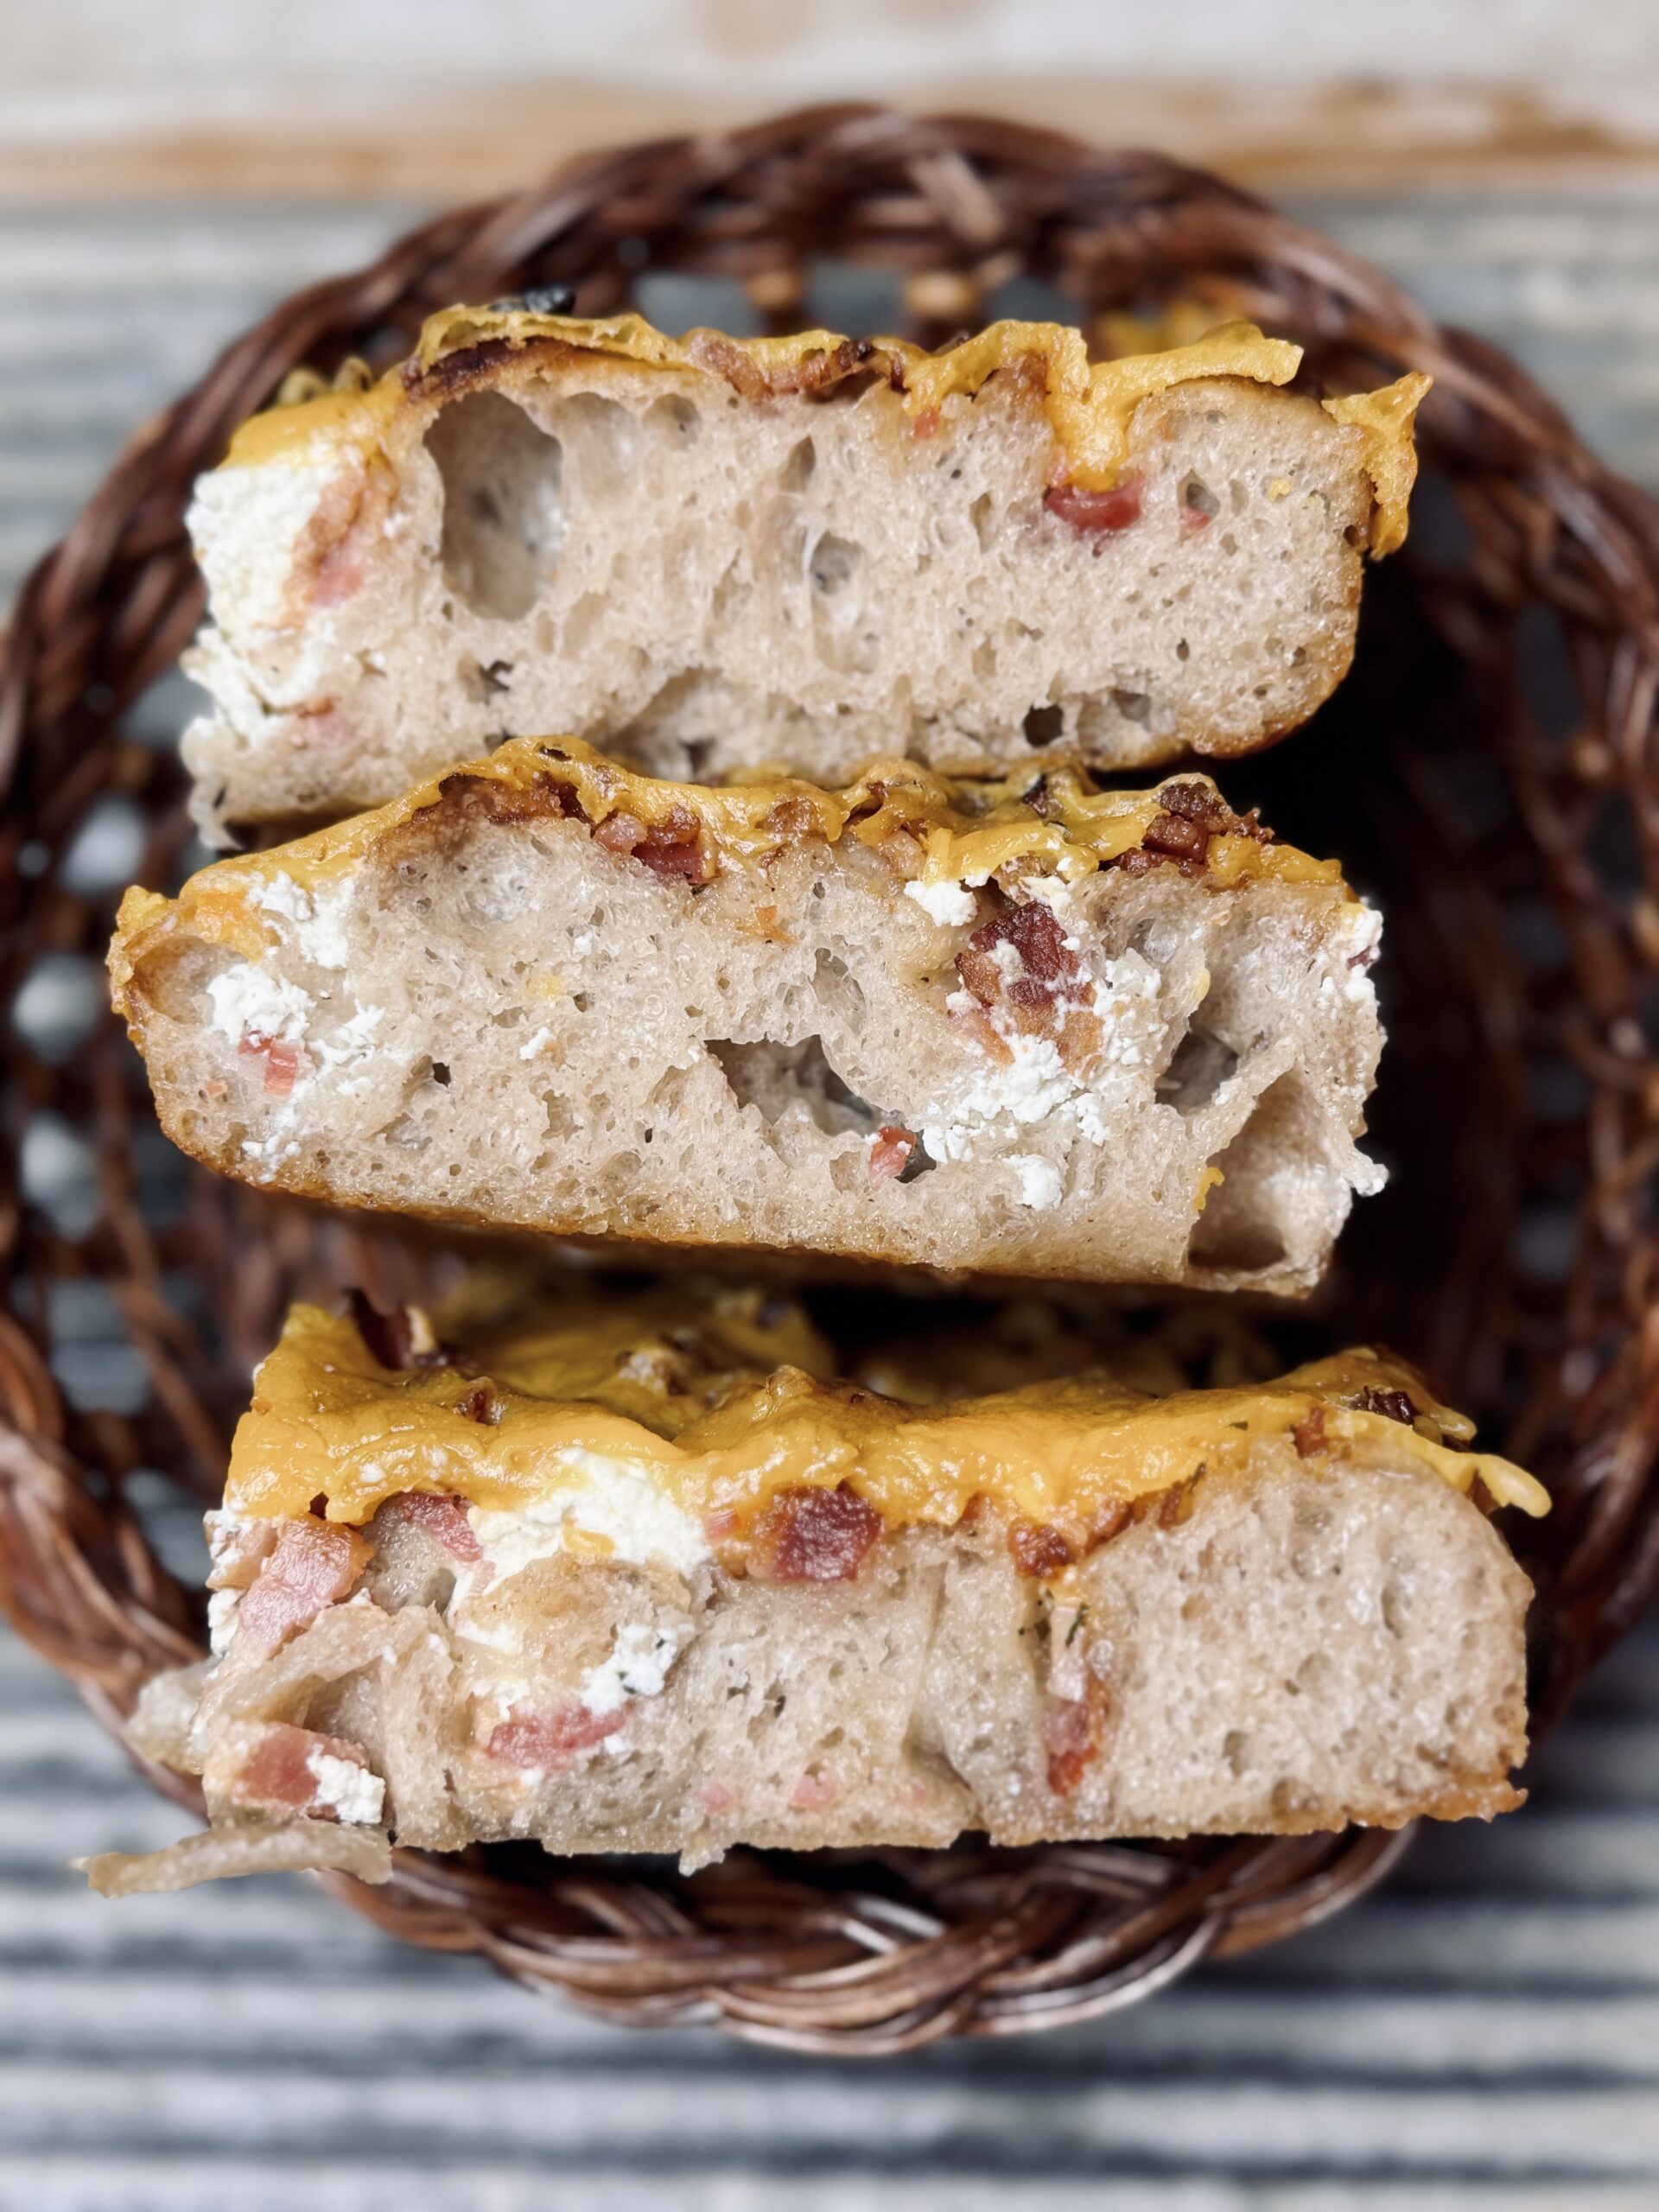
Focaccia is a type of Italian bread known for its dimpled surface, which helps infuse olive oil and seasonings throughout the bread. It is similar to pizza dough, but typically thicker and softer. Focaccia can be enjoyed plain or with various toppings such as olives, tomatoes, onions, or cheese. It’s a versatile bread that can be served as an appetizer, snack, or alongside a meal.
What I Love About This Recipe
With focaccia comes ease and versatility. This bread is light, bubbly, and full of flavor (thank you olive oil and toppings!). It can be used as a base for pizza, or cut open and used to make the most flavorful sandwiches. With focaccia, it is nearly impossible to go wrong.
All The “Why’s”
Bread Flour
Here’s the thing about artisan bread: most of the gluten is developed through time during the slow fermentation process. You see, as dough rests, gluten comes together naturally and fermentation provides strength. Bread flour contains more gluten binding proteins, which naturally create a stronger network that traps air and helps the loaf ferment more efficiently. I use King Arthur Bread Flour in most recipes that calls for “bread flour” because of its higher protein content (12.7%) and excellent ability to form gluten.
Salt
Salt helps bring out flavor (without salt, bread would taste almost like nothing), but also has notable effects on the dough. Salt is a tightening agent, meaning it helps create a more elastic (strong) dough. It does slow fermentation, as well as gluten development, but these are things we must account for in the recipe because we cannot have a recipe without salt. It is important to use just the right amount, enough to bring out the flavor, but not so much that the loaf cannot ferment or come together. I use the standard – 2% salt – in all my recipes, unless otherwise noted.
Hydration
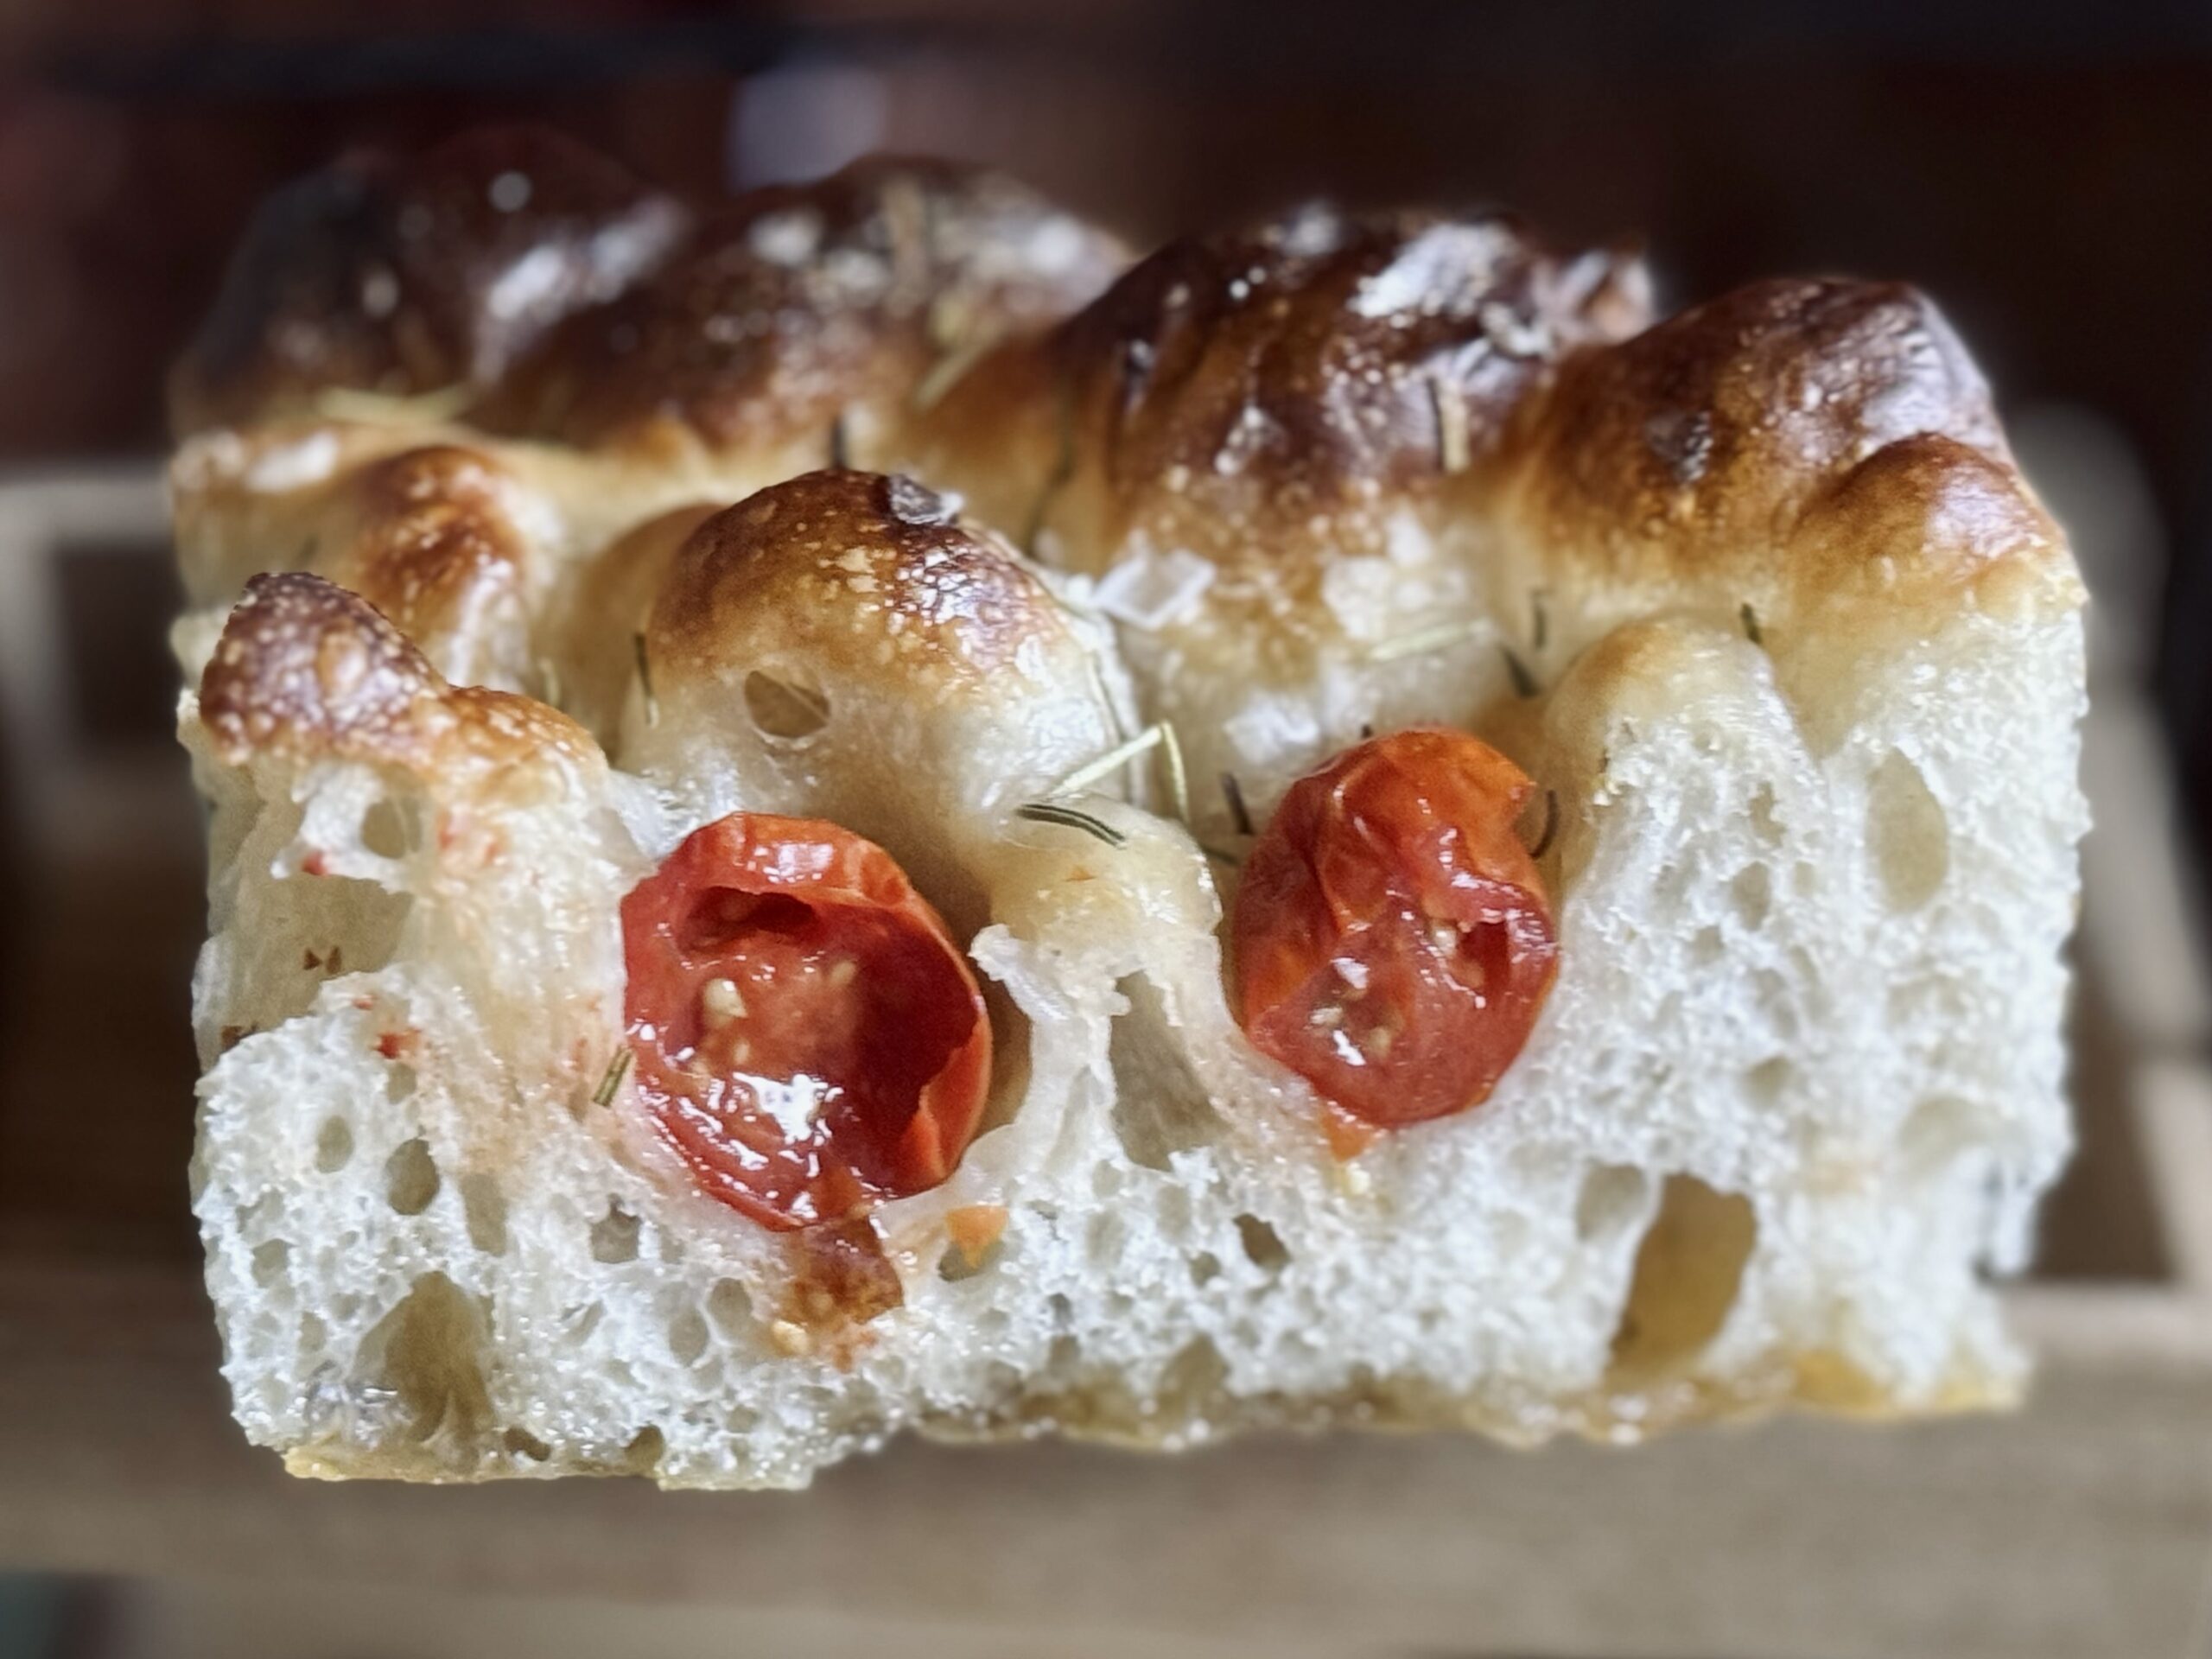
This recipe has an approximate hydration of 82%. This is a high hydration recipe, meaning we are working with a fairly wet dough. While loose doughs can sometimes be harder to manage, this is not so with focaccia (at least in my opinion) because we do not have to worry about handling the dough for anything difficult, only to provide some structure through folds. The high hydration adds to the extensibility of the dough, opening the crumb if handled appropriately, and helps create a soft, light texture in the baked bread.
Dough and Gluten Development
Because this dough is unenriched (no fat, sugar, etc.) and because our sourdough starter works slowly, gluten develops naturally over time. This means we can let fermentation do most of the strengthening of our bread, aerating it and building structure, while we take time to fold the dough, which helps fermentation do its best work.
Folding the dough has many benefits, and time you fold it in relation to its stage in fermentation can also change the outcome of your bread completely. More folds up front (sometimes, I also pair this with increased mixing time) creates a more elastic bread, which just means the end result will be taller, sometimes with a more closed crumb. Less folds, or folds that are more spaced out, can mean a flatter bread, but with a more “wild” and open crumb.
For this recipe, I aim for four folds, spaced a minimum of thirty minutes apart. The key is to make sure the dough relaxes completely between each set. This way, the folds are more efficient at structuring the dough.
Bulk Fermentation
It is important to note that fermentation varies significantly depending on temperature and climate. My home generally rests around 68-72 F (20-22 C), so my fermentation times are very extended from someone whose home rests around 75 F (24 C), or even warmer. Always watch the dough and read your baked loaf as best as possible to be able to determine necessary adjustments for your next attempt. The goal is to ferment the dough as long as possible, but not to overproof. The longer the dough ferments, the lighter and airier your bread will be.
If you choose to cold proof your dough, as I do in this recipe, the temperature of your bulk fermentation is very important. A warm dough will continue to rise significantly in the fridge, while a cooler dough will not. I keep this dough around 70 F, and bulk ferment it until it reaches a 50% size increase after folds are complete. If you live in a climate like mine, or even cooler, this method will work fine. But, if your environment is warmer, be sure to watch the dough and consider decreasing the percentage rise as needed for your environment.
Generally, loaves that ferment around 70 F (21 C; this is the temperature I ferment my dough) take about 6 hours to bulk ferment. Colder climates, say 65 F (18 C) take much longer, a minimum of 8 hours. Increase the temperature to 73-75 F (23-24 C), and the bulk fermentation time is reduced to around 4-5 hours. Last, very warm temperatures, 78-80 F (25-27 C) generally take only 2 hours to complete fermentation. All in all, your dough is in your hands, and in your climate.
Note the decreased fermentation period for bulk fermentation. I only ferment this dough to 50% size increase so that I can have a longer final proof. I like to let the dough rest in the pan, untouched, for a good amount of time before baking.
Shaping
Focaccia is beautiful in that it requires no shaping efforts. Simply dump the dough into the desired baking dish, lightly stretching if necessary.
Cold Proof
I stick this dough in the refrigerator, overnight, after shaping. Though placing the dough in the fridge isn’t necessary, I find it creates a deeper flavor (your starter’s bacteria at work!) and adds flexibility to the baking timeline.
Room Temperature Dough
It is better not to bake the dough from cold. Instead, let it continue to rest and puff up on the counter before dimpling and baking. A room temperature dough is essential to obtaining the proper oven spring. The combination of room temperature dough + a very hot oven will create an exploding effect that will help the bread expand and create a beautiful open and even crumb.
Because of the shortened bulk fermentation, we can watch the dough in the baking dish to tell when it is ready. I generally proof this dough on the counter for 6-8 hours (at 70 F, 21 C) after removing it from the refrigerator before dimpling and baking.
Olive Oil
A high quality, flavorful olive oil all over the bottom and top of the focaccia makes a world of a difference. The focaccia bread absorbs all the oil after baking, boosting flavor and moisture, as well as creating a beautiful color on the top and bottom of the bread.
Toppings
Focaccia is incredibly versatile in that it can be topped to your heart’s desire. Get creative or keep it simple. Either way, you’ll come out with a delicious treat.
It is important to keep in mind some of the effects of what you are topping the dough with. For example, marinara sauce will soak into the dough and in large portions will keep your bread from baking correctly. Most cheeses will burn and should be added at the end of baking.
Coating fruits, vegetables, and fresh herbs in olive oil can help keep them from burning. I like to coat my tomatoes and fresh rosemary in olive oil for best results.
Baking Method: Temperature
The best oven spring and crumb comes from baking the dough hot and fast. Though I would prefer to bake my focaccia at 500 F (260 C), I find it burns those delicate air bubbles before the rest of the loaf is baked. Therefore, I chose a temperature of 450 F (230 C) to give the dough the best “pop” in the oven, while also reducing burnt air bubbles, yet still producing a lightly crisp end result.
Suggested Timelines
Suggested Timeline
DAY 1
8:00 a.m.
- Mix the dough.
8:30 a.m. – 11:00 a.m.
- Strengthen the dough through folds.
1:00 – 3:00 p.m.
- Dump into baking dish.
- Transfer to refrigerator overnight.
DAY 2
8:00 a.m.
- Remove from refrigerator.
- Proof on counter.
1:00 p.m. – 4:00 p.m.
- Top and dimple.
- Bake and enjoy!
All-In-One-Day Timeline
DAY 1
8:00 a.m.
- Mix the dough.
8:30 a.m. – 11:00 a.m.
- Strengthen the dough through folds.
1:00 – 3:00 p.m.
- Dump into baking dish.
3:00 – 7:00 p.m.
- Top and dimple.
- Bake and enjoy!
📌 Quick Tip: Read the recipe in its entirety before you start cooking. This will help you understand the ingredients, steps, and timing involved, and allow you to prepare any necessary equipment or ingredients beforehand.

Focaccia
Ingredients
Dough
Other
Instructions
-
Mix together the flour, water, starter, and salt until no dry bits of flour remain. Cover the dough with a lid, damp towel, or plastic cling wrap and let it rest for 30-60 minutes.
Use the shorter time for warmer temperatures and the longer time for cooler ones. -
Ferment and strengthen the dough: Complete four sets of coil folds, spaced at least 30 minutes apart.
- To coil fold the dough, pull the dough up from the middle, stretching up as far as it will go. Then, fold the dough under itself in each cardinal direction before covering the dough and allowing it to rest once more.
-
Bulk rise: Let the dough rest until it increases in volume by about 50% (about three more hours at 70 F [21 C]).
If you ferment your dough at warmer temperatures, your fermentation time will be less and the percentage rise will be smaller, especially if you are choosing to cold proof the dough. Refer to the "Bulk Fermentation" section of this post for tips. -
Shape: Oil a 9X13 baking dish generously with olive oil and dump the proofed dough into it. If needed, stretch the dough out slightly to mostly fill the container.
I like to use my 9X13 USA pan for this, as it is completely nonstick. Baked focaccia, even with a lot of oil, will adhere to a glass dish. In this case, use parchment paper underneath the oil and the dough to prevent sticking. -
At this point, you can refrigerate the dough until the next day or let it rest once more until it is finished proofing.
-
Final proof: The next day, remove the dough from the refrigerator and let it rest until it is very puffy, bubbly, and filling up the pan. The dough should approximately double in size, 6-8 hours at 70 F (21 C). If you did not place your dough in the refrigerator, this will only take a 4-6 more hours (at 70 F, 21 C).
-
When the focaccia is almost finished proofing, preheat your oven to 450 F (230 C).
-
Generously pour olive oil over the top of the focaccia.
You can top the focaccia with your toppings before or after you dimple the dough, depending on the toppings you choose. (I find smaller toppings, like rosemary and sea salt, are best topped before dimpling while larger toppings, like cheese cubes or olives are best pressed in after dimpling.)
Dimple the dough all over with your fingertips. Do not worry about being careful or messing anything up. Dimple every spot you can find. If you did not already top the focaccia, press the toppings into the dough.
Oil the toppings to keep them from burning in the oven. -
Bake the focaccia for 30 minutes. The internal temperature should reach 200 F (93 C).
-
Cool for at least 15 minutes before slicing. Enjoy fresh.
Servings 12
- Amount Per Serving
- Calories 173.08kcal
- % Daily Value *
- Total Fat 0.89g2%
- Saturated Fat 0.14g1%
- Sodium 193.79mg9%
- Potassium 51.44mg2%
- Total Carbohydrate 34.53g12%
- Dietary Fiber 1.18g5%
- Sugars 0.51g
- Protein 5.9g12%
- Calcium 11.67 mg
- Iron 2.16 mg
- Vitamin E 0.18 IU
- Vitamin K 0.18 mcg
- Thiamin 0.39 mg
- Riboflavin 0.24 mg
- Niacin 3.54 mg
- Vitamin B6 0.02 mg
- Folate 18.41 mcg
- Phosphorus 49.16 mg
- Magnesium 13.42 mg
- Zinc 0.44 mg
* Nutrition values are auto-calculated and should be used as an approximation only. In addition, the values may not accurately represent the serving divisions of the recipe, instead representing the nutrition of the recipe as a whole.
Notes
- Storage: This bread is best enjoyed fresh and may or may not store well, depending on the toppings. Sea salt will dissolve if any moisture makes it into the container it is being stored in, and certain toppings will not keep on the counter. Use discernment when choosing how to store your focaccia. Store on the counter, in the fridge, or sliced and in the freezer, depending. Toast to warm.


