About This Recipe
Soft, chewy, yet slightly crisp. Perfect for spreads or sandwiches. A staple breakfast item in many parts of the world.
What Is A Bagel?
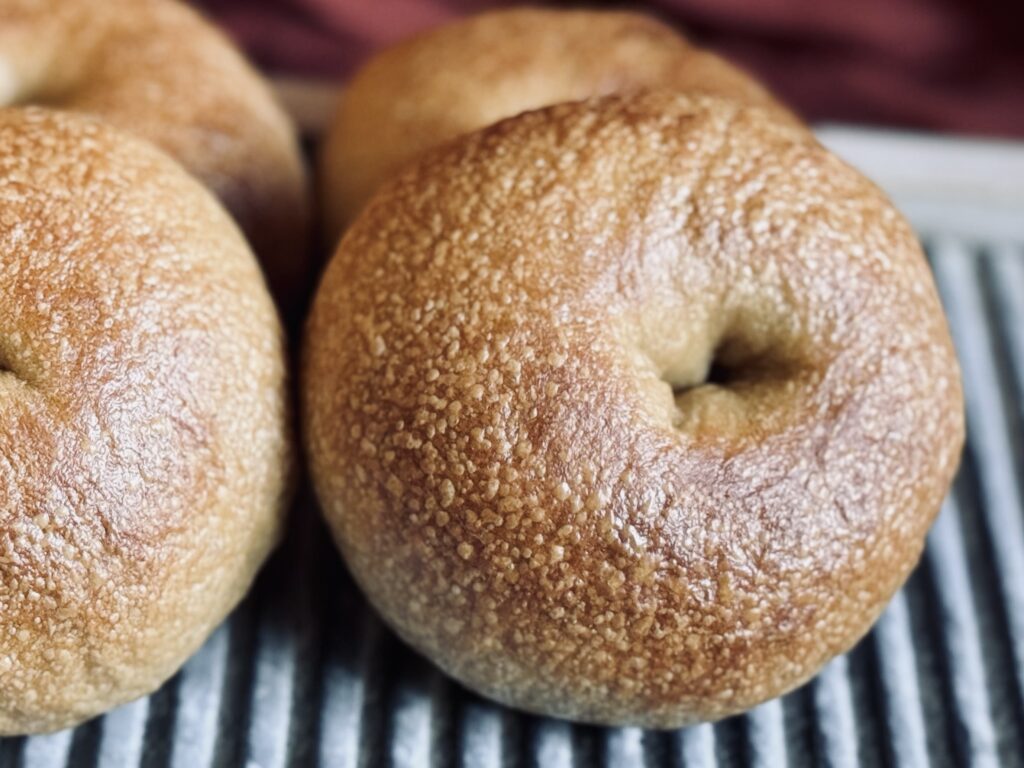
A bagel is a type of bread shaped like a ring, which has a dense, chewy interior and a slightly crisp, golden crust. The key to a bagel’s chewy texture and shiny crust is boiling before baking. This boiling step is a distinguishing feature of bagels, and sets them apart from other types of bread. After boiling, bagels can be topped with seeds (like sesame or poppy), dried minced onion, cinnamon sugar, or other ingredients before being baked. Bagels are often sliced horizontally and eaten with various spreads, such as cream cheese, or used as a base for sandwiches.
A Brief History Of Bagels
Bagels originated in the Jewish communities of Poland in the 17th century, first mentioned in 1610 as a gift for women after childbirth. They likely evolved from the Polish bread obwarzanek and were named from the Yiddish word “beygl,” meaning “bracelet” or “ring.” Eastern European Jewish immigrants brought bagels to North America in the late 19th and early 20th centuries, where they became popular, particularly in New York City. The mass production of bagels began in the mid-20th century with the invention of automated bagel-making machines, making them widely available. Today, bagels are a global food staple, enjoyed with various toppings and fillings.
What I Love About This Recipe
This recipe lands the perfect combination of crispy and chewy. The crust gives a light, but present, crisp, while the interior of the bagel has a beautifully soft texture – every bite boasting a delightful chew. As always, I have taken consideration to each and every ingredient in the recipe and created an incredible balance. Even the addition of sugar in the dough is incredibly specific with a defined purpose (and it is not to sweeten). They can be topped with anything your heart desires and are the perfect companion to any breakfast or sandwich fillings.
The “Why” Behind The Starter Build
Why Build A Starter (Levain) For This Recipe?
Though this is not a sweet bread recipe, I chose to utilize a sweet stiff starter anyway. A sweet stiff starter works to reduce the overall sour flavor in sourdough bread products. The specific percentage of sugar (around 10-15%) creates what is called “osmotic stress,” which limits bacterial cell regeneration. Together with the additional flour in the starter, it is possible to virtually eliminate the sour flavor in a recipe, which is what I have done here. Read more about sweet stiff starter here.
Stiff Starter
By giving the yeast more food (this means they can continue to eat, multiply, and produce CO2) and reducing the amount of water (bacteria favor wet climates), we can effectively reduce the amount of acidity in our starter at the same percentage of rise as a starter made with equal amounts of flour and water.
Sugar
This is one of the most important components of this levain – do not skip it! Sugar is a powerful tool. Added in low amounts, it feeds the yeast and speeds up fermentation. Added in high amounts, it dehydrates yeast cells and potentially stops fermentation altogether. Added in just the right amount, the yeast still thrive, but the bacteria suffer. 10-15% sugar in a recipe or levain creates something called “osmotic stress.” This stress to the bacteria limits their ability to reproduce, which limits acid buildup, thereby limiting overall sourness coming from the starter.
Temperature
In order to favor the yeast, I aim to keep this levain between 70-75 F (21-24 C) and use it when it has approximately doubled in size. Yeast produce most abundantly in these temperatures, while the bacteria in your starter (there are two types – lactic and acetic) favor temperatures both higher and lower than this. This specific temperature helps provide balance to the starter, which translates to how efficiently the starter ferments the bread and how mild the overall sour flavor is.
Optional Kneading
Have you ever heard of developing gluten in your starter? While it is not essential, kneading this starter for just a few minutes will help trap air, introducing oxygen and stimulating yeast growth. It also provides structure (by creating a slightly more elastic gluten network), which helps the levain rise and maintain peak more efficiently.
The “Why” Behind The Dough and Process
Bread Flour
When working with stiff doughs like this one, gluten has a tougher time forming. This is because the decreased amount of water limits the mobility of gluten proteins, hindering the dough’s ability to form a strong network. Bread flour contains a higher percentage of protein, which aids in the bread’s ability to form gluten. I use King Arthur Bread Flour for its solid protein content, which is above 12%.
Salt
Salt helps bring out flavor (without salt, bread would taste almost like nothing), but also has notable effects on the dough. Salt is a tightening agent, meaning it helps create a more elastic (strong) dough. It does slow fermentation, as well as gluten development, but these are things we must account for in the recipe because we cannot have a recipe without salt. It is important to use just the right amount, enough to bring out the flavor, but not so much that the loaf cannot ferment or come together. I use the standard – 2% salt – in all my recipes, unless otherwise noted.
Barley Malt In The Dough
In my trials, I found the actual type of sugar used does not matter, but chose barley malt because it is the classic sweetener many swear by for bagels. While the use of barley malt in a commercial yeast-leavened bagel is to aid in fermentation, the purpose in a sourdough bagel is a little different. The specific amount used in this recipe is around 10% of the total flour, which is the amount needed to create osmotic stress on the bacteria in your starter. This specific percentage, combined with the low hydration of the dough, works together with the sweet stiff starter to reduce the overall sour flavor of the bagel.
In essence, barley malt is not intended to add sweetness to the dough, but rather reduce sourness. The end result is a mild, “normal” tasting bagel. The only time you should consider removing the barley malt is if you are intentionally going for a “sour” bagel. Other options/substitutions for the barley malt that yield the same effect include: white sugar, honey, and molasses. You could also try this recipe with maple syrup.
Vital Wheat Gluten
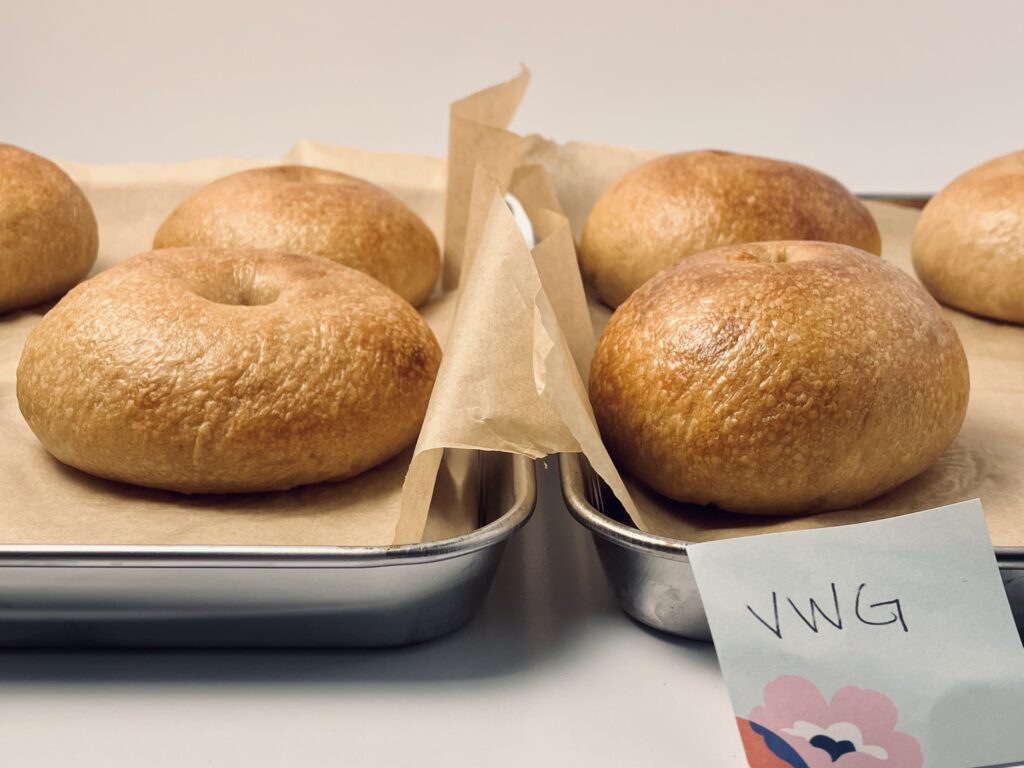
I usually recommend vital wheat gluten for flours that are low in gluten, as it helps build necessary strength in the dough. But, for this dough, I found vital wheat gluten to be incredibly helpful in creating a bagel that rises taller in the oven. Because this dough is low in hydration, it gives even the good bread flour an exceptional boost. If you do not own vital wheat gluten, you can skip it. But, I do think the use of it is well worth it in this recipe. See the image below for a visual comparison of a bagel made with vital wheat gluten versus the same recipe made without it.
Low Hydration
Low hydration simply means “less water.” This is a stiff dough, and intentionally so. The stiff dough makes for a softer, denser bread. The “chew” of a bagel comes from the water bath, rather than the hydration itself, meaning that these bagels receive the perfect balance of soft crumb (from the low hydration) and chewy texture.
The low hydration of the dough also has one other bonus – reduced sourness. Stiff doughs (and starters, for that matter) do not encourage the reproduction of bacteria that release acids resulting in a sour flavor. In other words, the dough’s consistency works together with the barley malt to really hinder acid production, giving the bread a neutral flavor.
Mixing
For this recipe, we just need the dough to form a gluten network. This can be a difficult task in stiff doughs due to the lack of water (which makes it harder for gluten to form). Without enough gluten-binding proteins, the dough may struggle to form a gluten window, which allows opportunity for air to escape. This decreases the dough’s ability to rise to its fullest potential, resulting in a denser crumb and texture. Gluten must be developed through kneading and time; the more help it can get, the better.
Because of the low hydration, a low speed (speed two on a KitchenAid or two to three o’clock on an Ankarsrum) is all that is necessary, and the dough should be ready to rise in ten to fifteen minutes. Alternatively, the dough can be turned out onto the counter and kneaded by hand for the same amount of time.
Flour choice and vital wheat gluten also work together to aid in the development of gluten. Be sure to consider these factors when making your dough.
Bulk Fermentation
Letting the dough rise as much as possible, but not too much, contributes to the airiest of loaves. In an attempt to favor the yeast and reduce sourness, I recommend keeping the dough temperature between 70-75 F (21-24 C). Watch the dough and ferment until it doubles in size (at least; eight to twelve hours). Then, you can shape it and let it double again. Though I favor an overnight method for this dough, use your knowledge of your environment to bulk ferment this dough appropriately.
Shaping
I use a pre-shape and a final shape for this recipe. The pre-shape gathers the sections of dough into a nice round, as well as tightens the outer skin so that it is smooth and even. After this is done, the gluten is tight, and needs a second to relax so that the dough can be stretched into a “ring” – the traditional bagel shape. The final shape does just this – it simply stretches the dough to the desired size of “ring” for that classic bagel look.
No Cold Proof
I found several recipes online that called for cold proofing bagels before boiling. Though I do this in my soft pretzel recipe, I did not find the results desirable in this bagel recipe. The bagels perform best and yield the most ideal flavor when they are left at room temperature to ferment. A cold dough will sink in the water bath, and may even stick to the bottom of your pot. The bagels may not expand properly and will be denser with an uglier final appearance. If you need to place your dough in the fridge to help with your baking timeline, do so just before or right after shaping. Then, let the bagels come to room temperature on the counter for at least one hour before boiling.
Water Bath
This step is essential to achieving the classic bagel chew. Bagels can be boiled anywhere from thirty seconds to two minutes per side – a longer boil creating a more pronounced chew in the bagel. I aim for forty seconds, but up to a minute, per side as my personal preference.
Barley Malt In The Water Bath
I include barley malt in the water bath, as I found it significantly improves the exterior color and shine on the finished bagel. It is not essential to include barley malt in the water bath for a good bagel, but makes for a noticeable improvement in the final look and even taste of the bagel. I tested honey as well, with the exact same results. Altogether, you can skip this addition if you prefer and still find yourself with a good bagel. Or, you can substitute the barley malt for honey, or even molasses, for similar results.
How To Top The Bagels With Anything
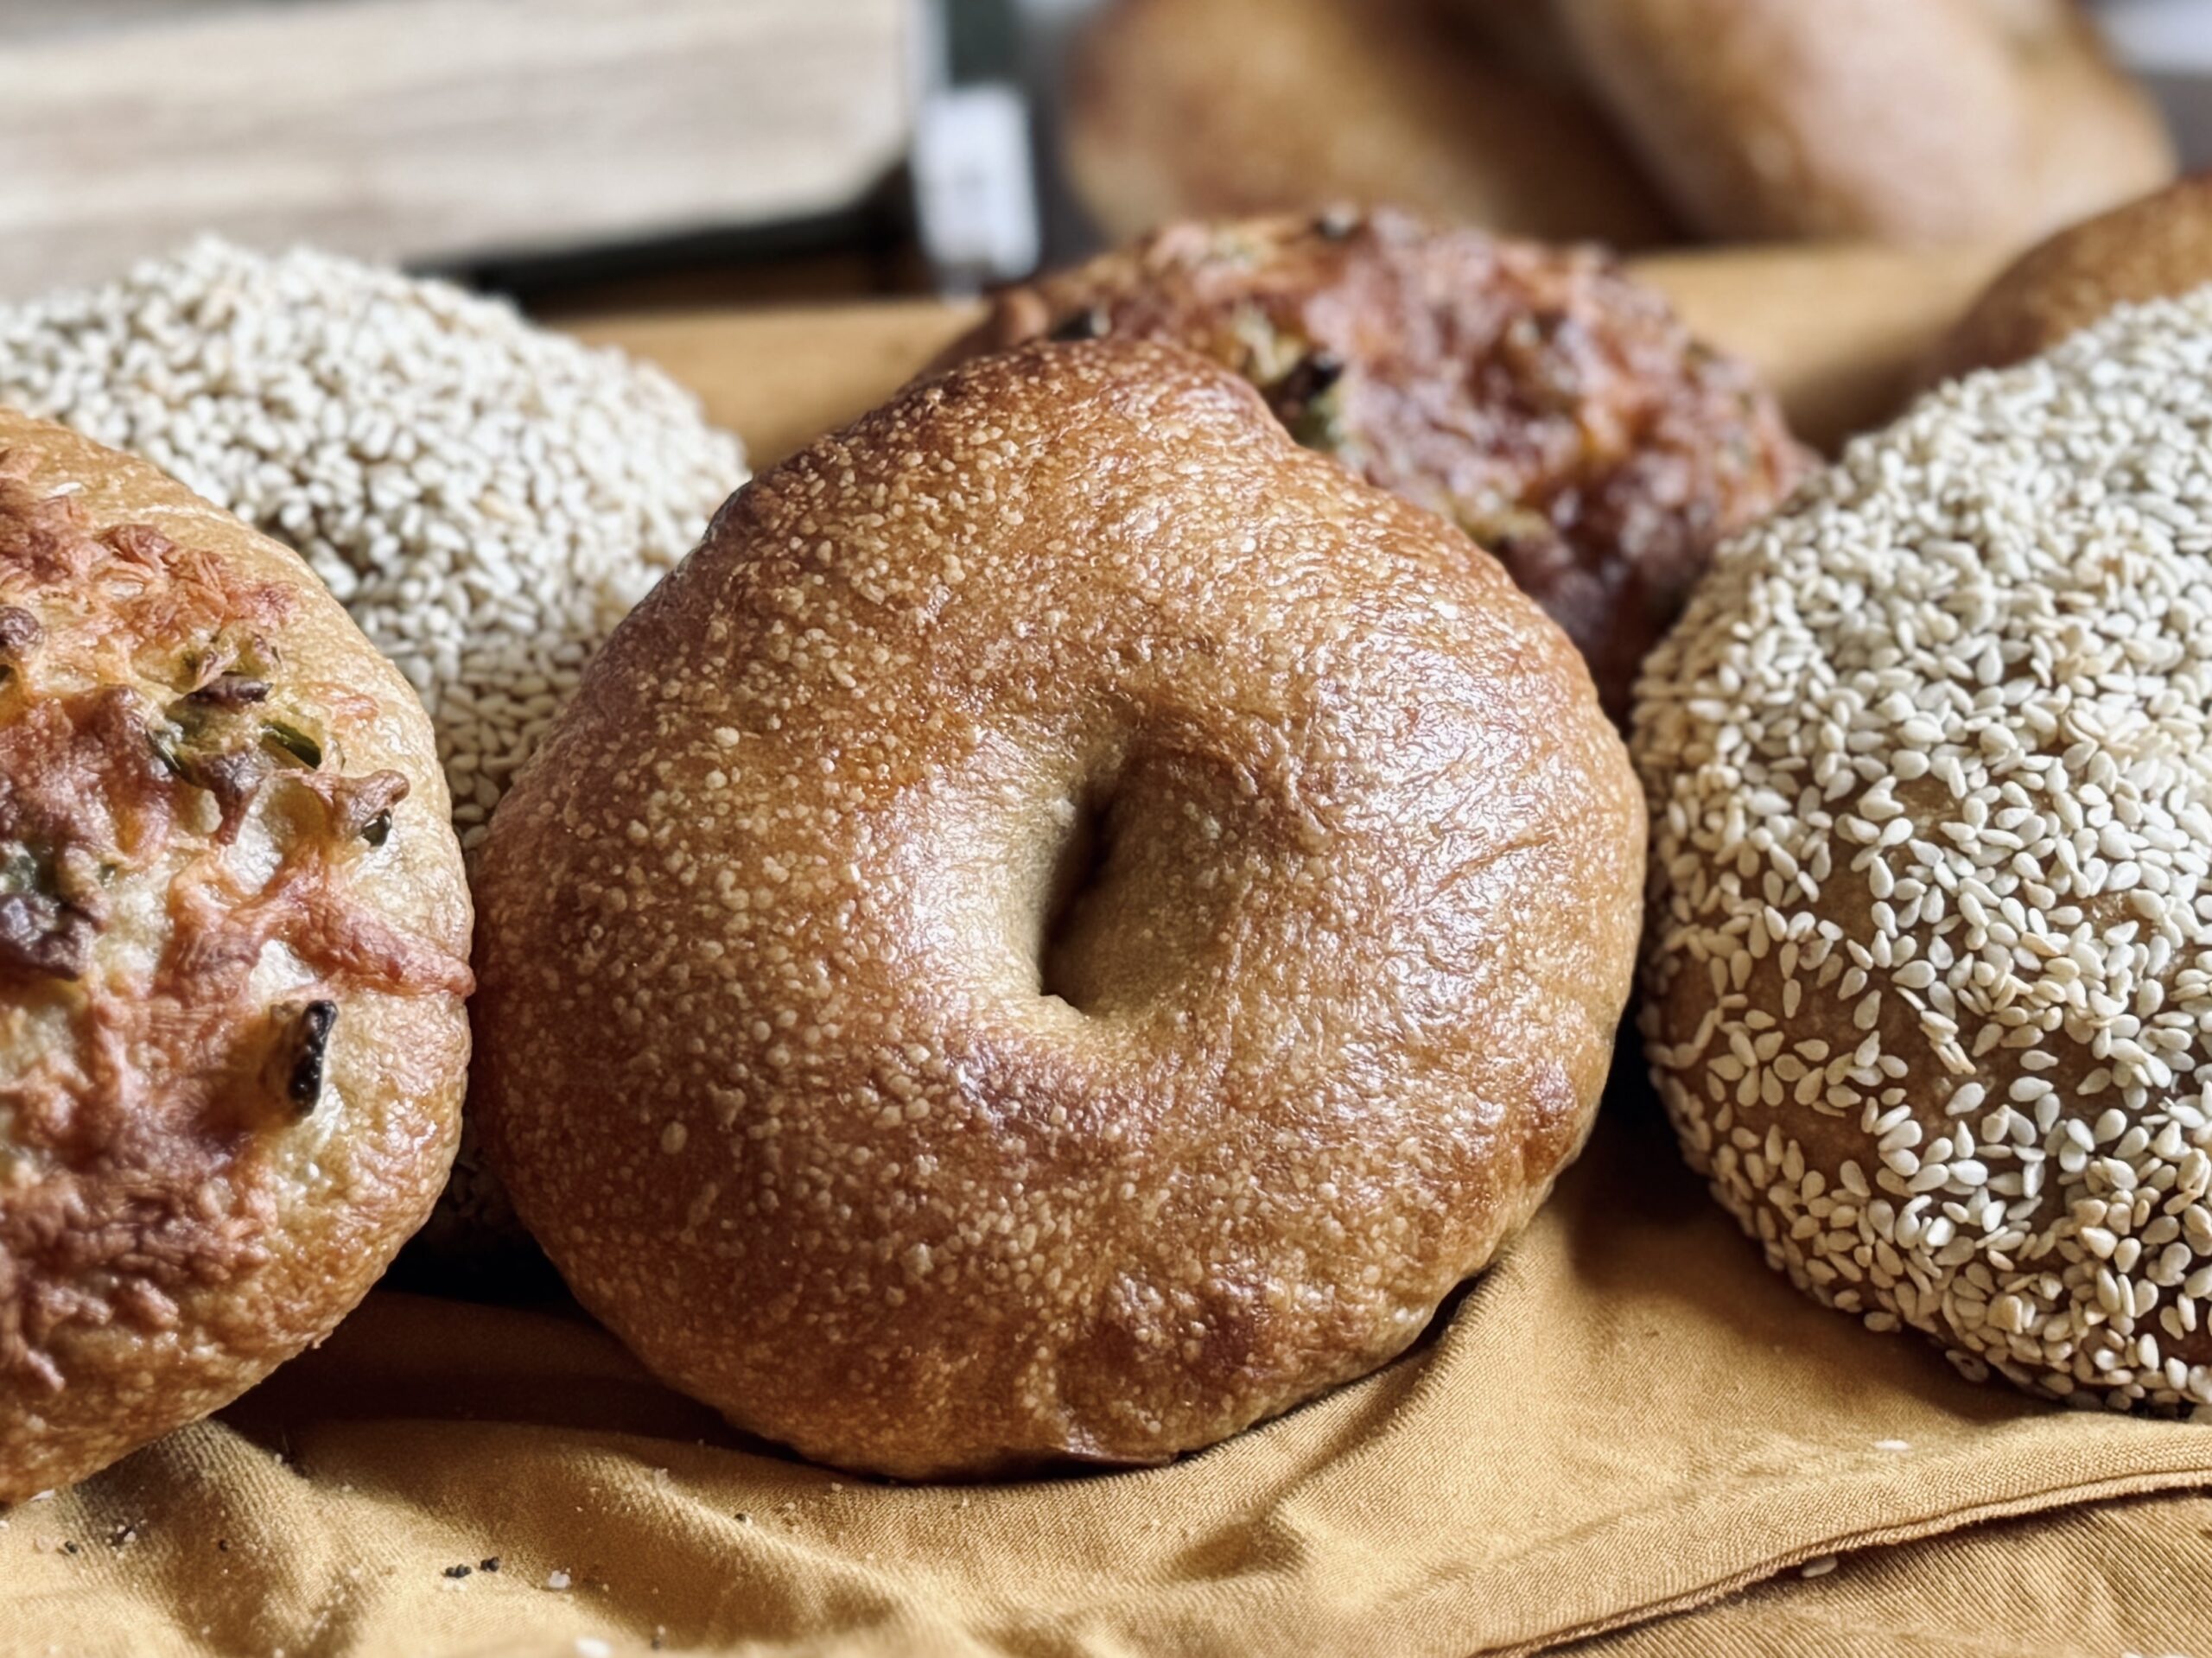
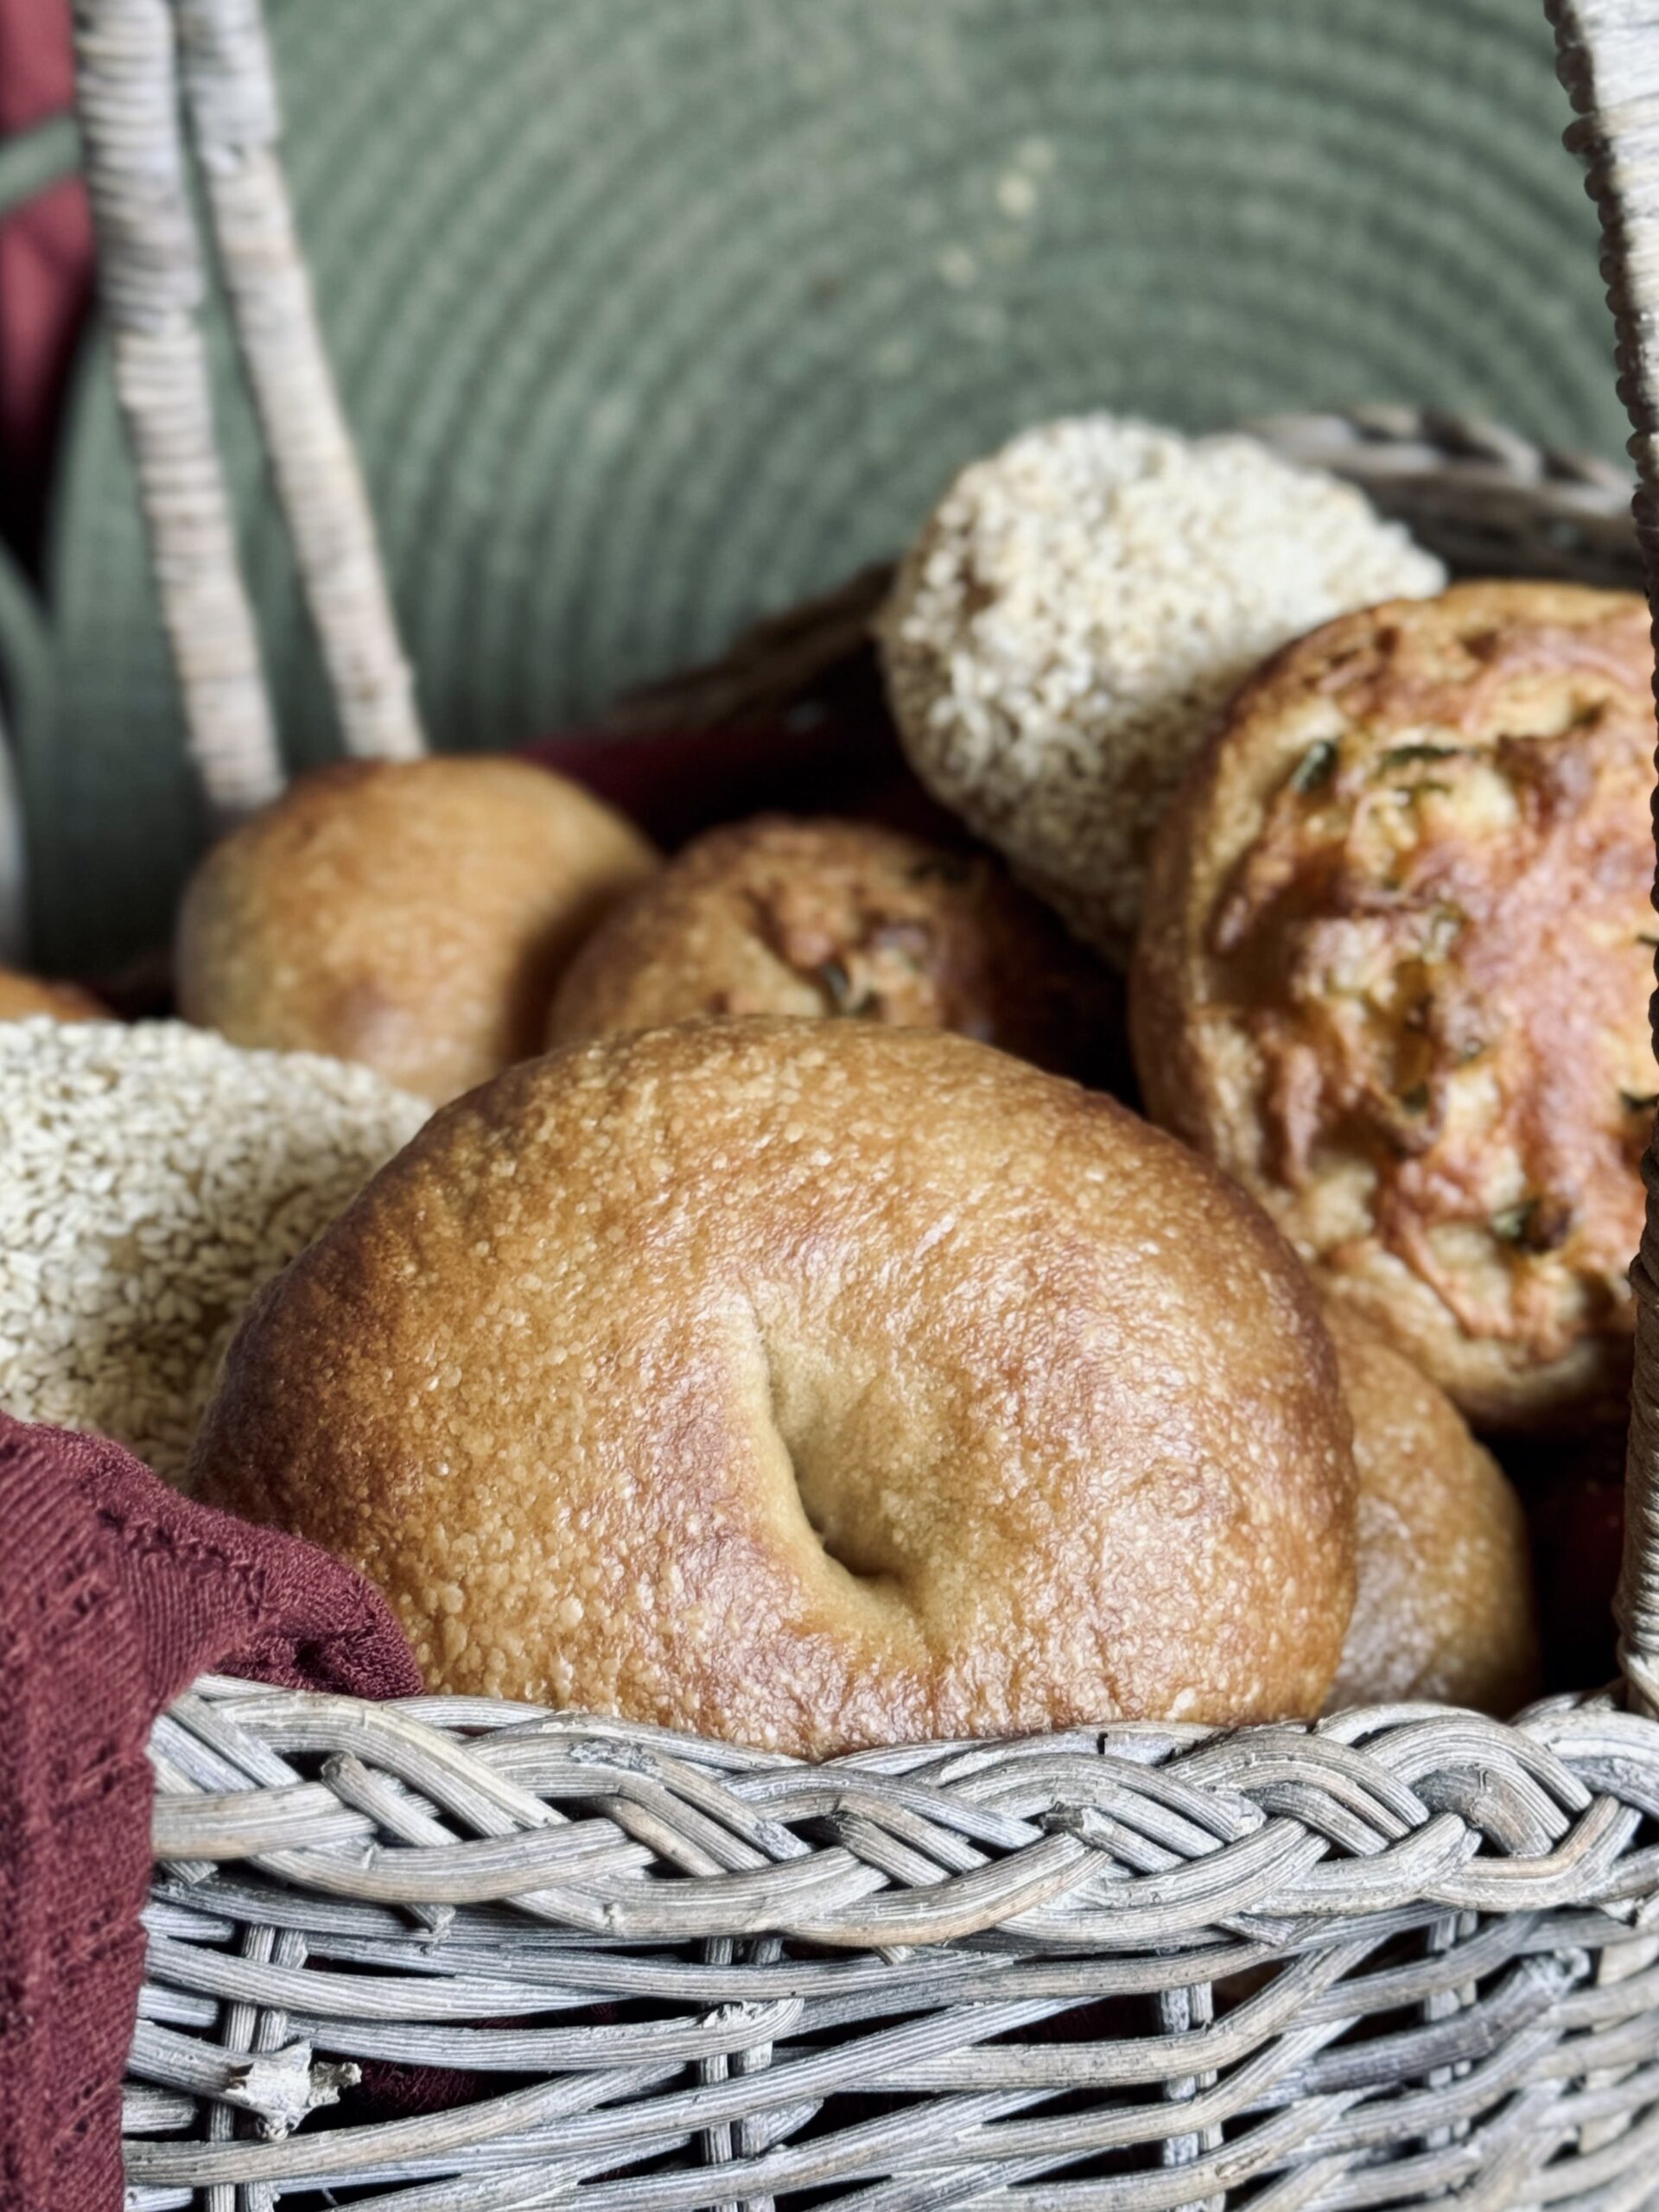
You can top and bake these bagels with anything you like! Common bagel toppings include: everything seasoning, sesame seeds, poppy seeds, dried minced onion, garlic, cinnamon sugar, and more.
When the bagels come out of the oven, they are nice and wet, which is a great time to dunk them in their topping. If you find that your topping just isn’t sticking with the moisture from the boiled bagel, you can whisk together one egg white with one tablespoon of water until frothy, then brush it all over the outside of the bagel before dunking (or sprinkling) the bagel into (with) your topping of choice.
For peppers and cheese, you’ll want to dice up the pepper and pile it in the center, then top with sliced or shredded cheese. Note that if you add the cheese in the beginning, it will get dark and crispy during the twenty-five minute baking time. If you want it melty and gooey, add the cheese in the last five minutes of baking instead.
Baking Method
I tried several baking methods, including various temperatures and steaming methods. I found 425 F (220 C) with no steam to be the perfect sweet spot. Because the bagels were boiled, there is plenty of moisture on the exterior of the bagel to help it expand properly in the oven, meaning it is not essential to add steam. 425 F (220 C) gives a perfectly light crisp to the exterior, one that is not too pronounced or overbearing.
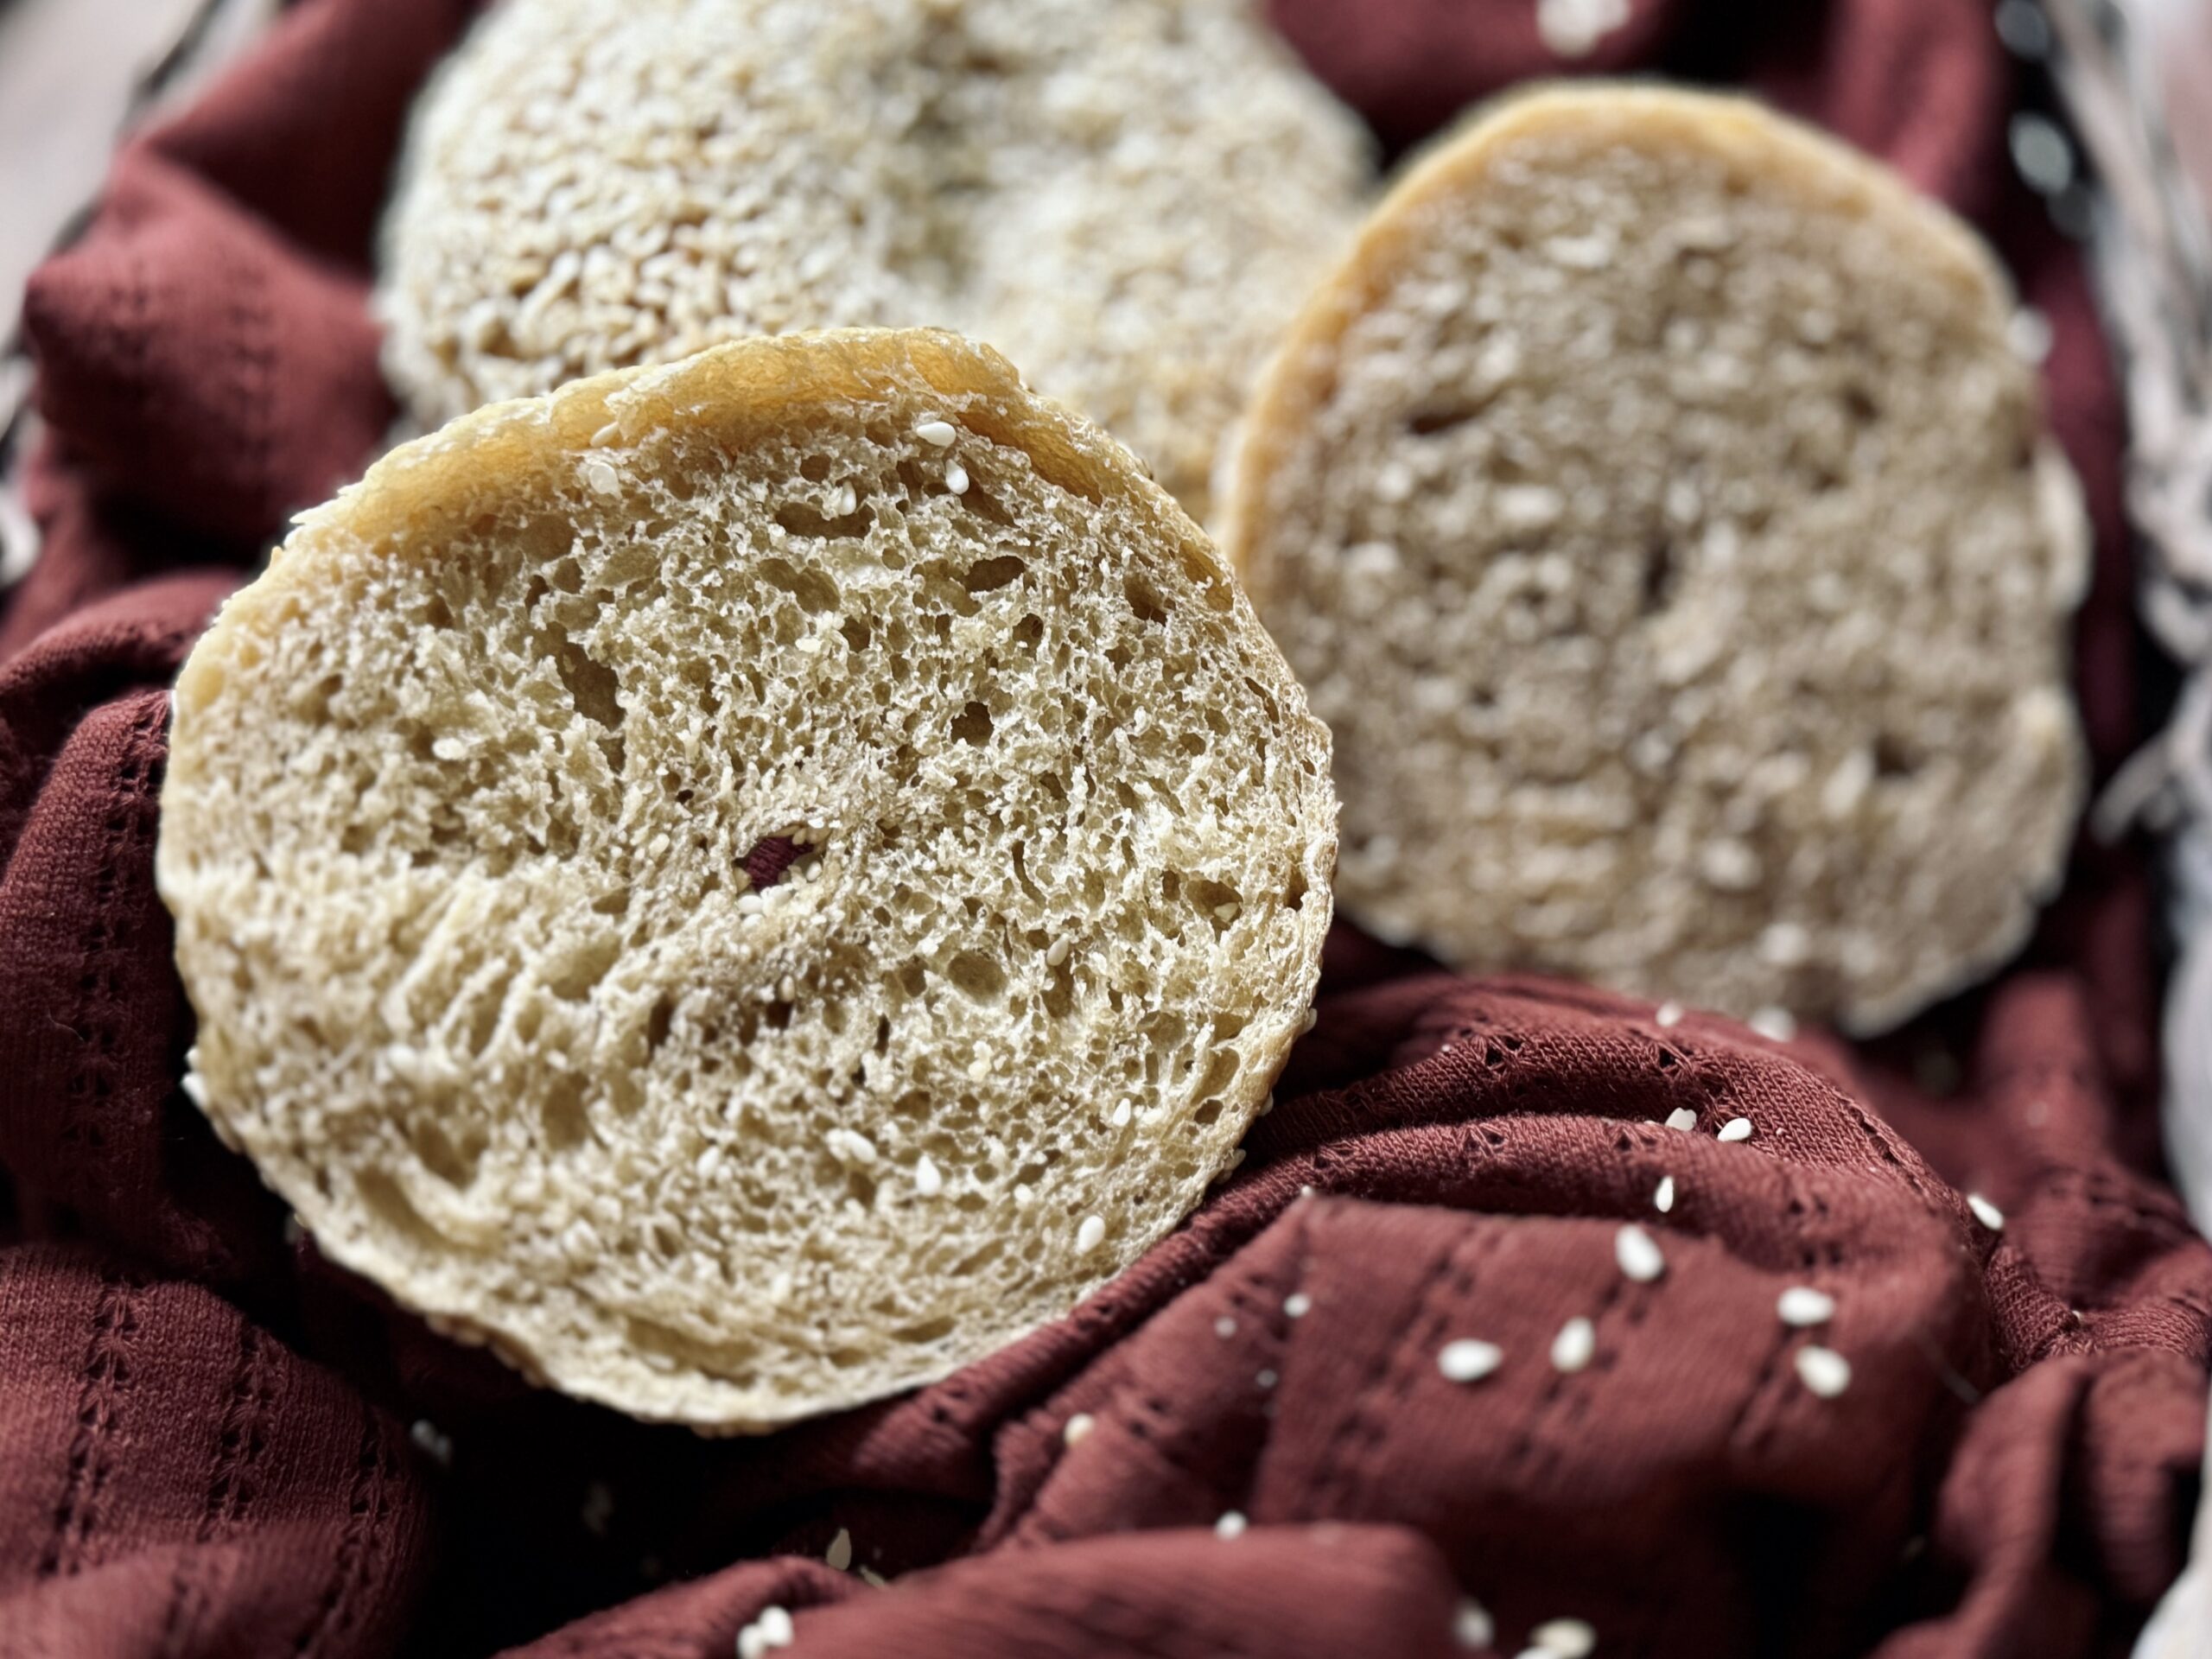
Suggested Timeline
Daytime Timeline
DAY 1
8:00 p.m.
- Make the sweet stiff starter.
DAY 2
7:00 a.m.
- Mix and knead the dough.
- Bulk rise to double in size.
3:00 p.m.
- Divide and pre-shape the dough.
3:15 p.m.
- Shape and proof the dough.
5:00 p.m.
- Boil, bake, and enjoy!
Overnight Timeline
DAY 1
8:00 p.m.
- Make the sweet stiff starter.
9:00 p.m.
- Mix and knead the dough.
- Bulk rise to double in size.
DAY 2
7:00 a.m.
- Divide and pre-shape the dough.
7:15 a.m.
- Shape and proof the dough.
10:00 a.m.
- Boil, bake, and enjoy!
📌 Quick Tip: Read the recipe in its entirety before you start cooking. This will help you understand the ingredients, steps, and timing involved, and allow you to prepare any necessary equipment or ingredients beforehand.
Bagels
Ingredients
Sweet Stiff Starter
Dough
Water Bath
Instructions
-
Make the sweet stiff starter.
Mix together all ingredients for the sweet stiff starter 8-12 hours before you plan to make the dough. Knead for 2-3 minutes to incorporate, using lightly wet hands as needed. Cover and rest at room temperature.
-
Mix the dough.
To the bowl of a stand mixer, add all ingredients for the dough. Roughly mix, then transfer to your stand mixer. Alternatively, this dough can be kneaded by hand.
-
Knead the dough.
- KitchenAid: Using the dough hook attachment, knead on a low speed (speed 2) for 10-15 minutes, until the dough is smooth and springs back when poked.
- Ankarsrum: Using the dough roller and scraper attachments, set the mixer to “ON” and let it run on speed 2 o'clock until the dough comes together. Adjust the roller so that it works the dough against the side of the bowl and use a spoon, as necessary, to help the dough along. After the dough comes together, set the timer for twelve minutes and let the Ankarsrum do its work.
- By hand: Turn the dough out onto a clean counter and use the “bench kneading” method to knead the dough for about 15 minutes.
-
Bulk ferment the dough.
Remove the dough from your stand mixer and knead by hand for 1-2 minutes to form a smooth round. Transfer to a 2 qt bowl or proofing container. Cover with a lid or plastic cling wrap. Rest until the dough doubles in size (or completely fills the 2 qt container). This takes 8-10 hours at 70 F (21 C).
-
Divide and pre-shape.
Divide the dough into eight sections, 125-130 g each. Pre-shape each section into a round by tucking all the ends underneath and pinching the seams on the bottom closed. Rest for 20 minutes. (This short rest gives the gluten a chance to relax so that it will stretch easier.)
-
Stretch/shape the bagels.
Poke a hole into the center of each ball of dough, then rotate and stretch the dough until the hole in the center is the size of your liking. For bagels with pronounced holes, you’ll want to stretch the dough very far, so the hole is about four inches in diameter, and divide the bagels between two sheet pans. If the dough will not stretch as far as you like, let it rest, then try again in another 20 minutes.
-
Proof the dough.
After the bagels are shaped, cover them and proof for 1-3 more hours, until they are very puffy and airy.
-
Prepare a work station.
You’ll need a 4 qt pot filled halfway with water (set to boil on the stovetop), 1/4 cup of barley malt syrup, a skimmer, a wire rack over a baking sheet for draining, and possibly a new sheet pan for the boiled bagels.
-
Boil the bagels.
To the boiling water, add ¼ cup of barley malt syrup. (You could also use honey or molasses.) Once the sugar is dissolved, add 2-3 bagels to the pot. If the bagels were proofed correctly, they should float immediately. Boil for 40-60 seconds per side, or up to two minutes for the chewiest bagels. Repeat for all the bagels.
-
Drain the bagels.
Remove the bagels from the water bath and set over a wire rack to drain.
-
Bake the bagels.
Transfer the bagels back onto a sheet pan and bake at 425 F (220 C) for 25 minutes.
-
Cool and enjoy!
Transfer the bagels to a wire rack to cool for 15-20 minutes before slicing.
Servings 8
- Amount Per Serving
- Calories 386.91kcal
- % Daily Value *
- Total Fat 18.65g29%
- Saturated Fat 7.31g37%
- Trans Fat 0.05g
- Cholesterol 37.43mg13%
- Sodium 429.17mg18%
- Potassium 151.63mg5%
- Total Carbohydrate 38.86g13%
- Dietary Fiber 1.38g6%
- Sugars 1.33g
- Protein 14.75g30%
- Vitamin A 57.19 IU
- Vitamin C 2.77 mg
- Calcium 126.98 mg
- Iron 2.55 mg
- Vitamin D 0.3 IU
- Vitamin E 0.53 IU
- Vitamin K 1.01 mcg
- Thiamin 0.54 mg
- Riboflavin 0.37 mg
- Niacin 5.27 mg
- Vitamin B6 0.14 mg
- Folate 26.2 mcg
- Vitamin B12 0.35 mcg
- Phosphorus 183.88 mg
- Magnesium 24.38 mg
- Zinc 1.44 mg
* Nutrition values are auto-calculated and should be used as an approximation only. In addition, the values may not accurately represent the serving divisions of the recipe, instead representing the nutrition of the recipe as a whole.
Notes
- Storage: Bagels are best enjoyed fresh, but can be stored in a sealed bag on the counter for up to seven days, or sliced and stored in the freezer for several months. Slice and toast to warm.
- I do not recommend a cold ferment for this dough. If you must, place the dough in the fridge when the dough hits about 75% size increase, or directly after shaping. Make sure the dough is at room temperature before boiling.
- For seeded bagels, brush with an egg white wash after boiling and coat with your favorite seeds. Bake as directed.
- For cheesy bagels, top with cheese after boiling or in the last five minutes of baking (depending on the texture of cheese you're going for).


